Our Location
Redfern, Sydney, NSW
Australia

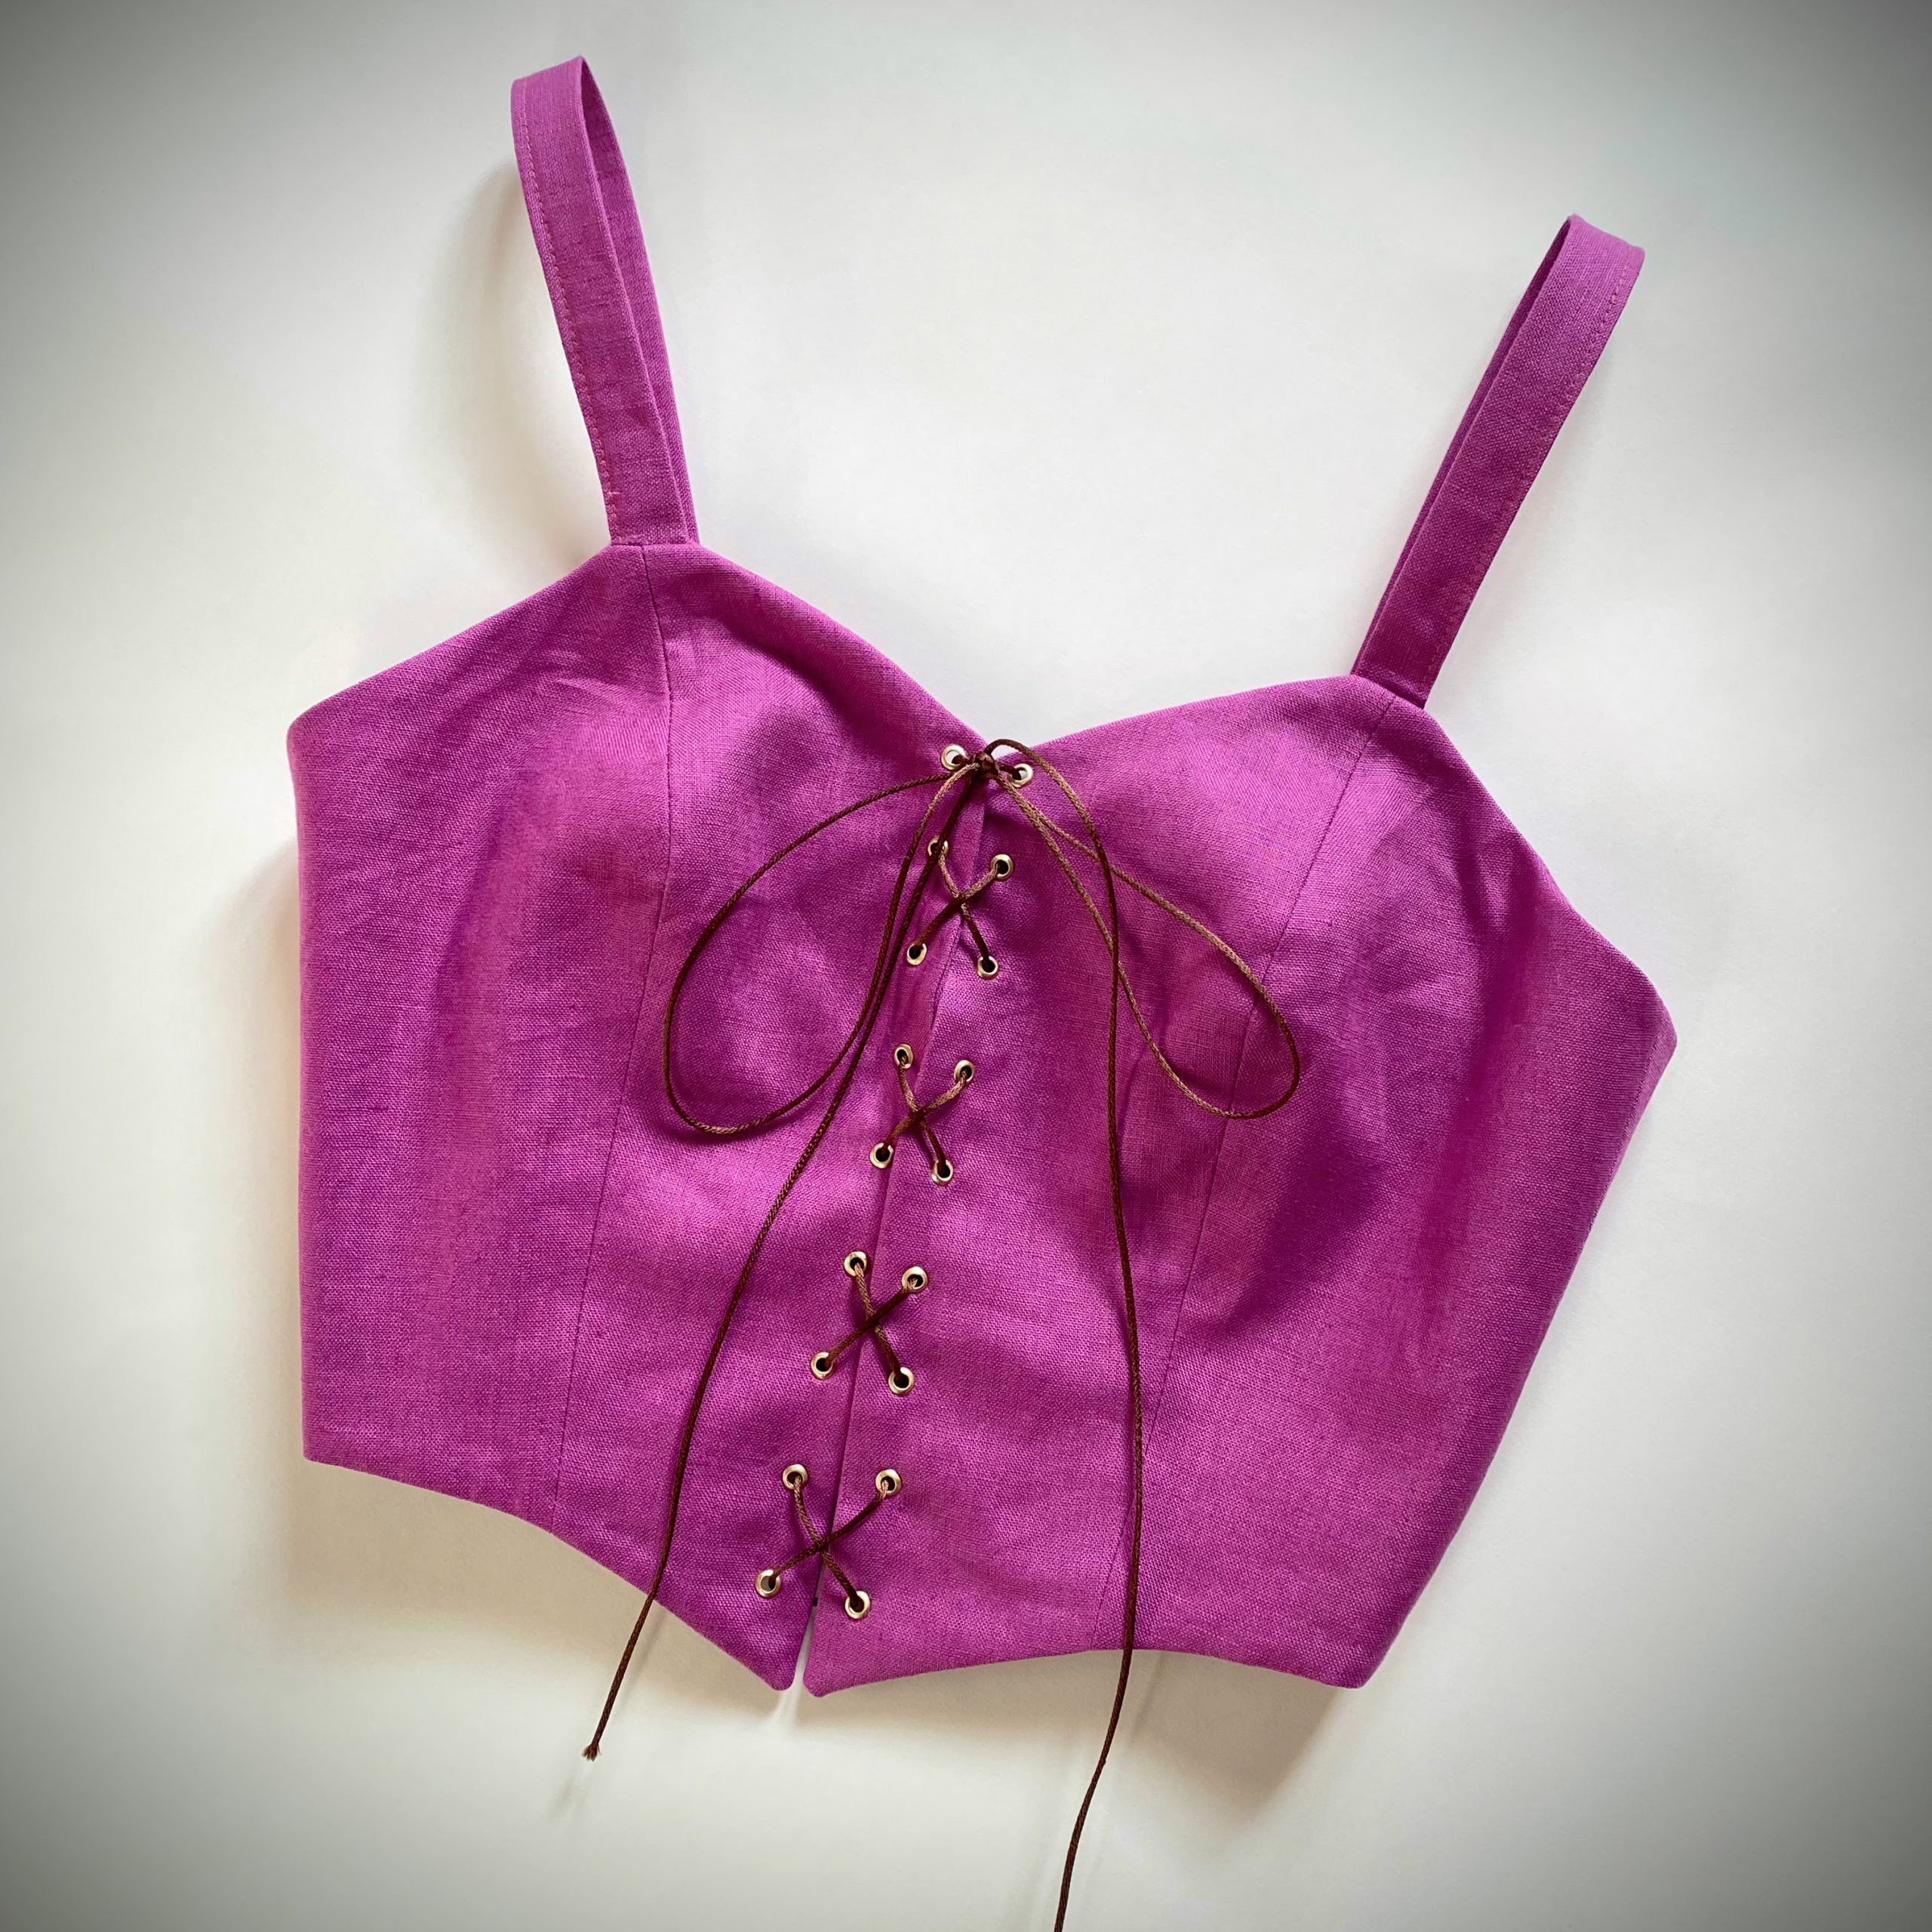
This bodice top comes in a sweetheart or square neckline. Both versions feature a peaked centre front hem. Here we have made the sweetheart version.
1. PREPARATION
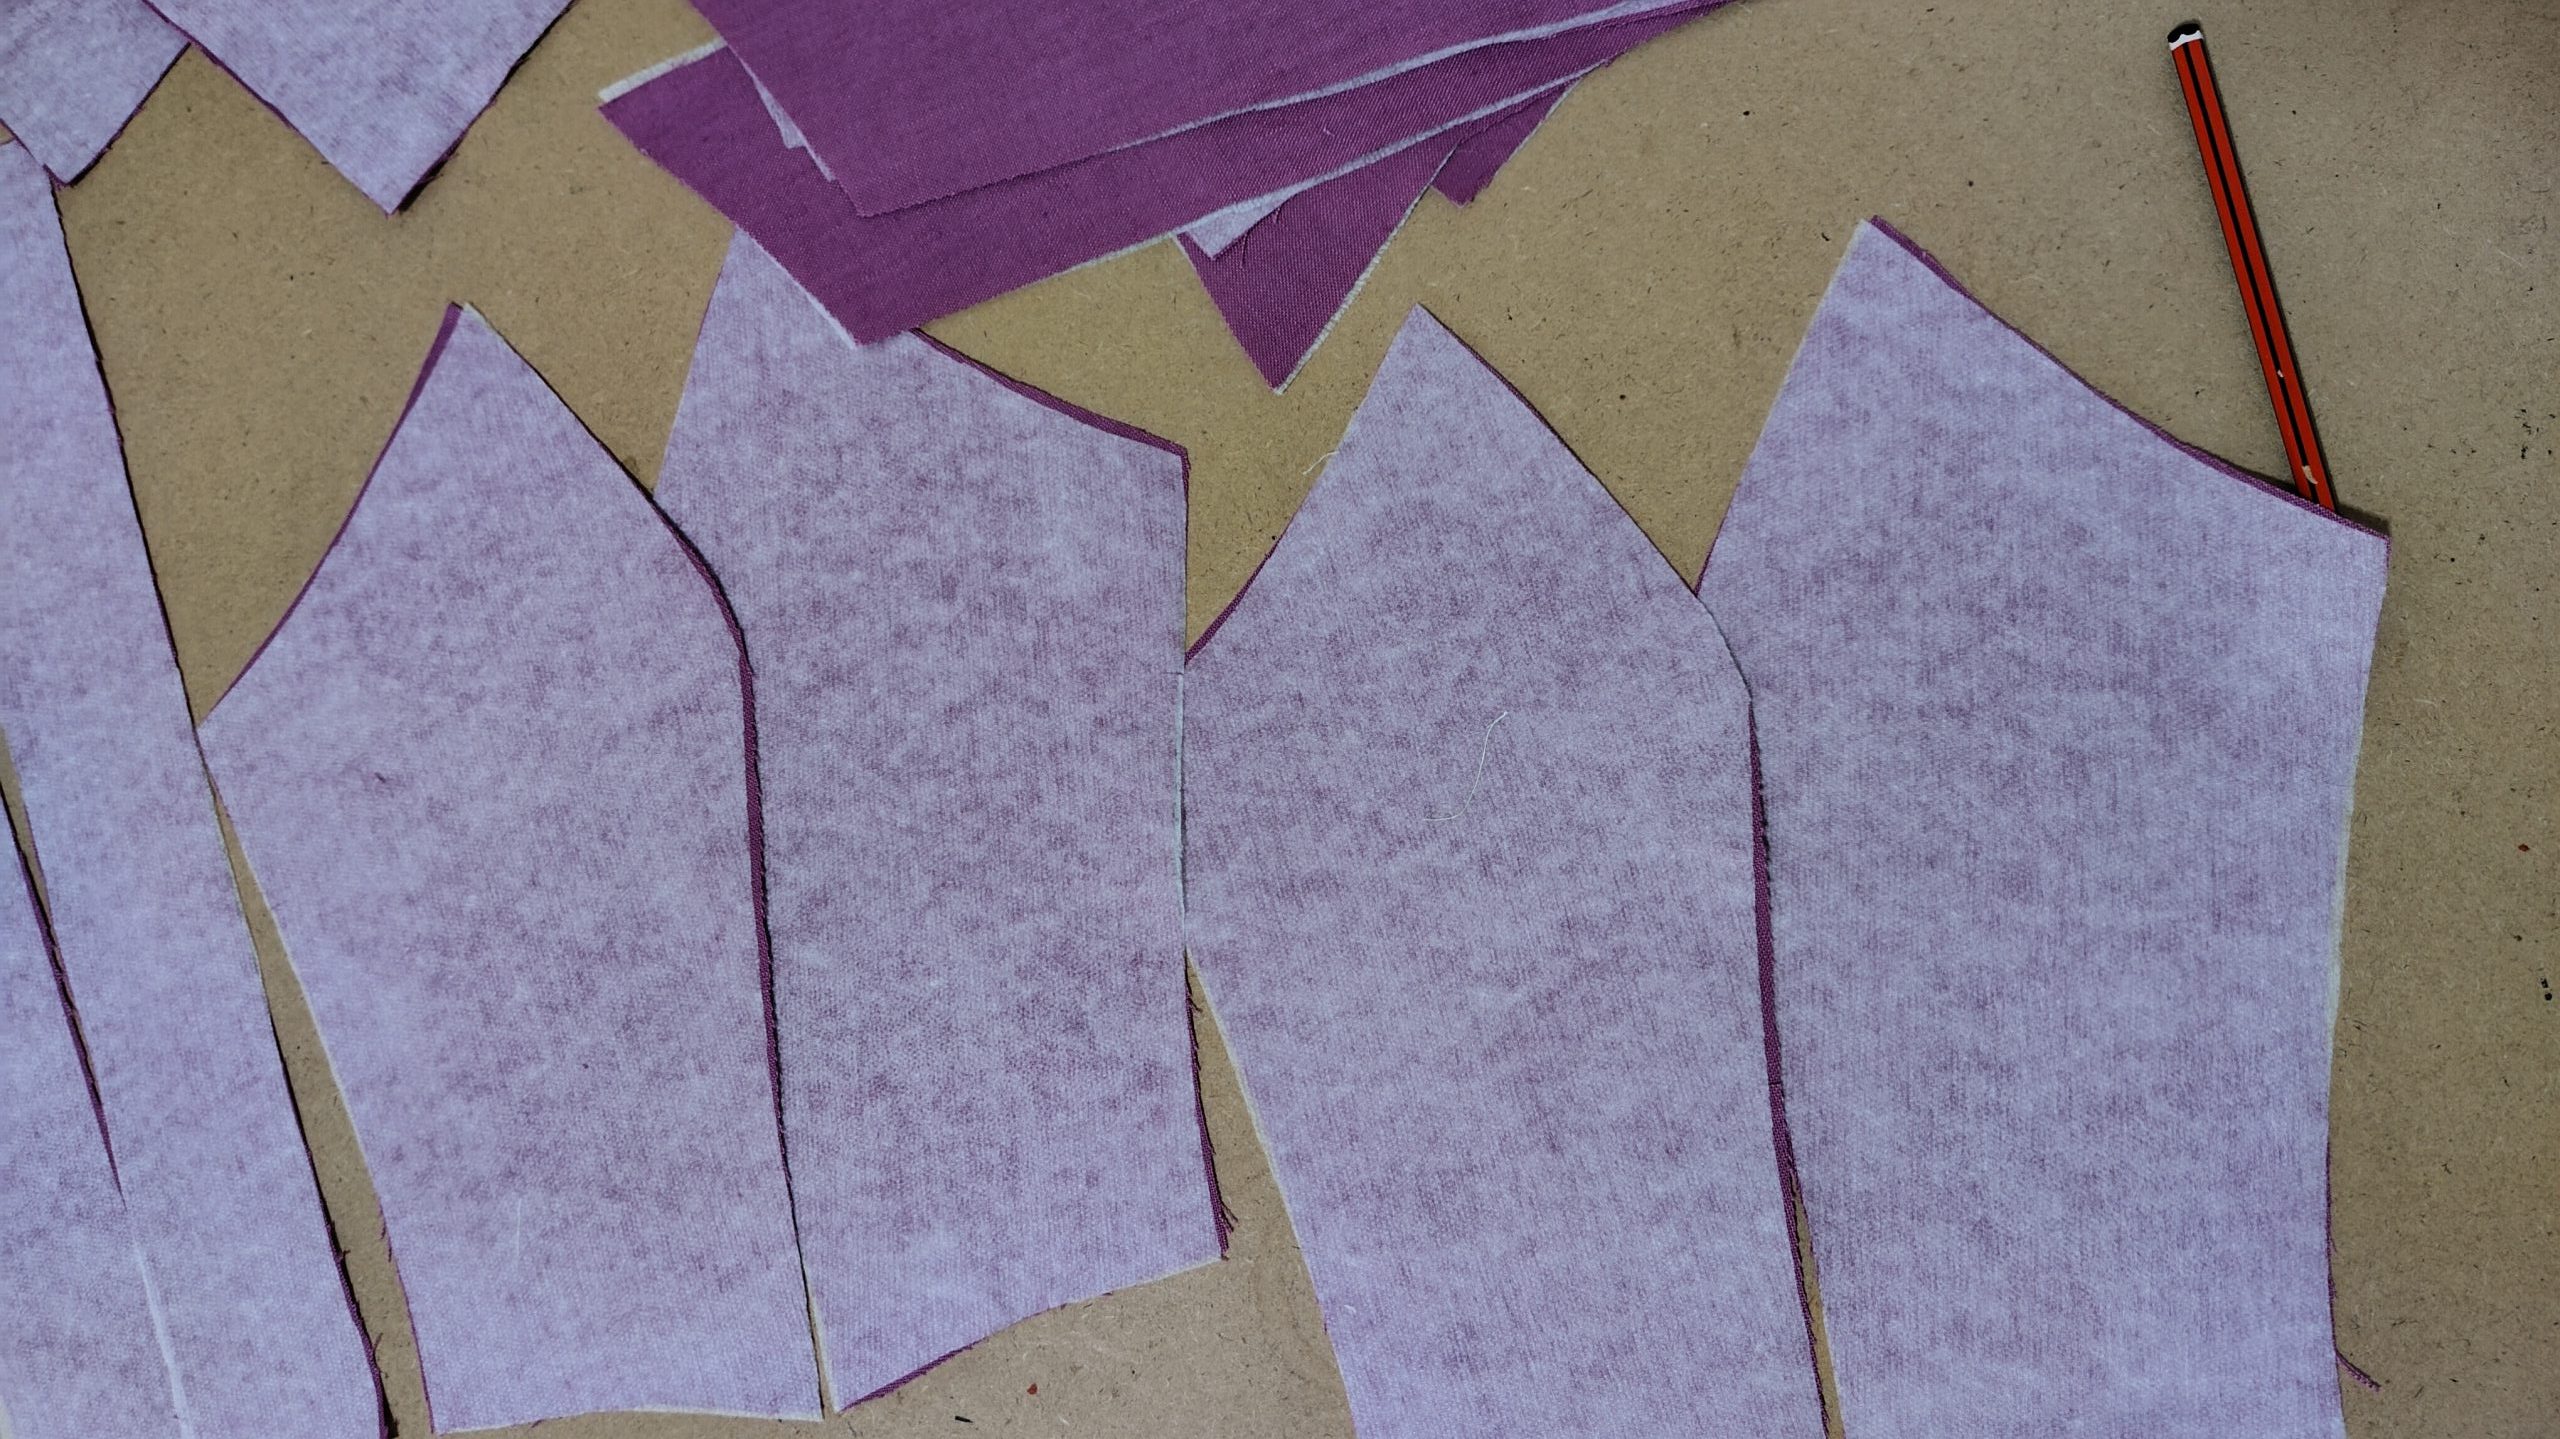
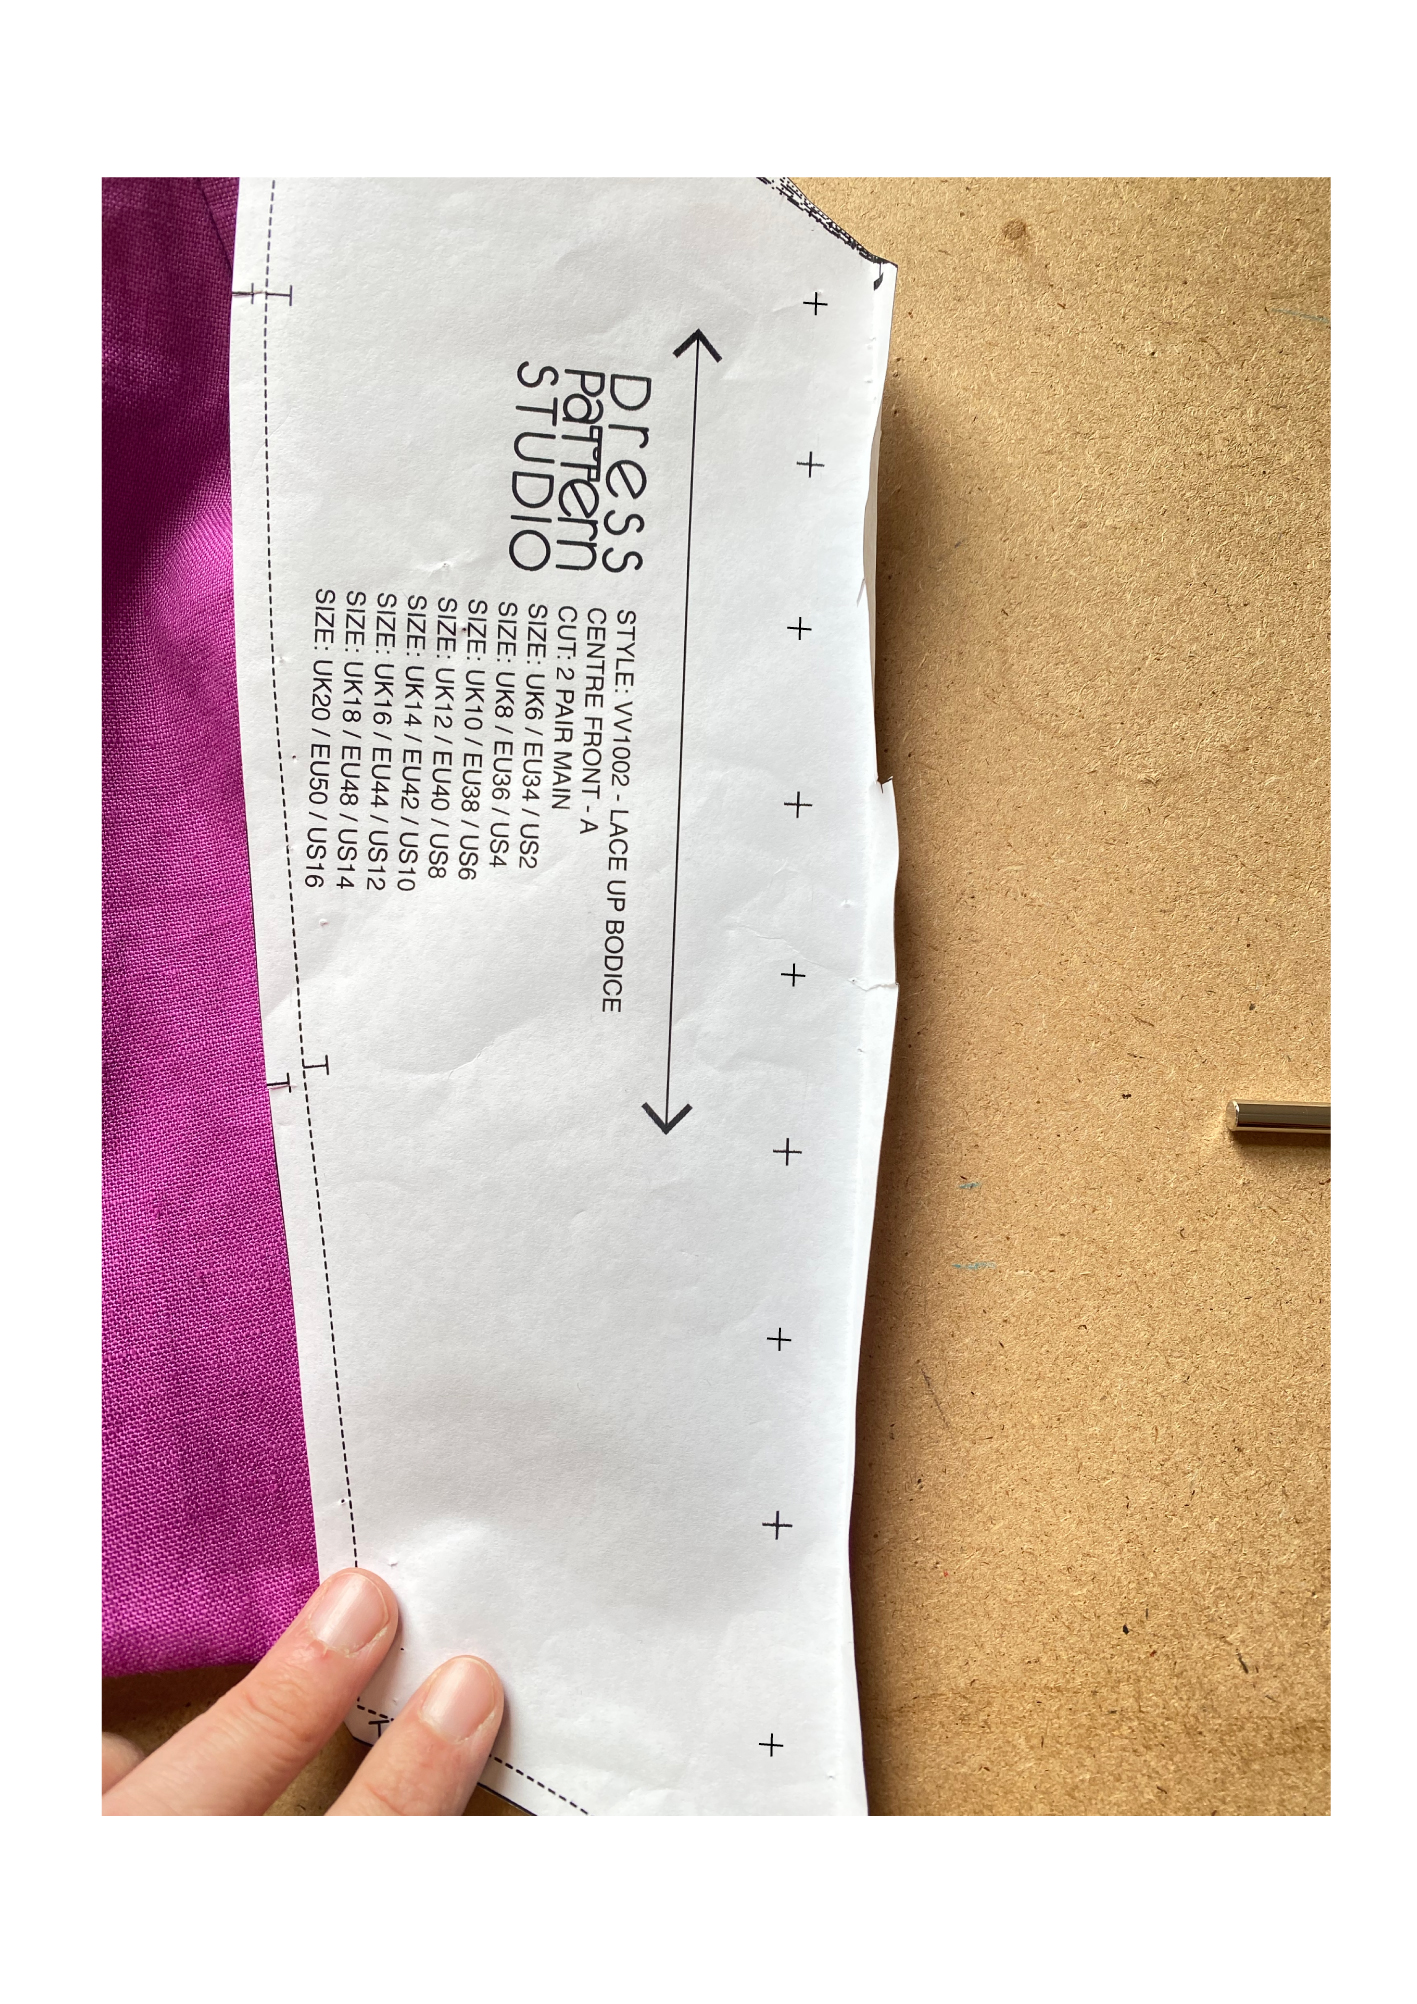
Following the pattern-cutting instructions, cut out pieces from your chosen fabric. We are using linen.
Cut out fusing and iron on fusing to the wrong side of each piece of the bodice.
With this garment, we are fusing all pieces, including lining pieces, as it is self-lined. You may have chosen a stiffer fabric for the outer and are choosing a softer fabric for the lining. In this case, you may wish to use a lighter interfacing when fusing the panels.
If using leather, you will not need to fuse the outer, but you may wish to use light interfacing to fuse the lining. Or if using velvet as the outer, you might need to buy sew-in interfacing and stitch onto the outer using a stay-stitch so as to preserve the pile of the velvet.
2. FRONT PANELS
With right sides together, pin the seam at the centre of the bust and sew down using a 1 cm seam allowance.
3. BACK PANELS
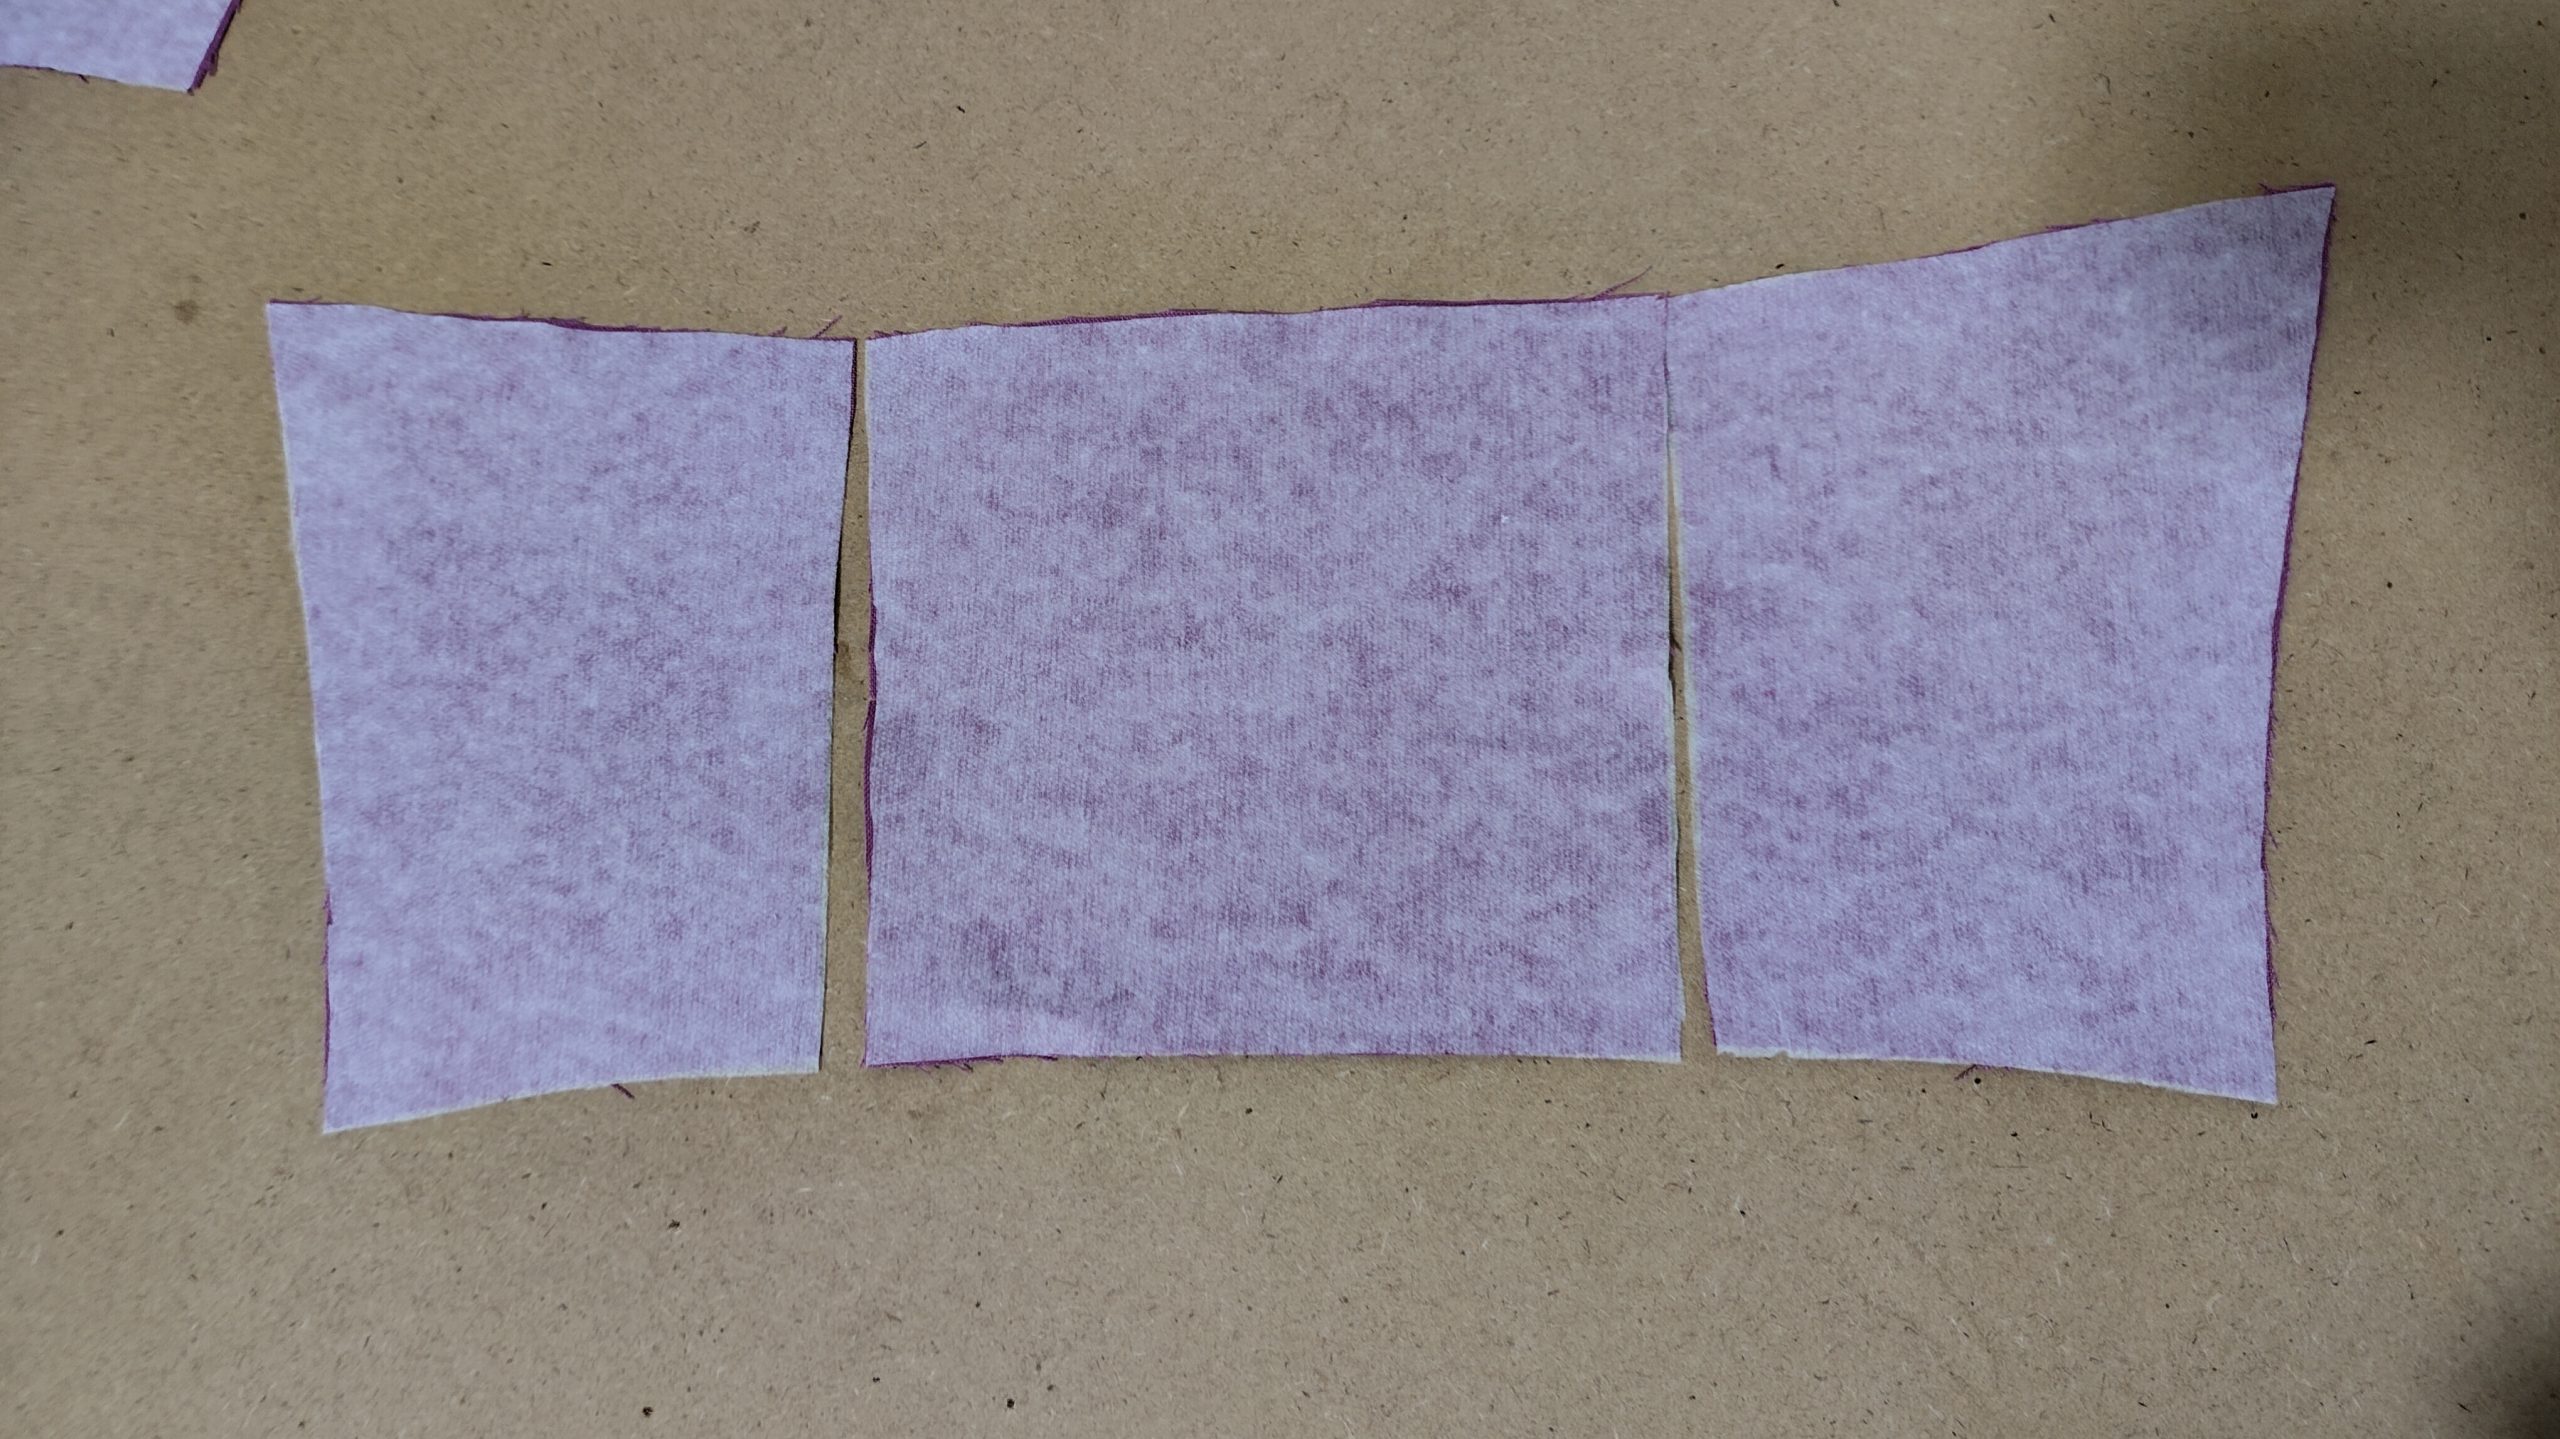
Position panels as shown.
With right sides together, pin seams down and stitch at a 1cm seam allowance.
With right sides together, pin seams down and stitch at a 1cm seam allowance.
4. SEAMS
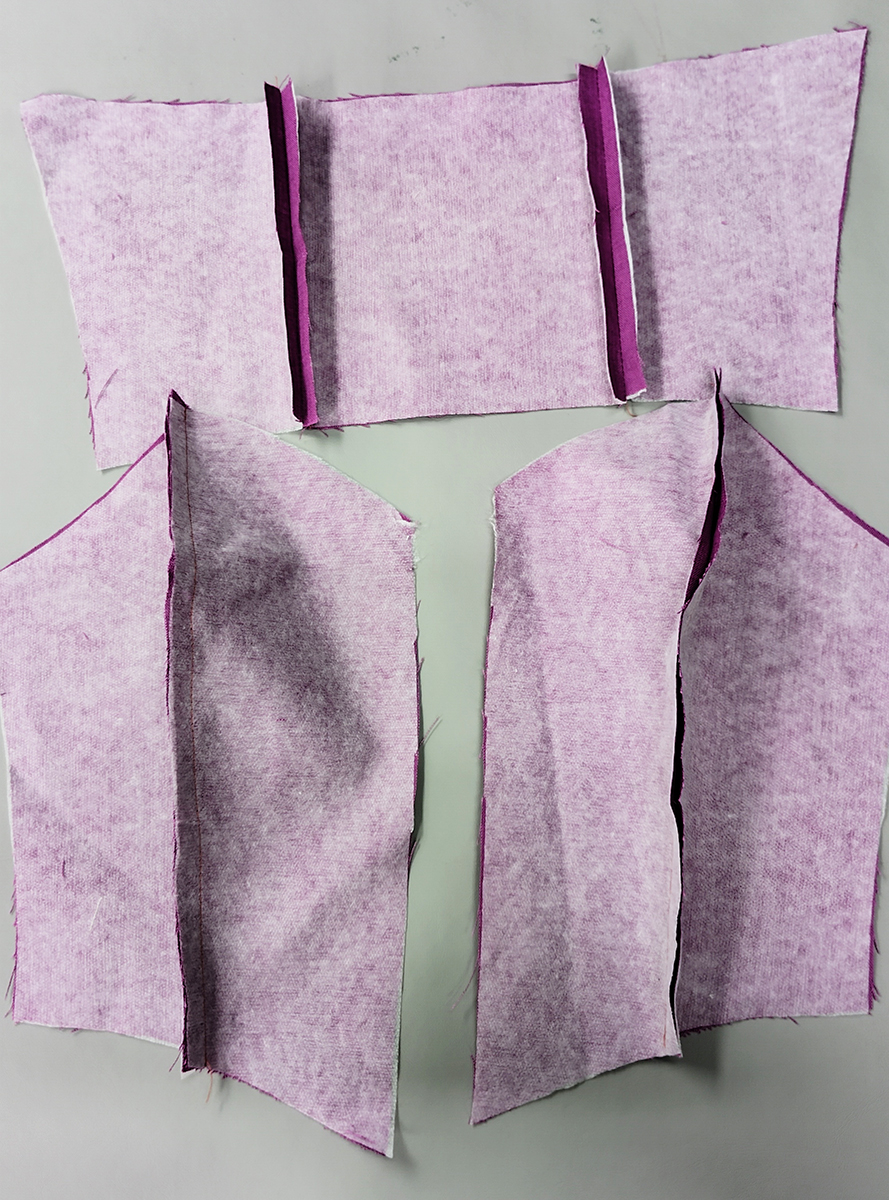
At this point, you should have two fronts and one back, each with its respective seams sewn.
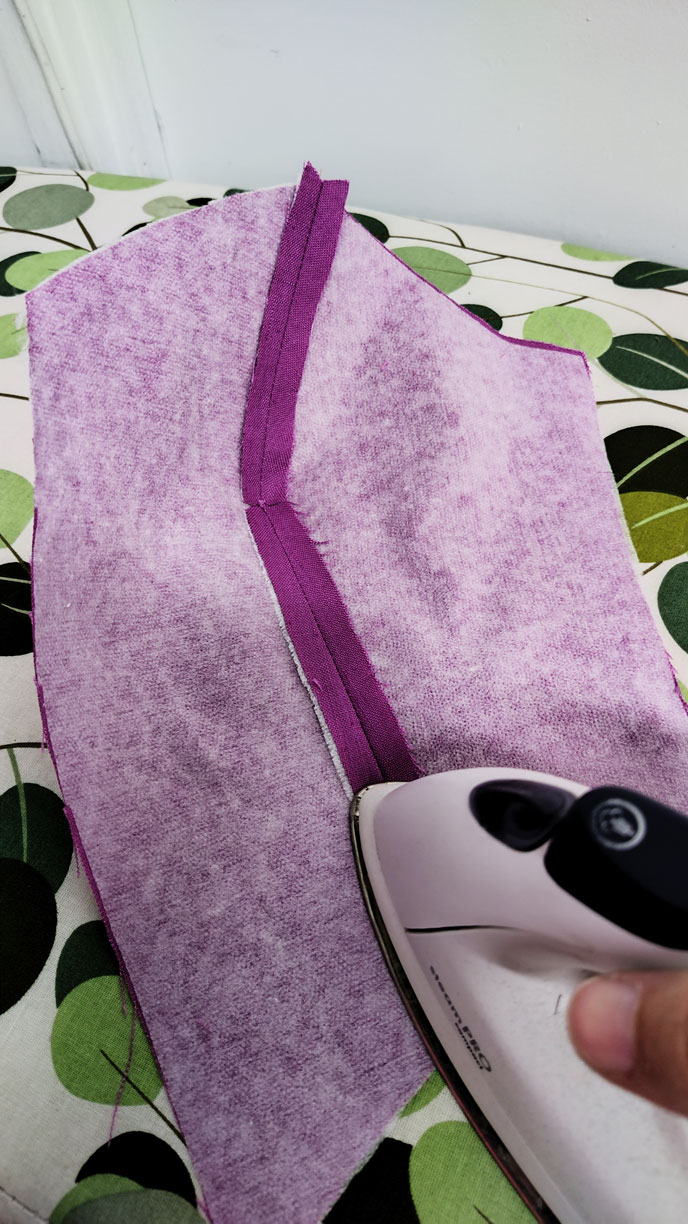
Press all seams open.
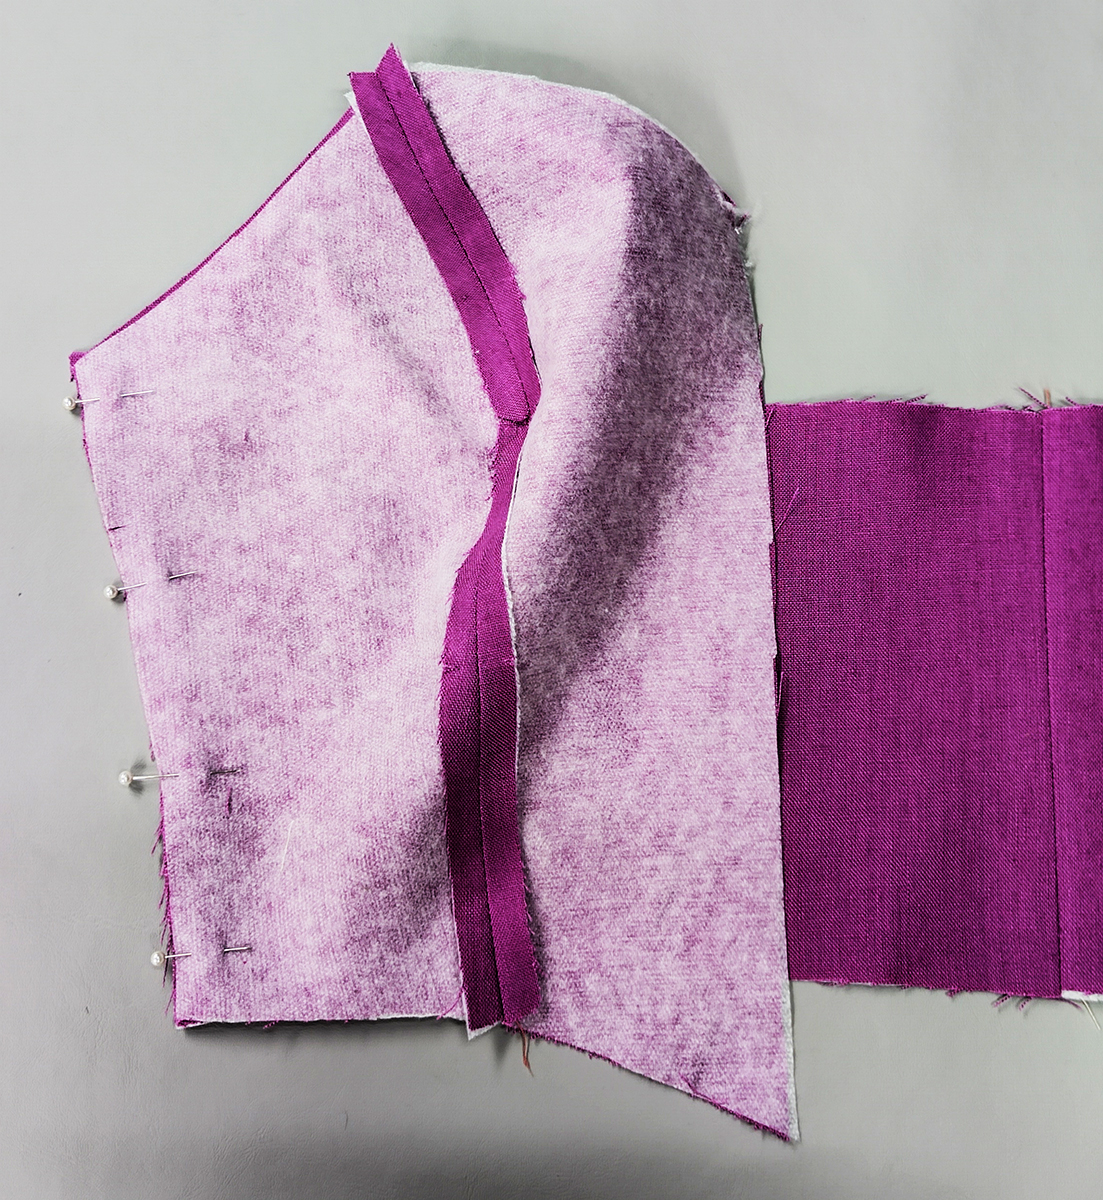
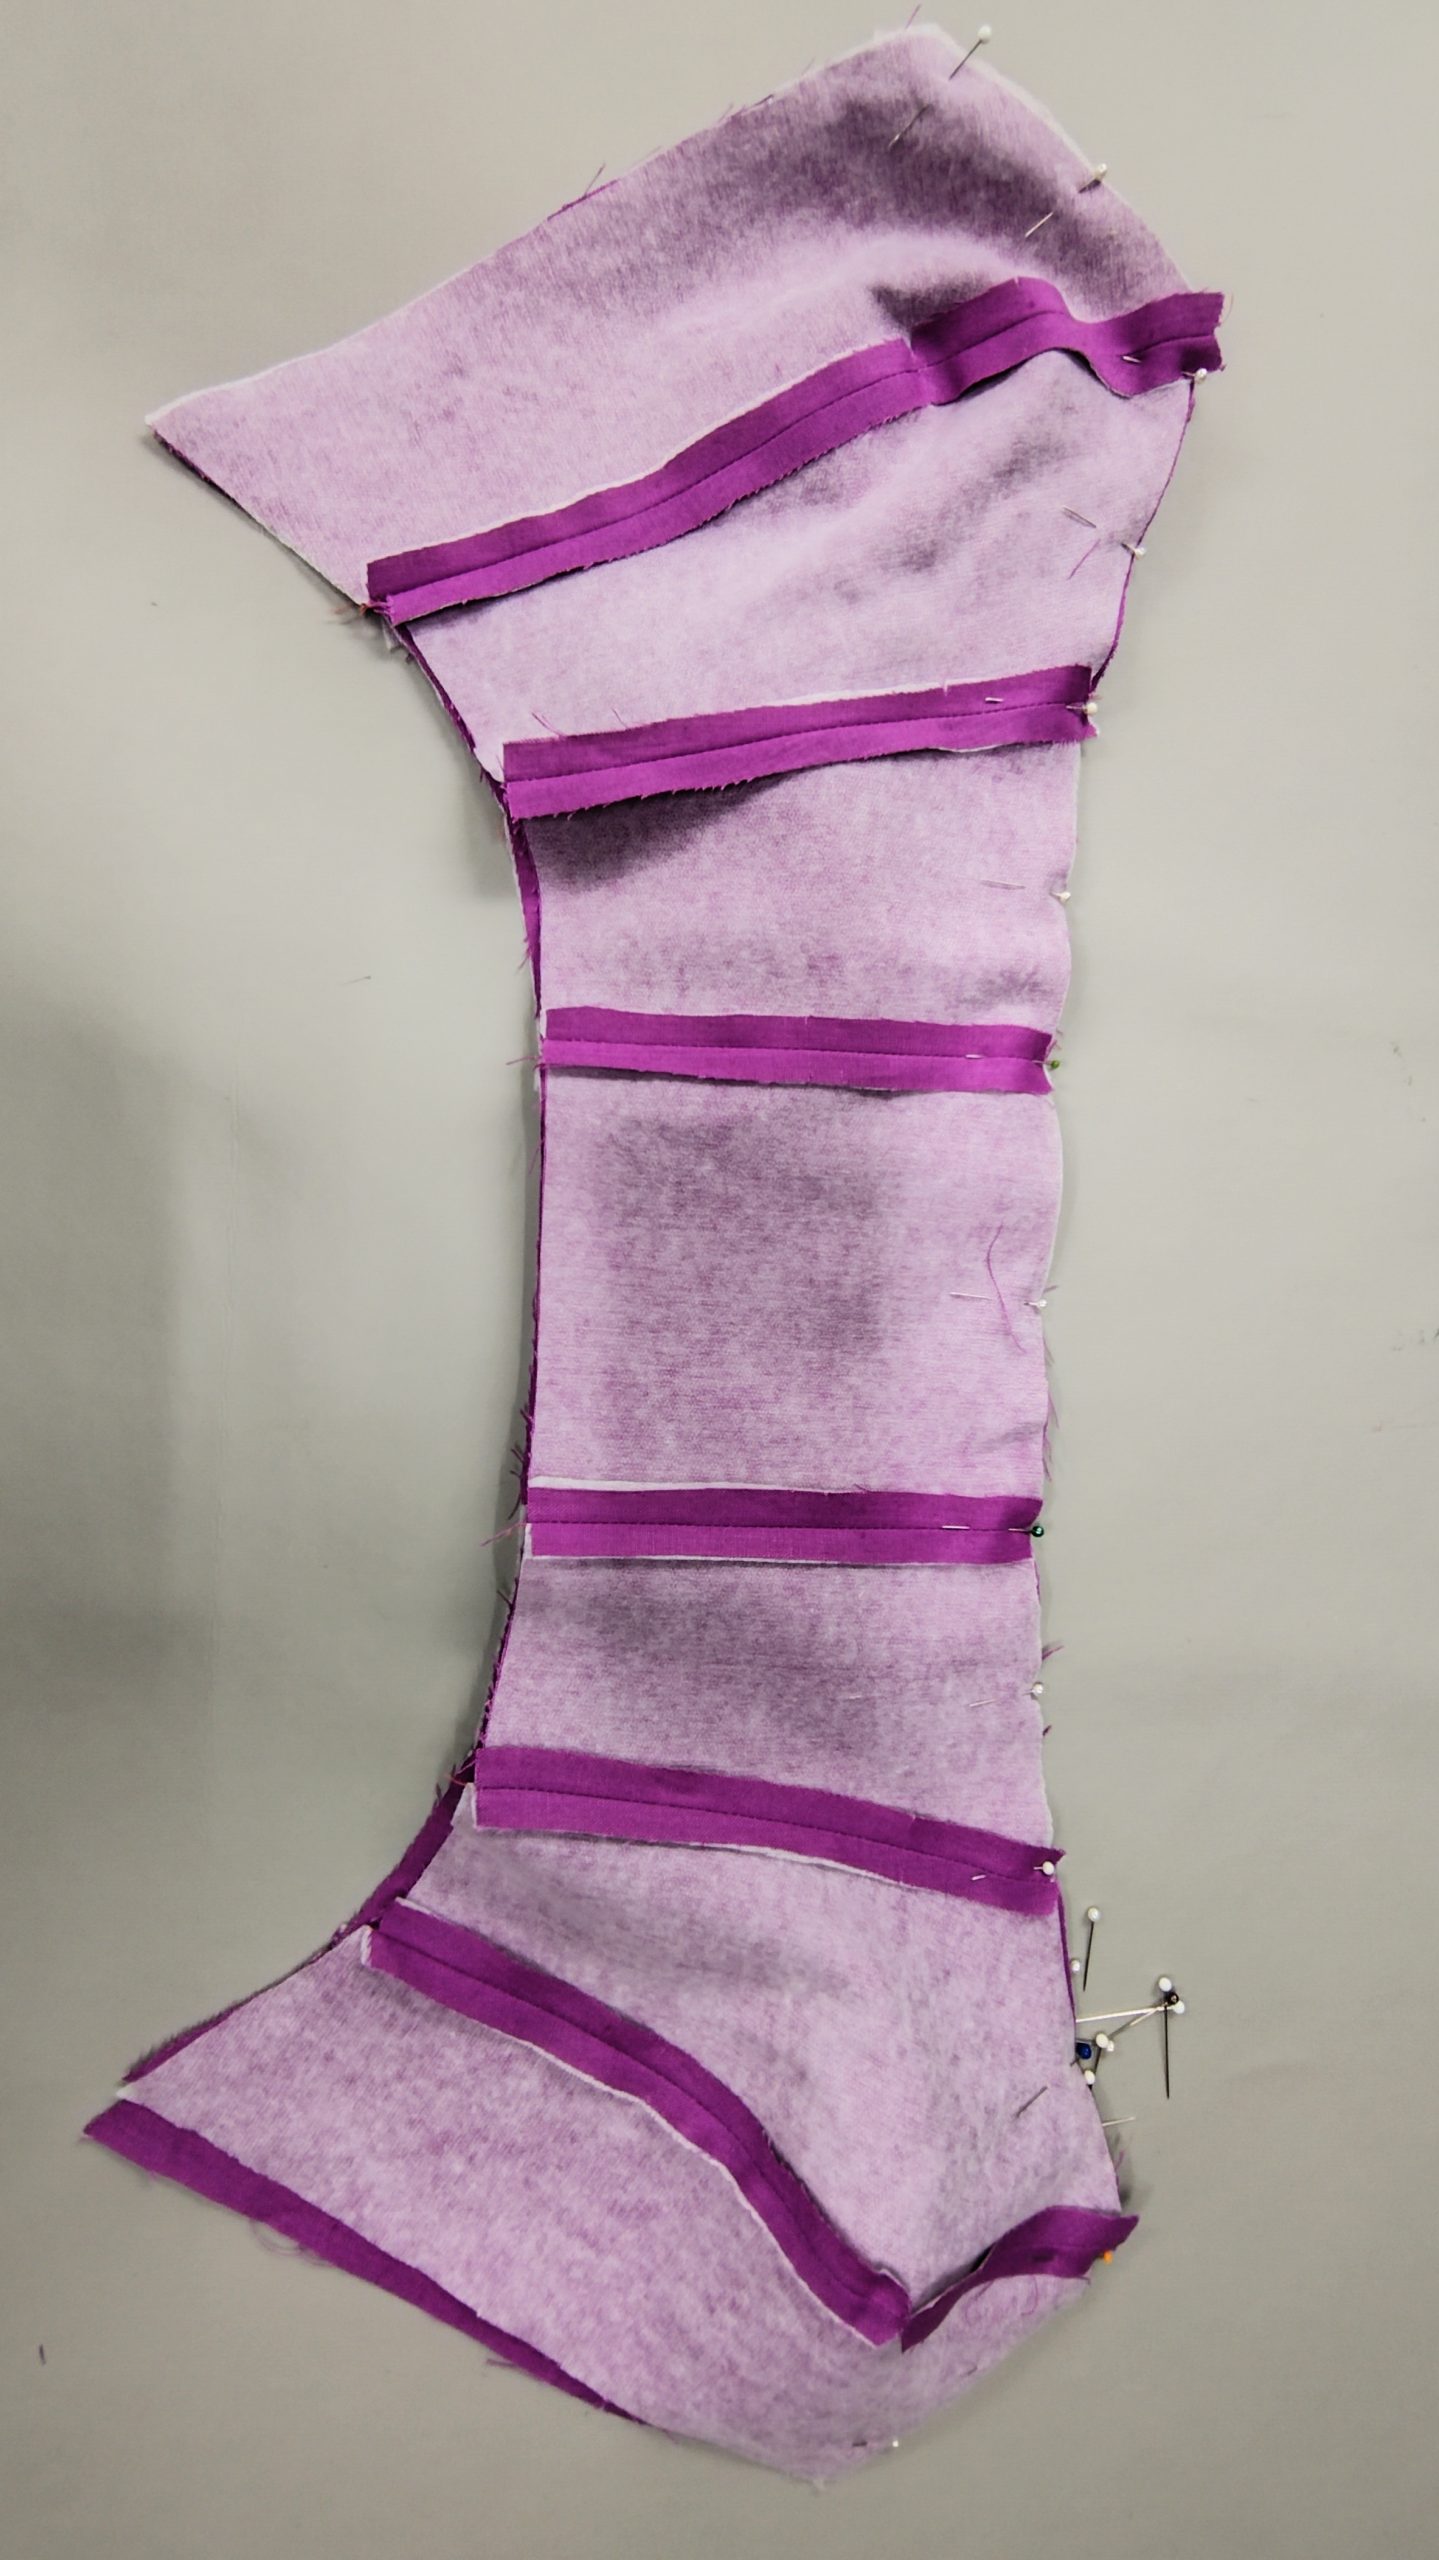
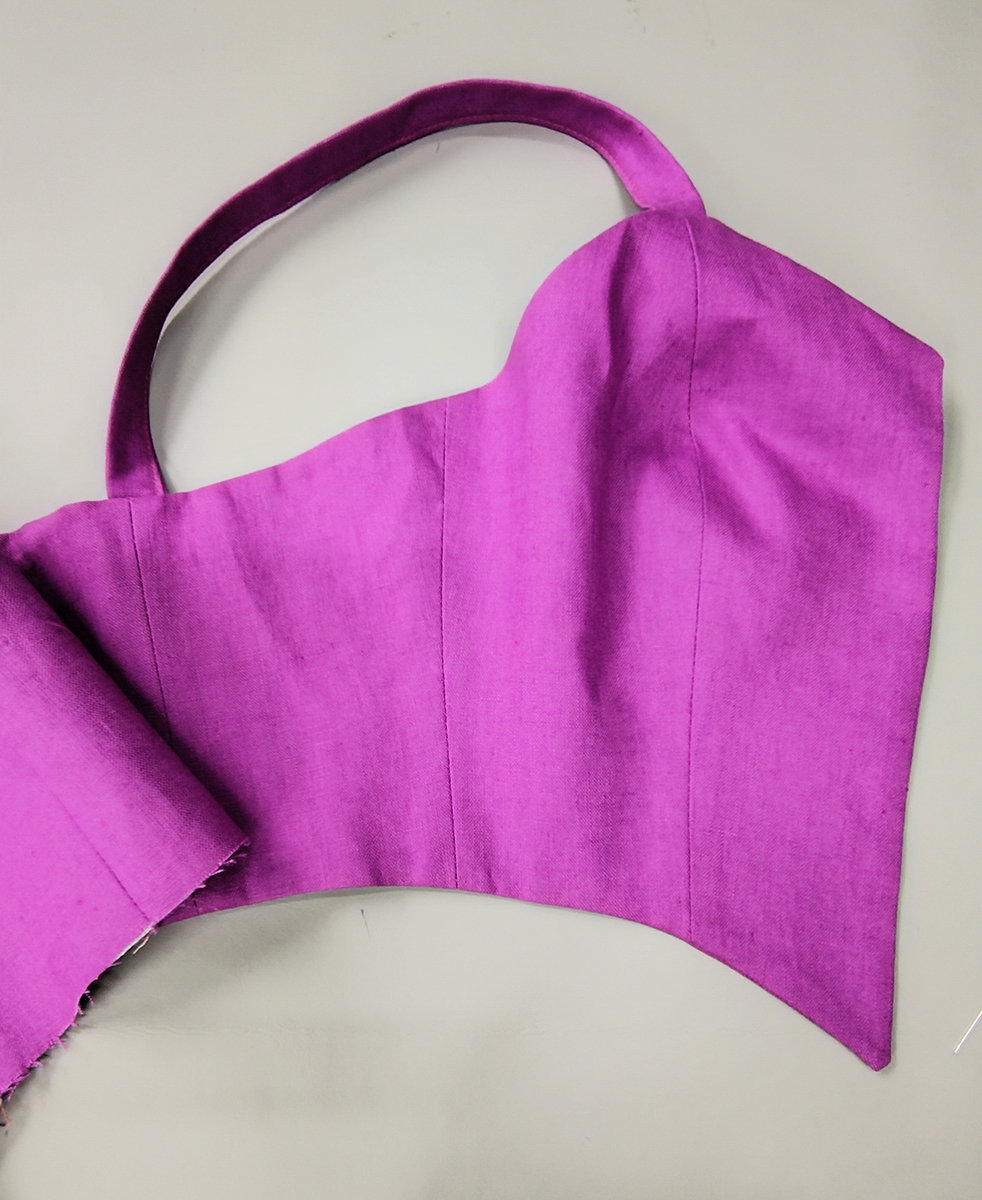
5. SIDE SEAMS
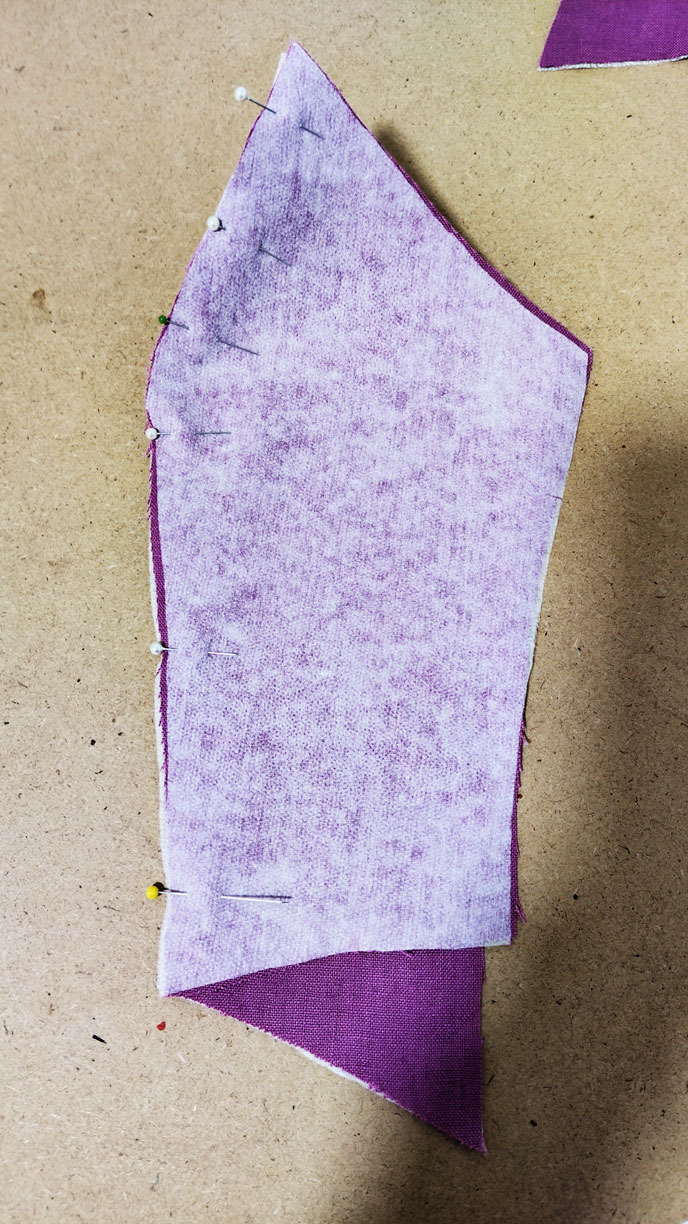
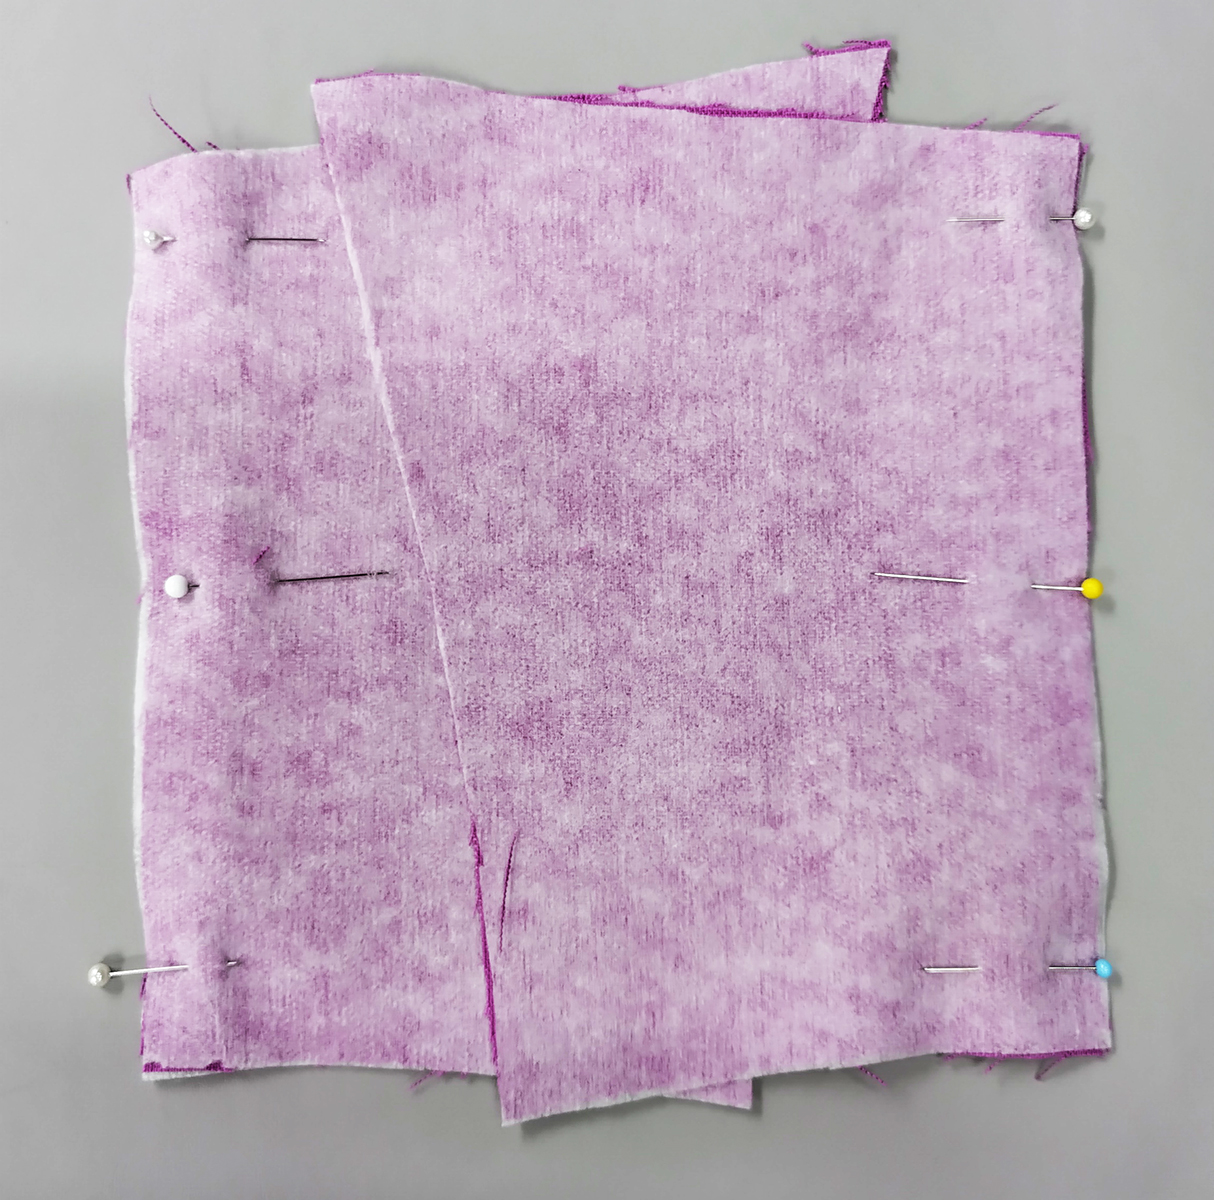
Place right sides together and pin seams as shown in the photo.
Sew seam with a 1 cm seam allowance.
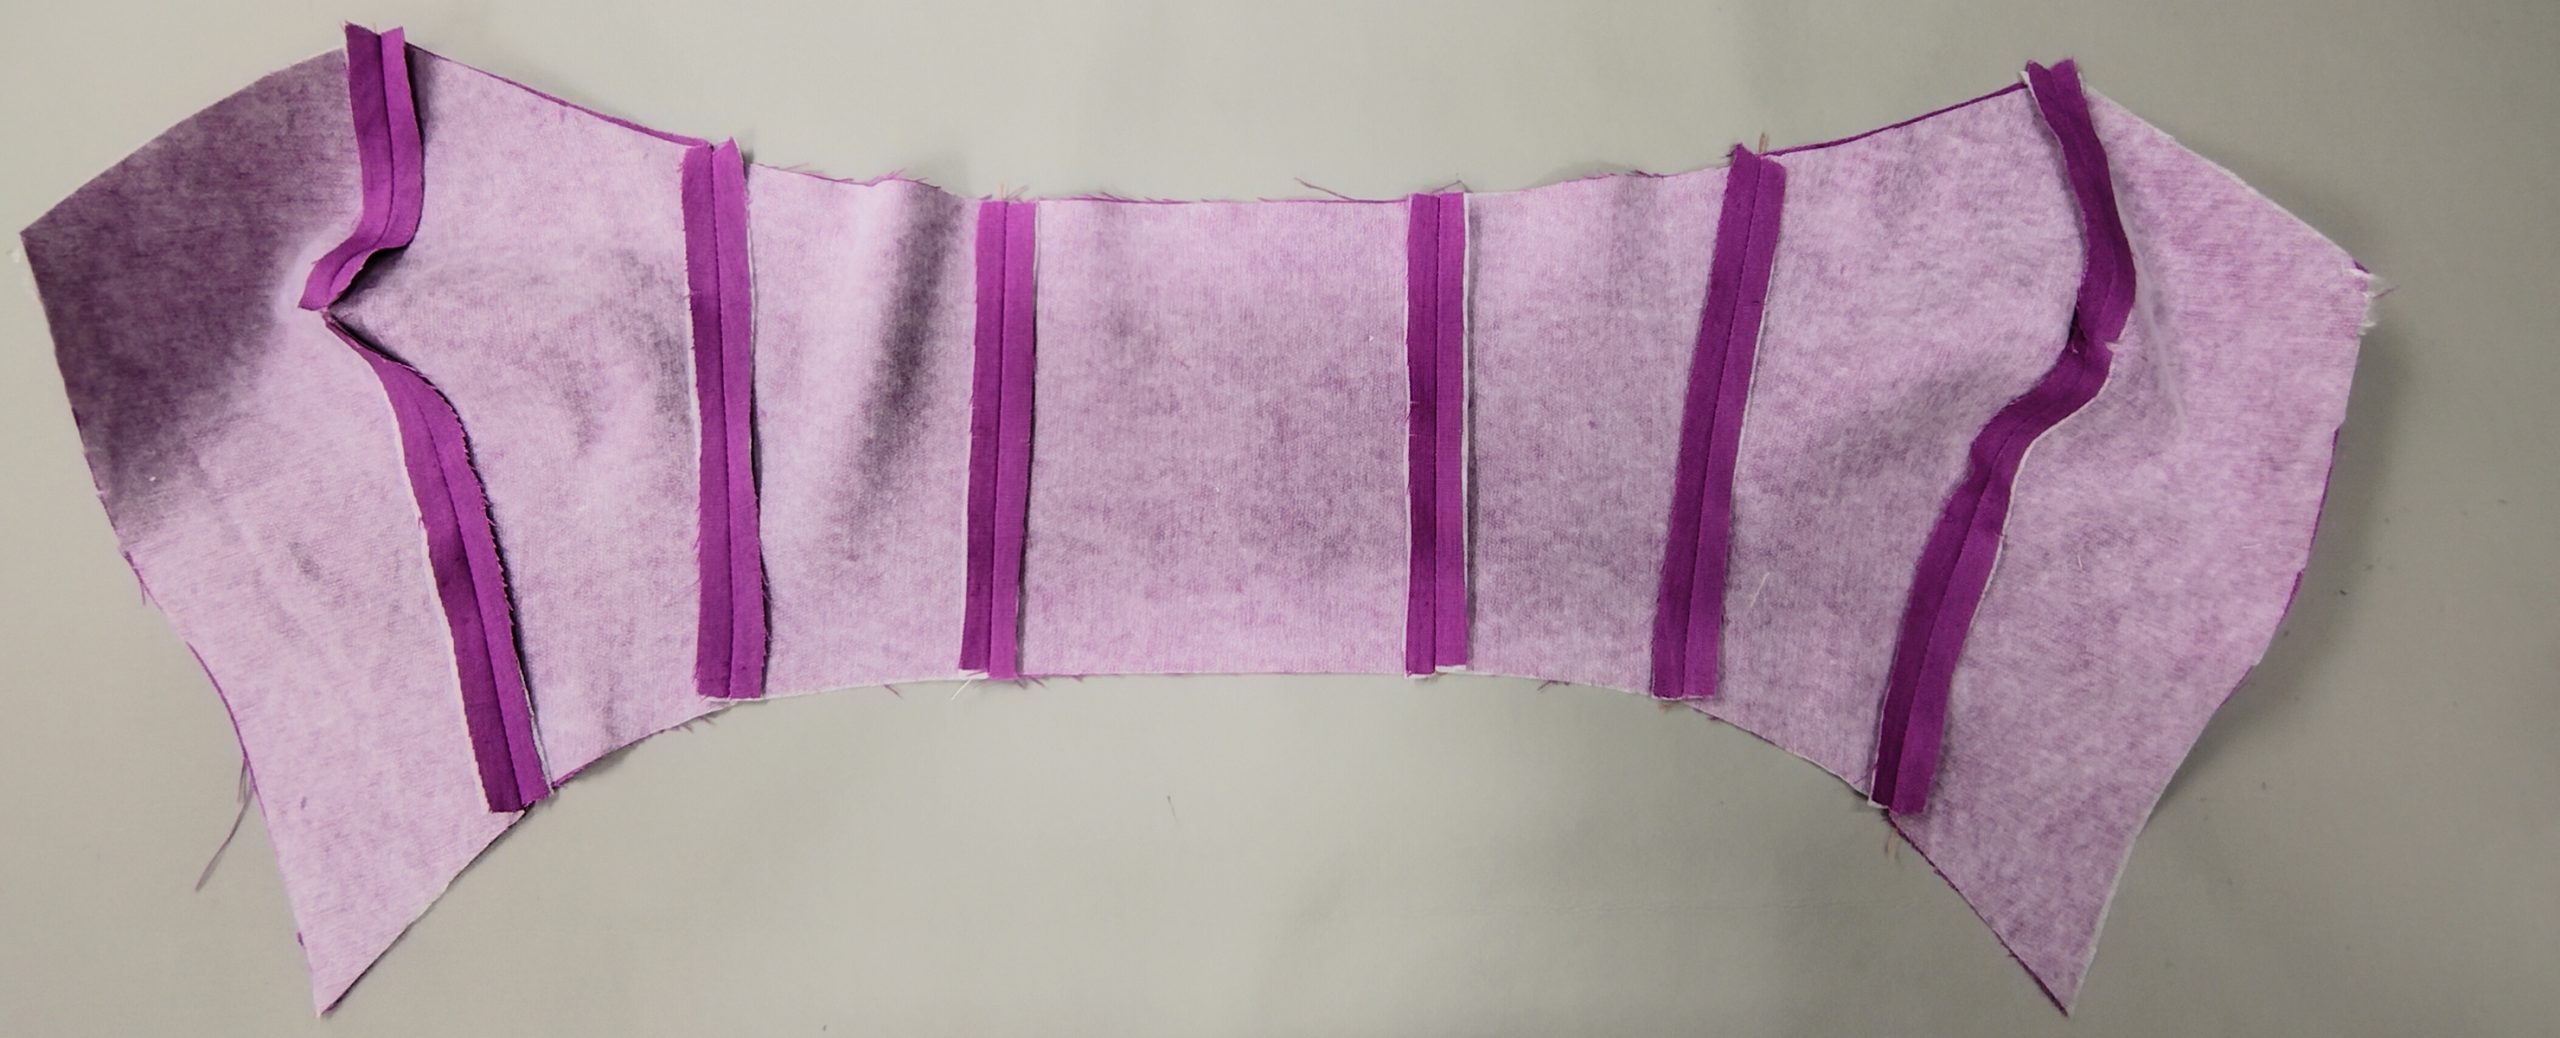
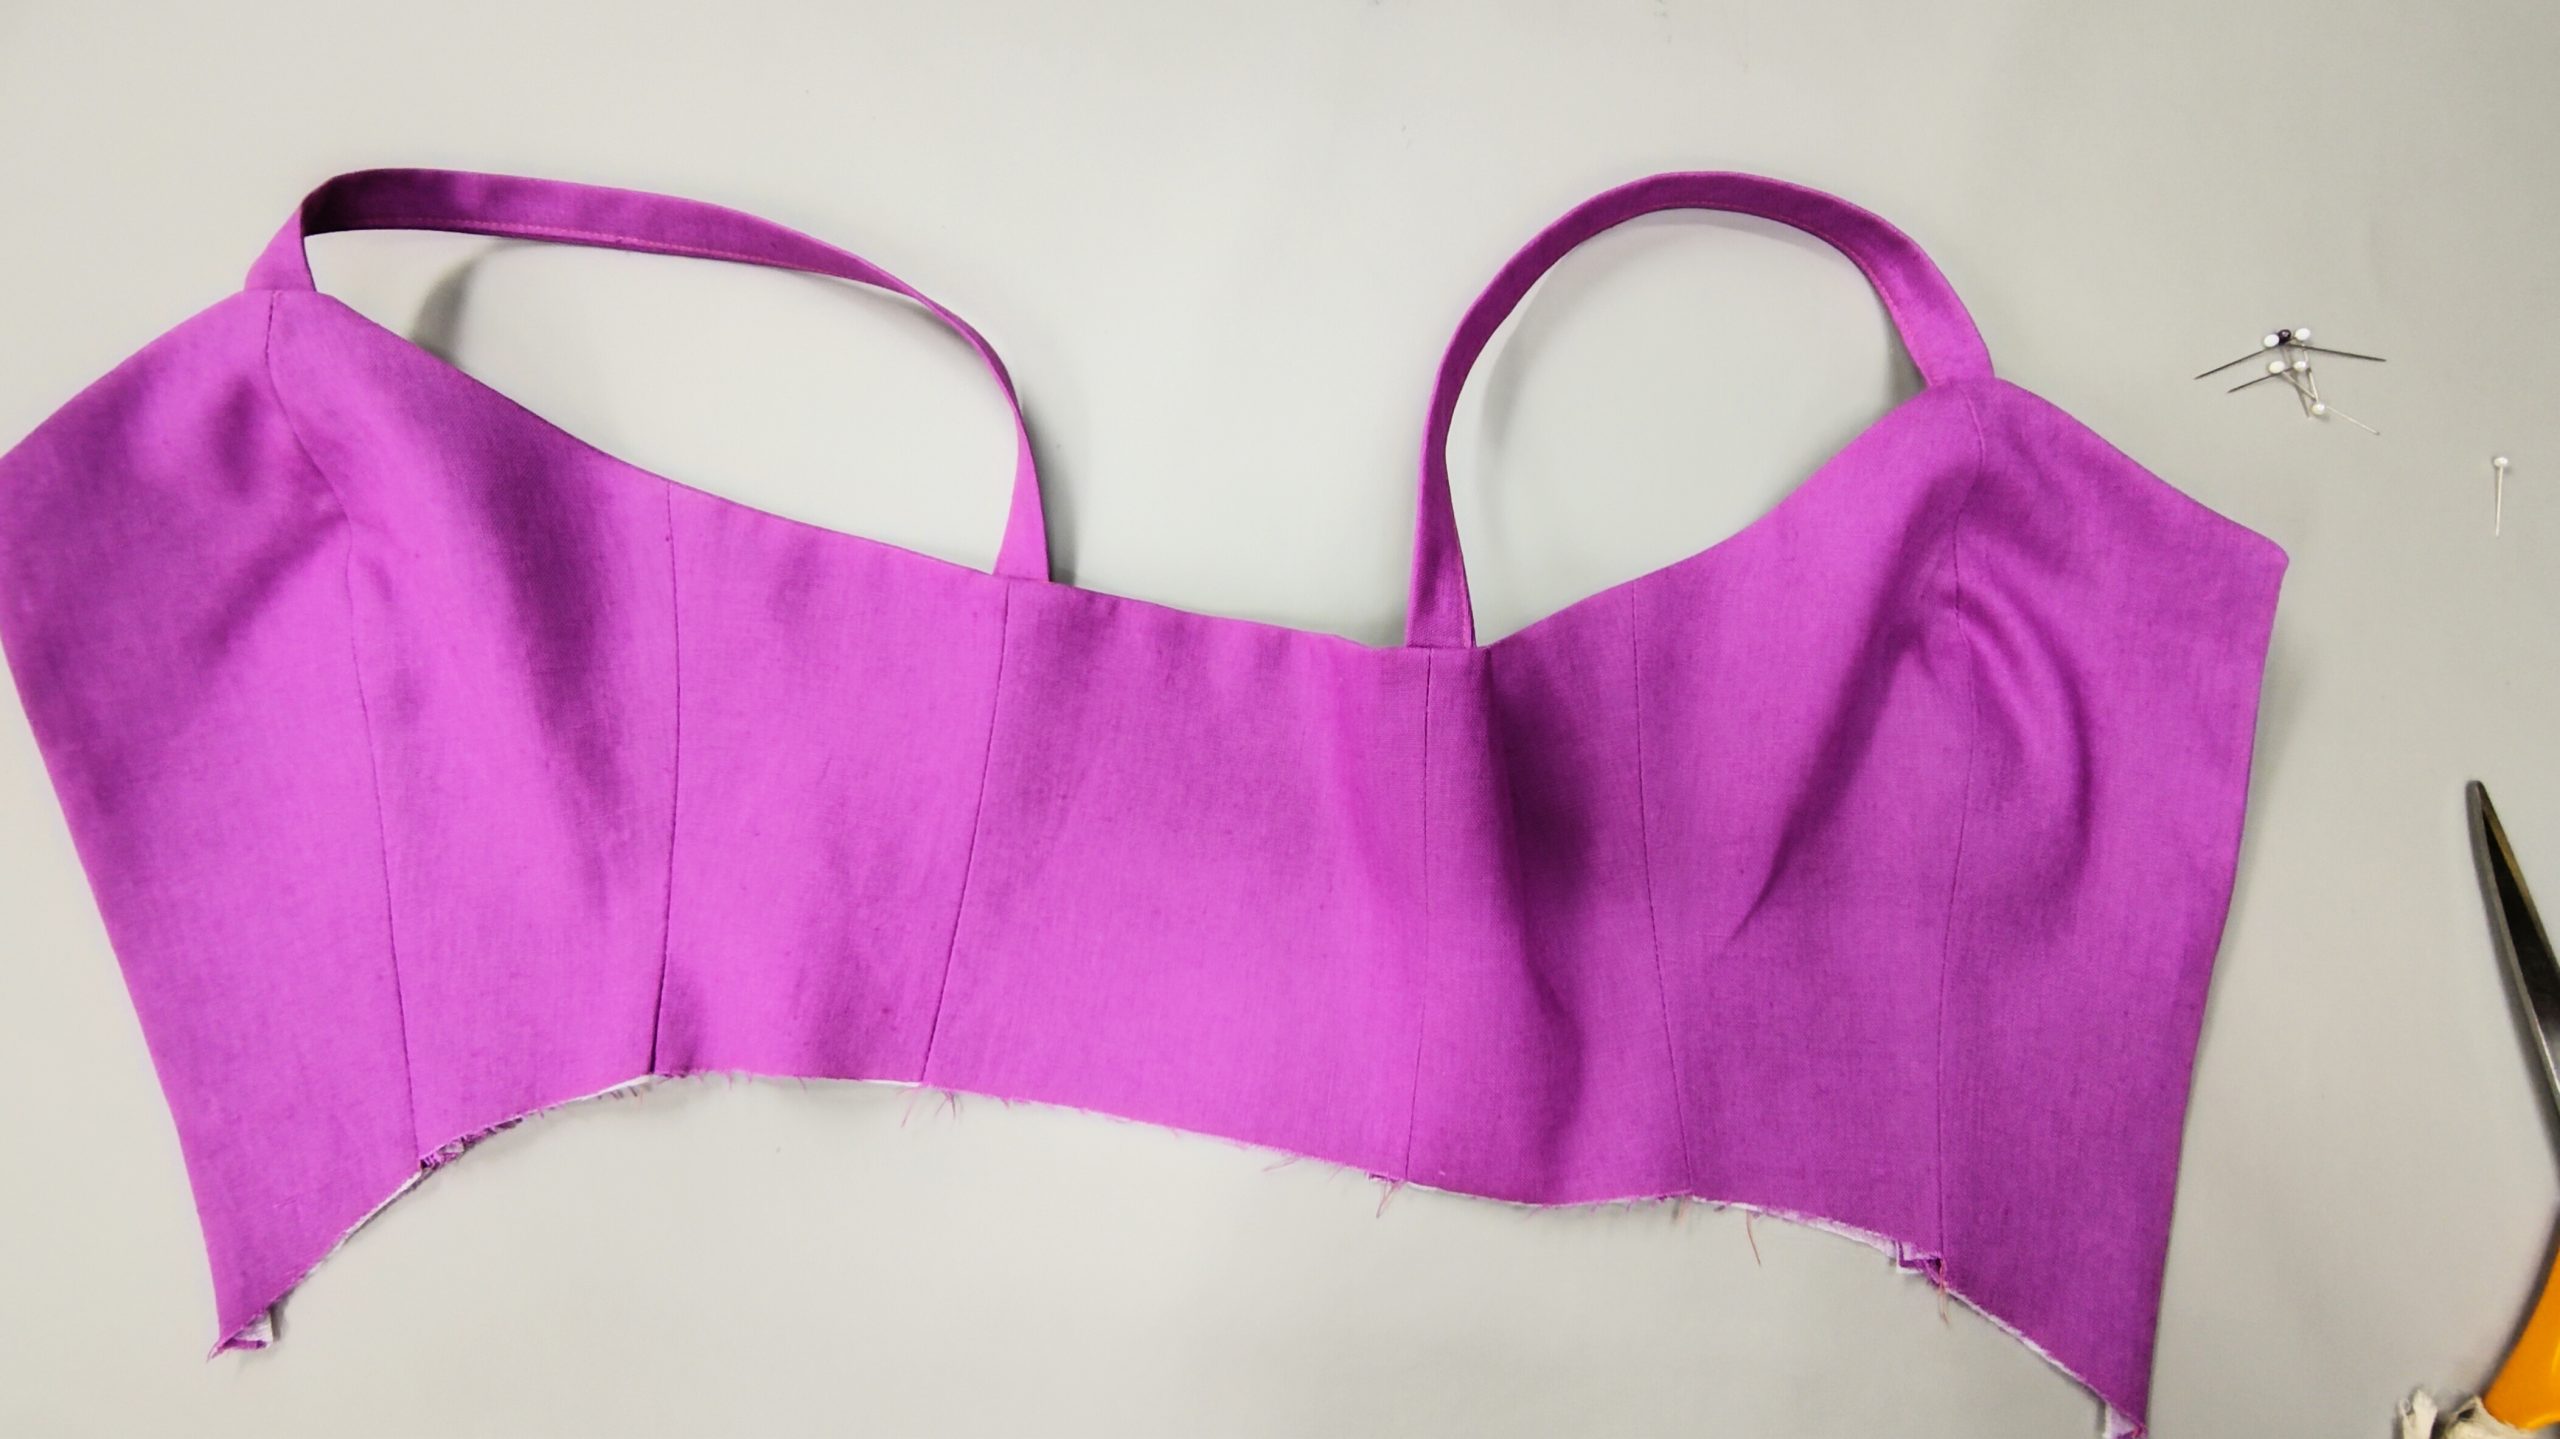
When finished both side seams, you should have a full outer piece, as shown in the photo.
Press all seams open.
Repeat for lining.
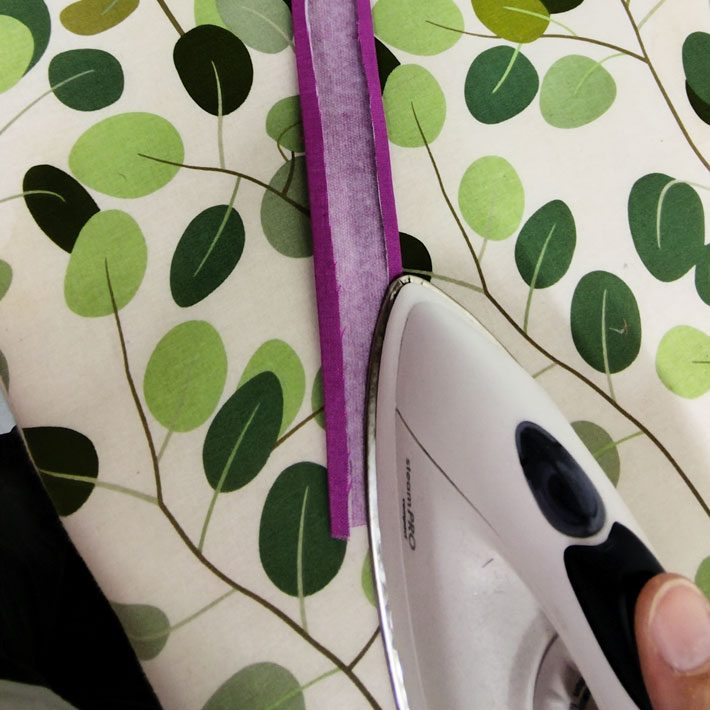
6. STRAPS
Fold and press each side of the strap 6mm in towards the centre.
Press again along the centre.
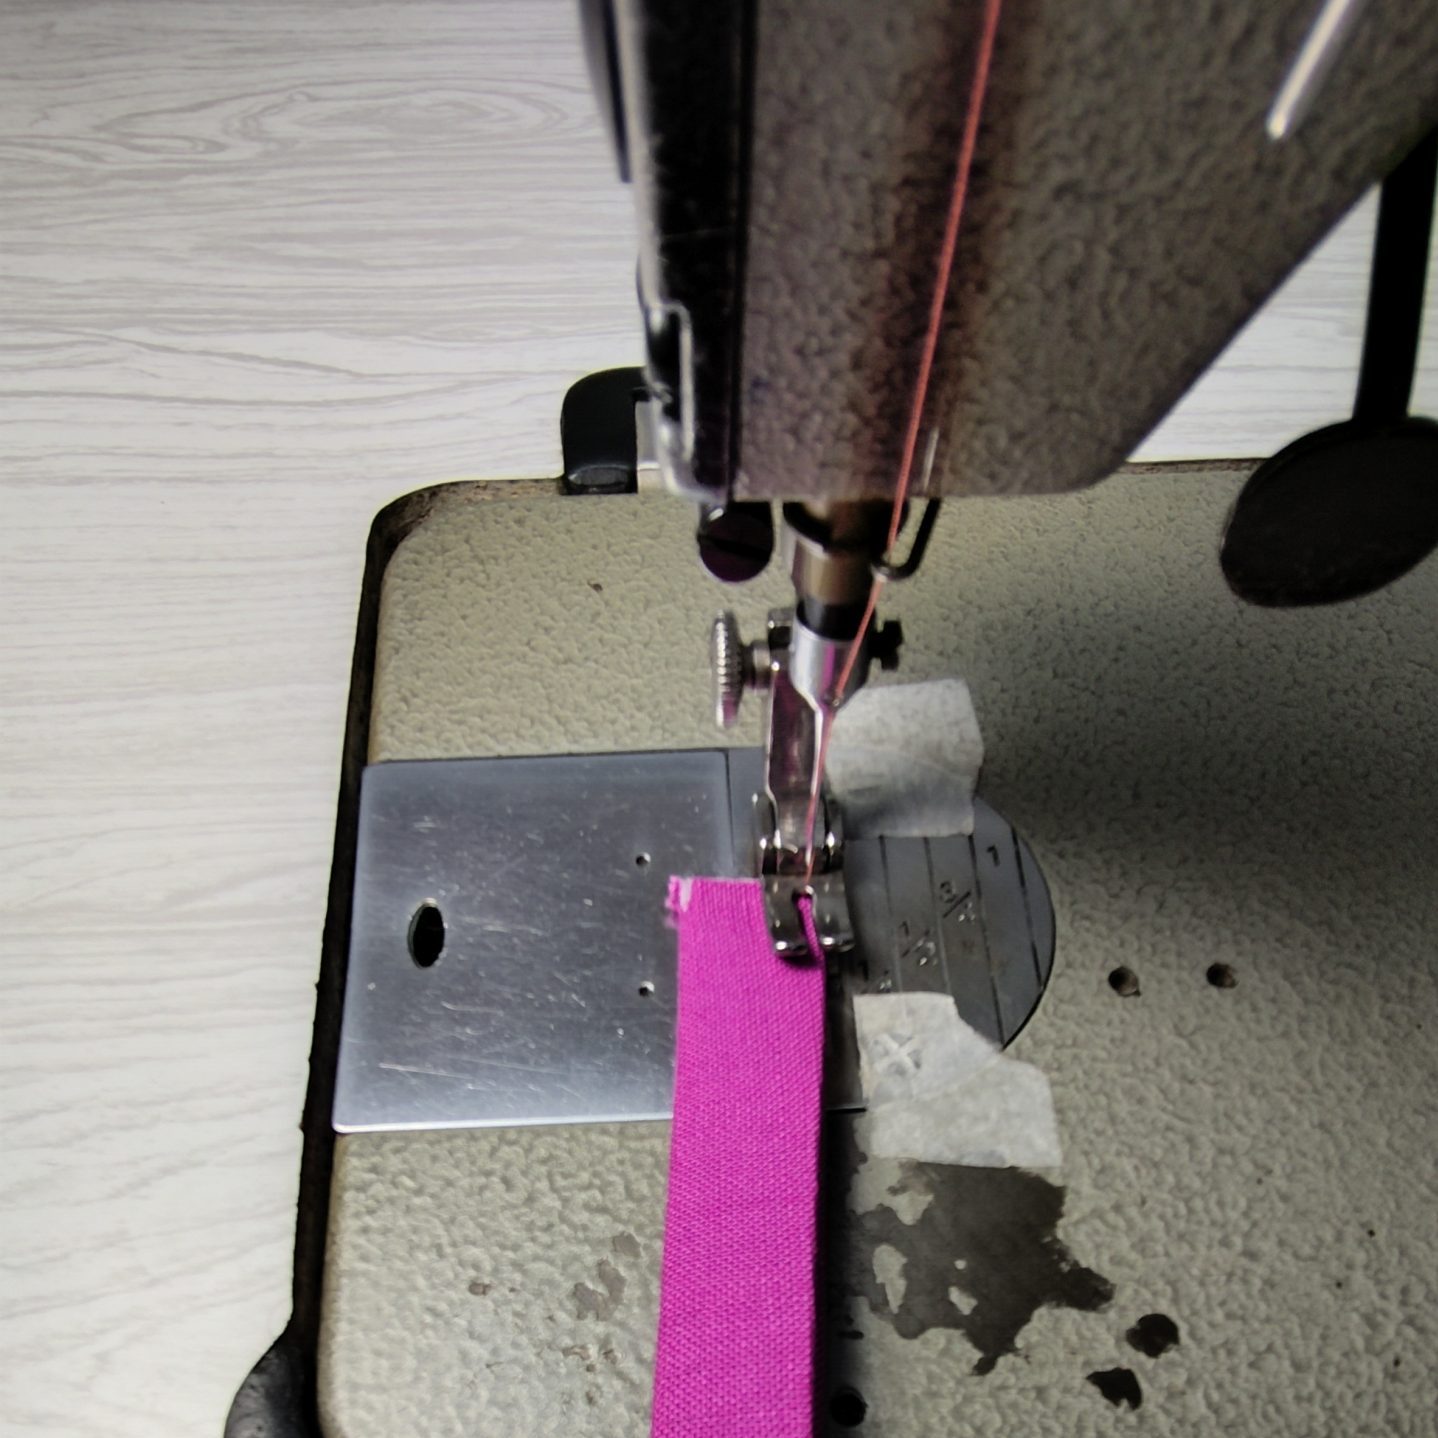
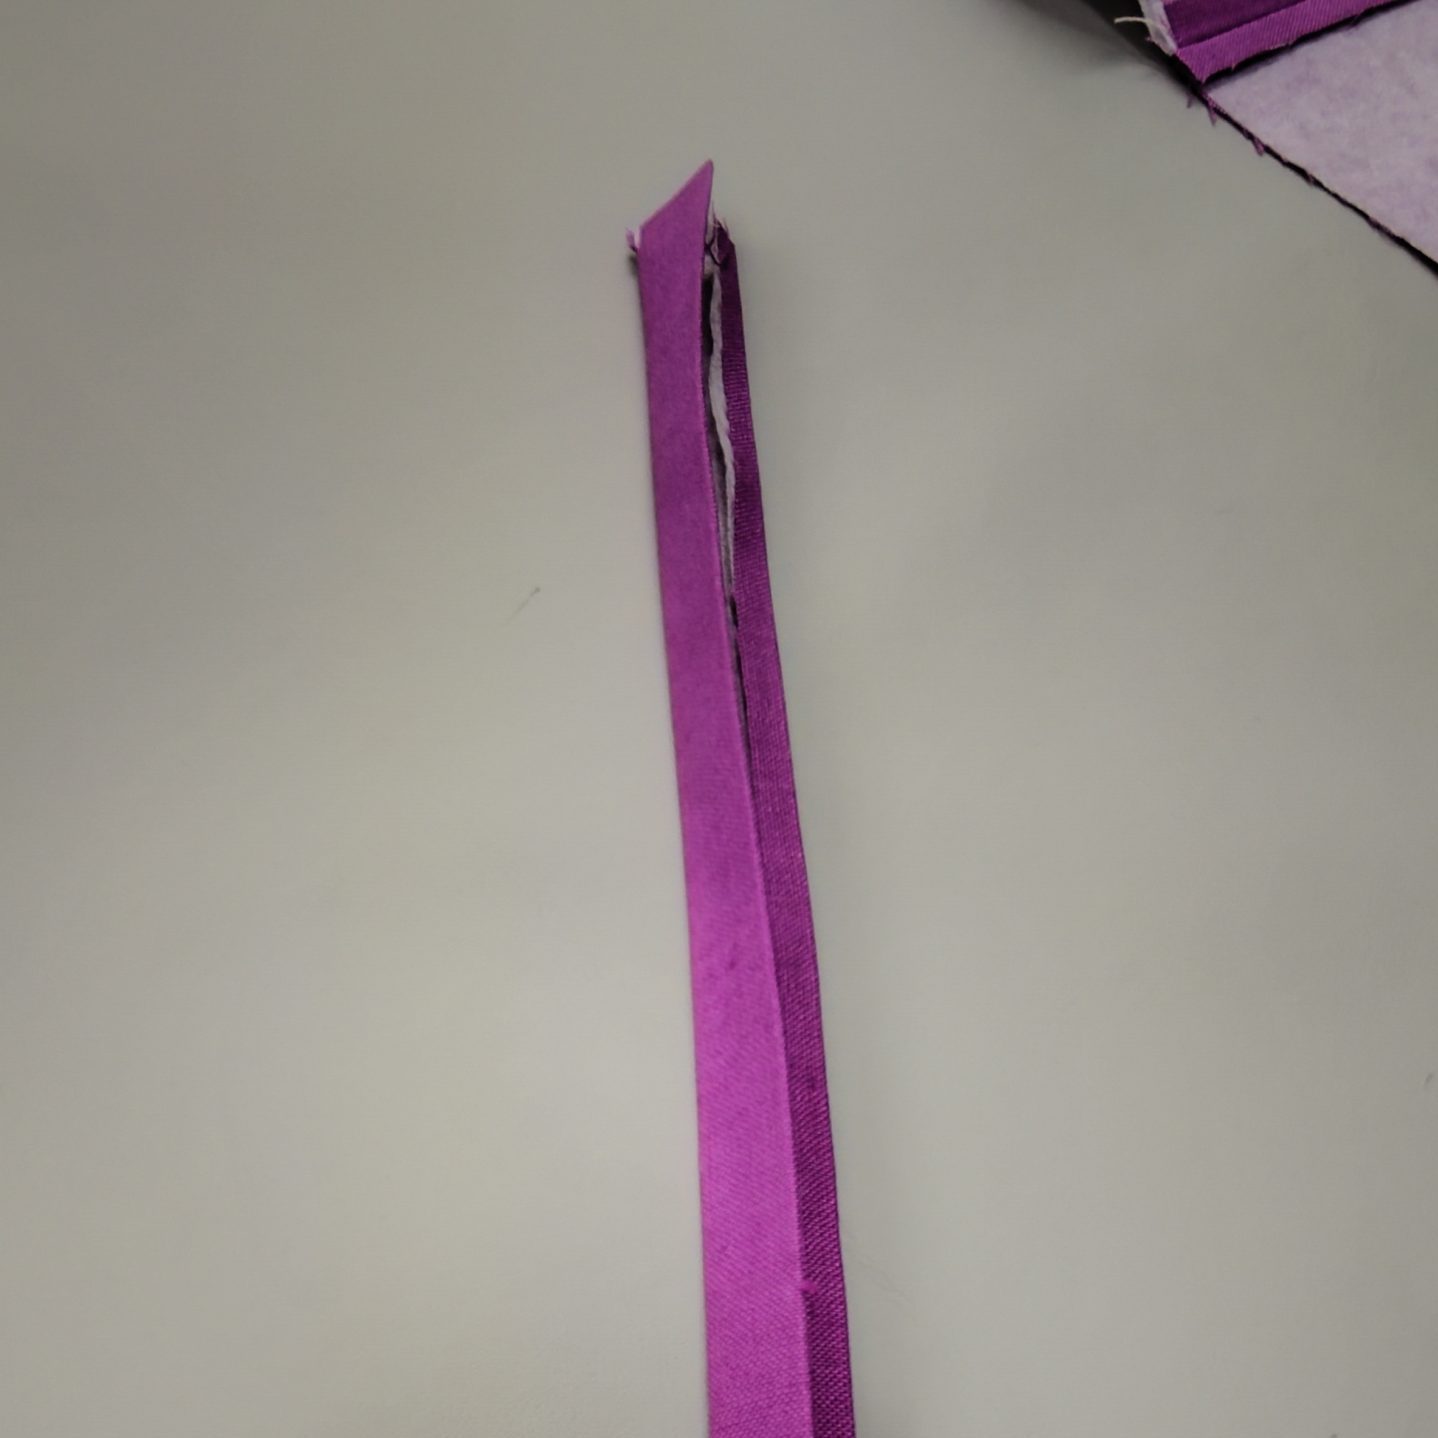
Stitch along the edge to close the strap. Repeat for the other strap.
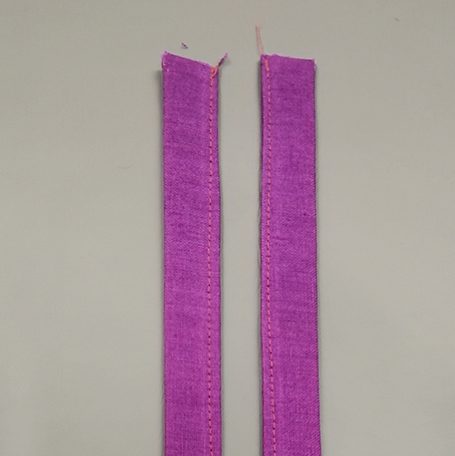
You should have two straps.
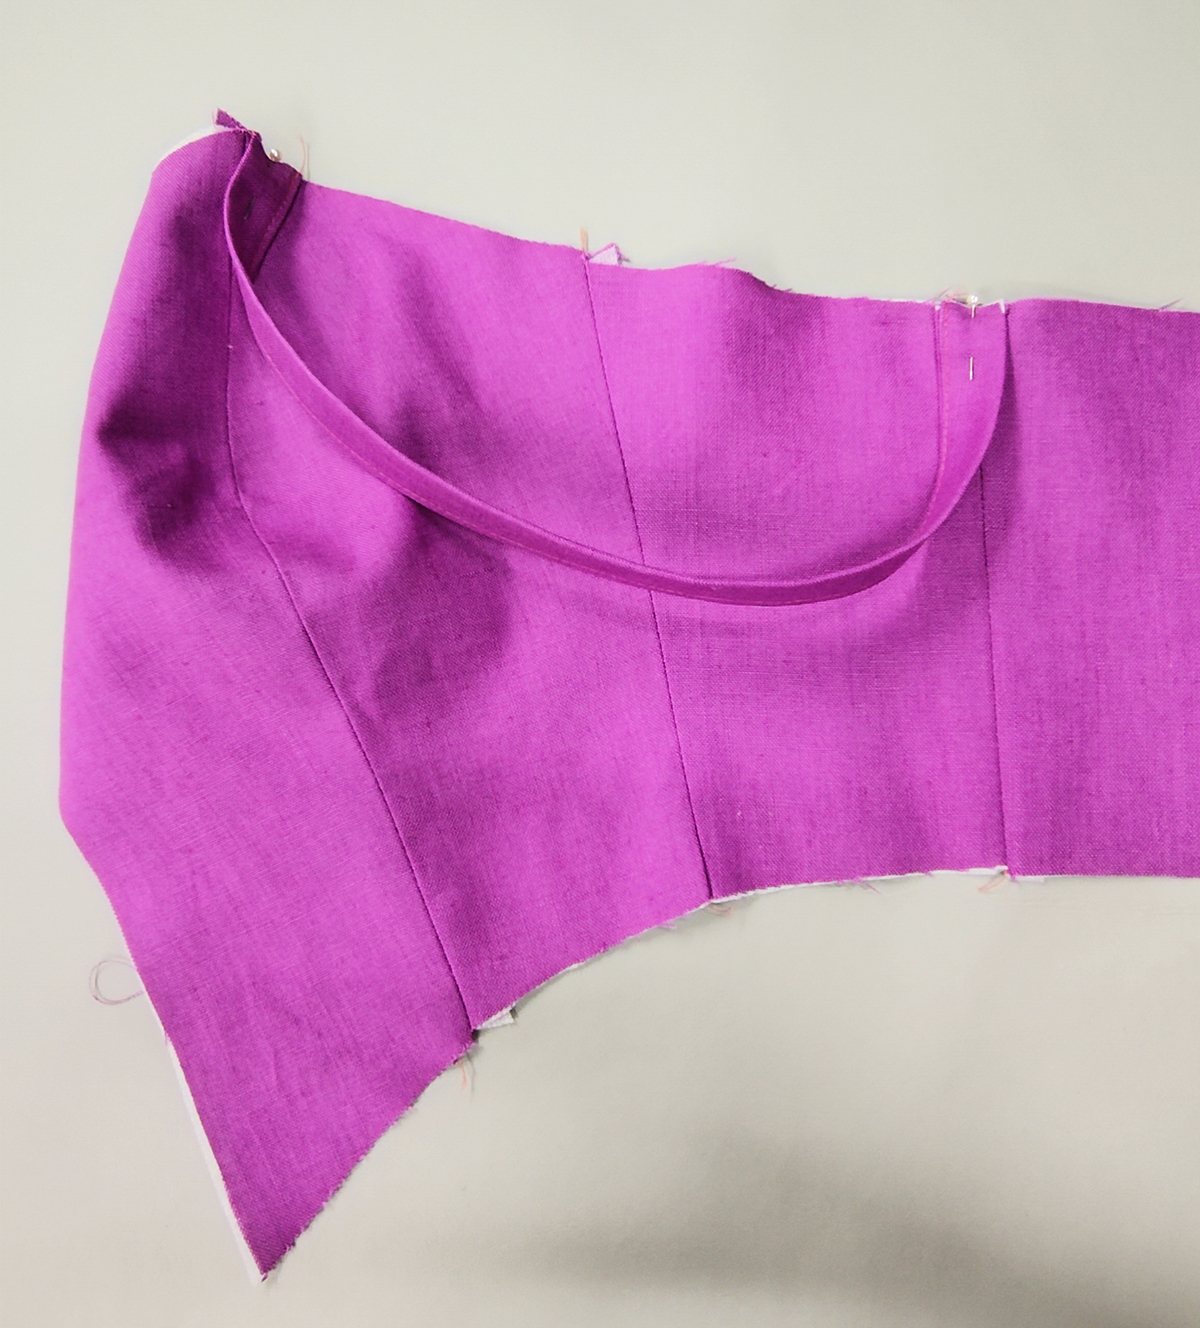
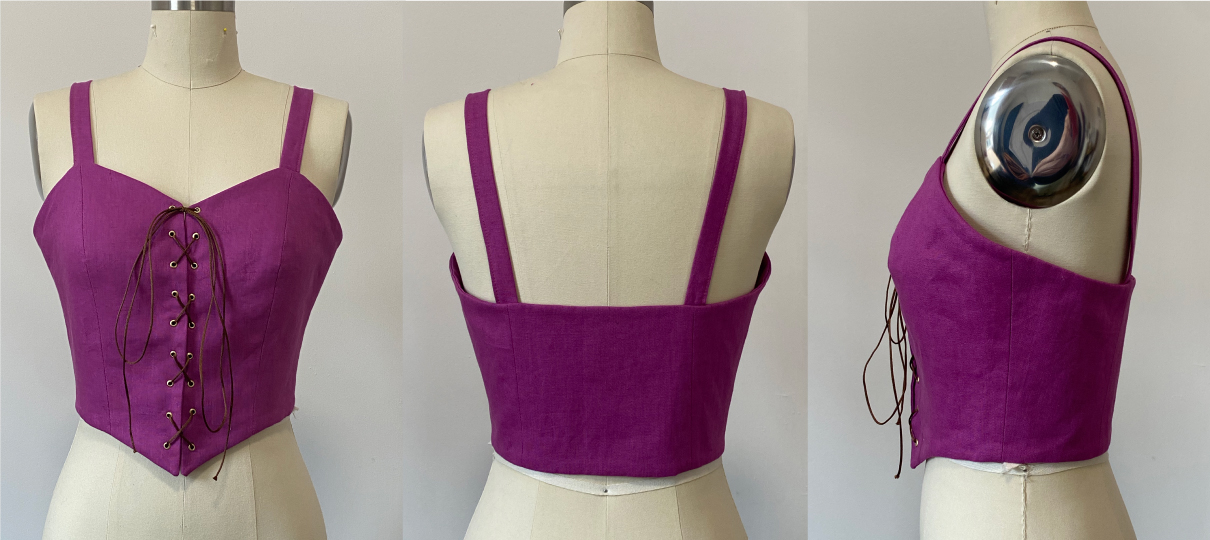
Pin the straps in place. The front strap is to be placed right in the middle of the centre front bodice seam. The back strap is placed on top of the back bodice seam, as seen in the photo.
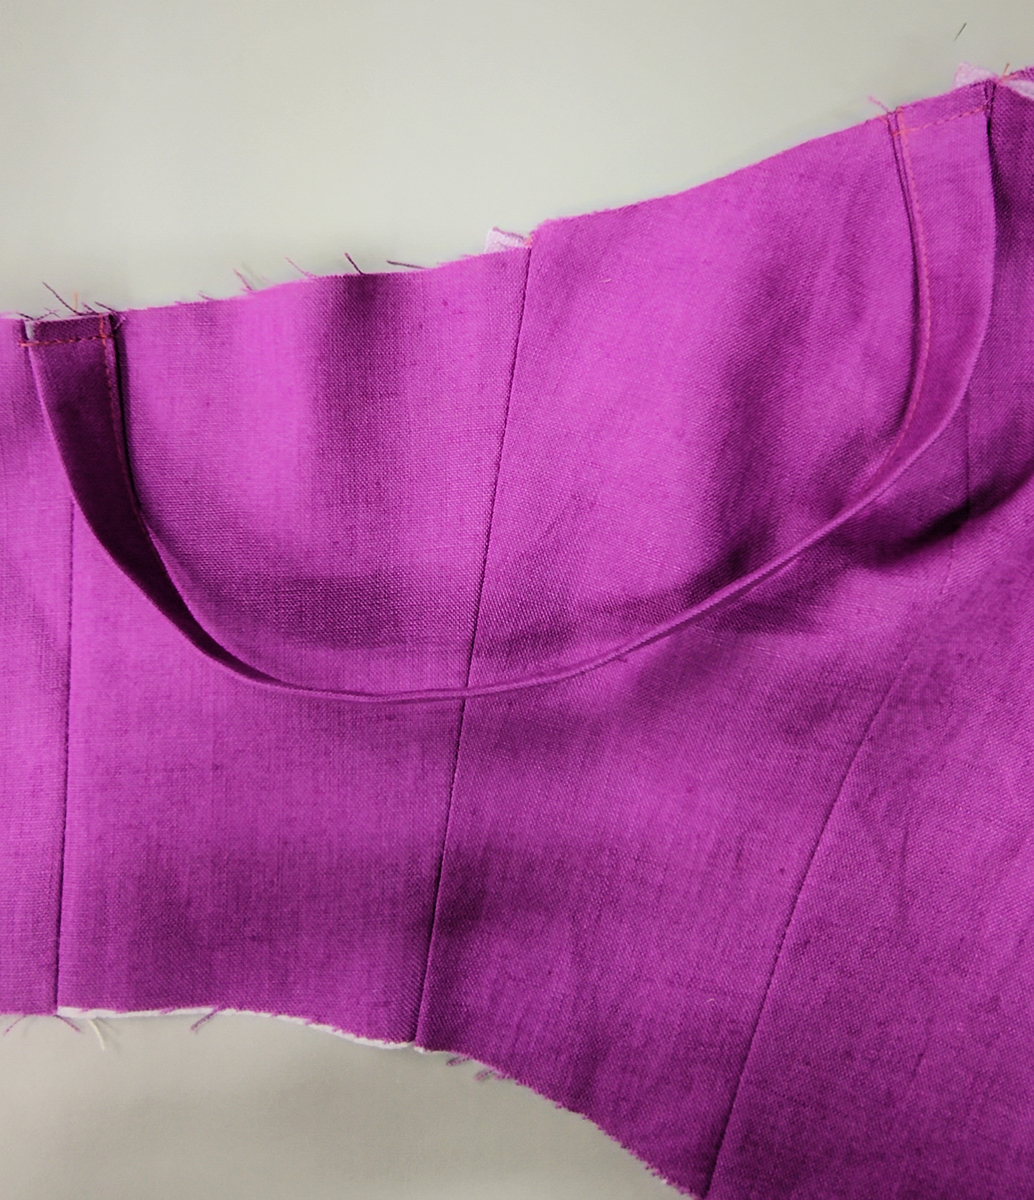
Staystitch the strap in place. I have stitched the straps at 6mm from the edge.
Make sure to keep the straps untwisted.
7. CONNECTING THE OUTER & LINING.
Place the lining and outer, right sides together, and pin along the top edge. Sew at a 6mm seam allowance along the top edge.
Place the front edges together and stitch a 1 cm seam allowance to close the centre front. This is where we will insert the metal eyelets to form our lace-up bodice.
Alternatively, you can install a zipper at this time or some hook-and-eye tape. If you wanted buttons, please note there should have been a 2.5cm extension down the centre front to accommodate the buttonhole and buttons.
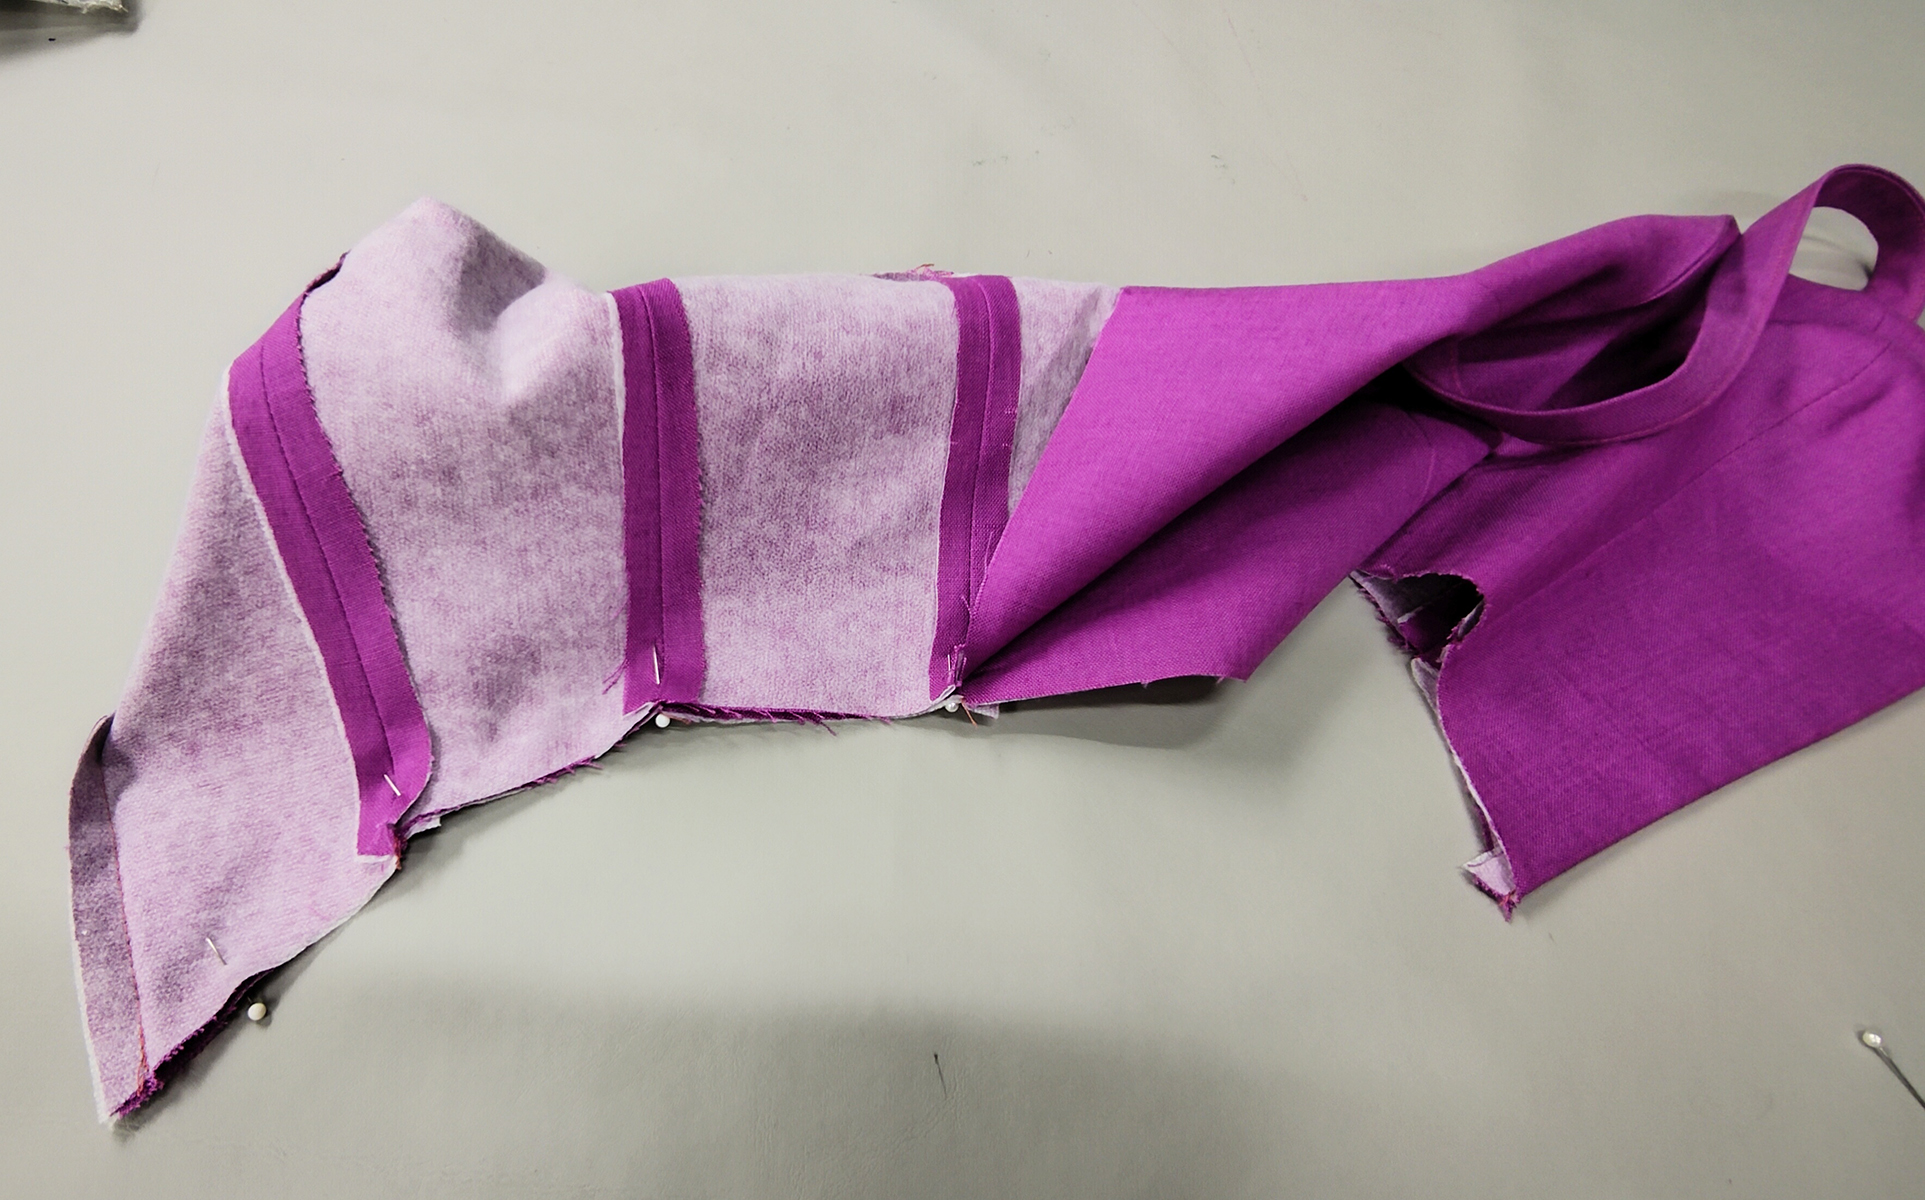
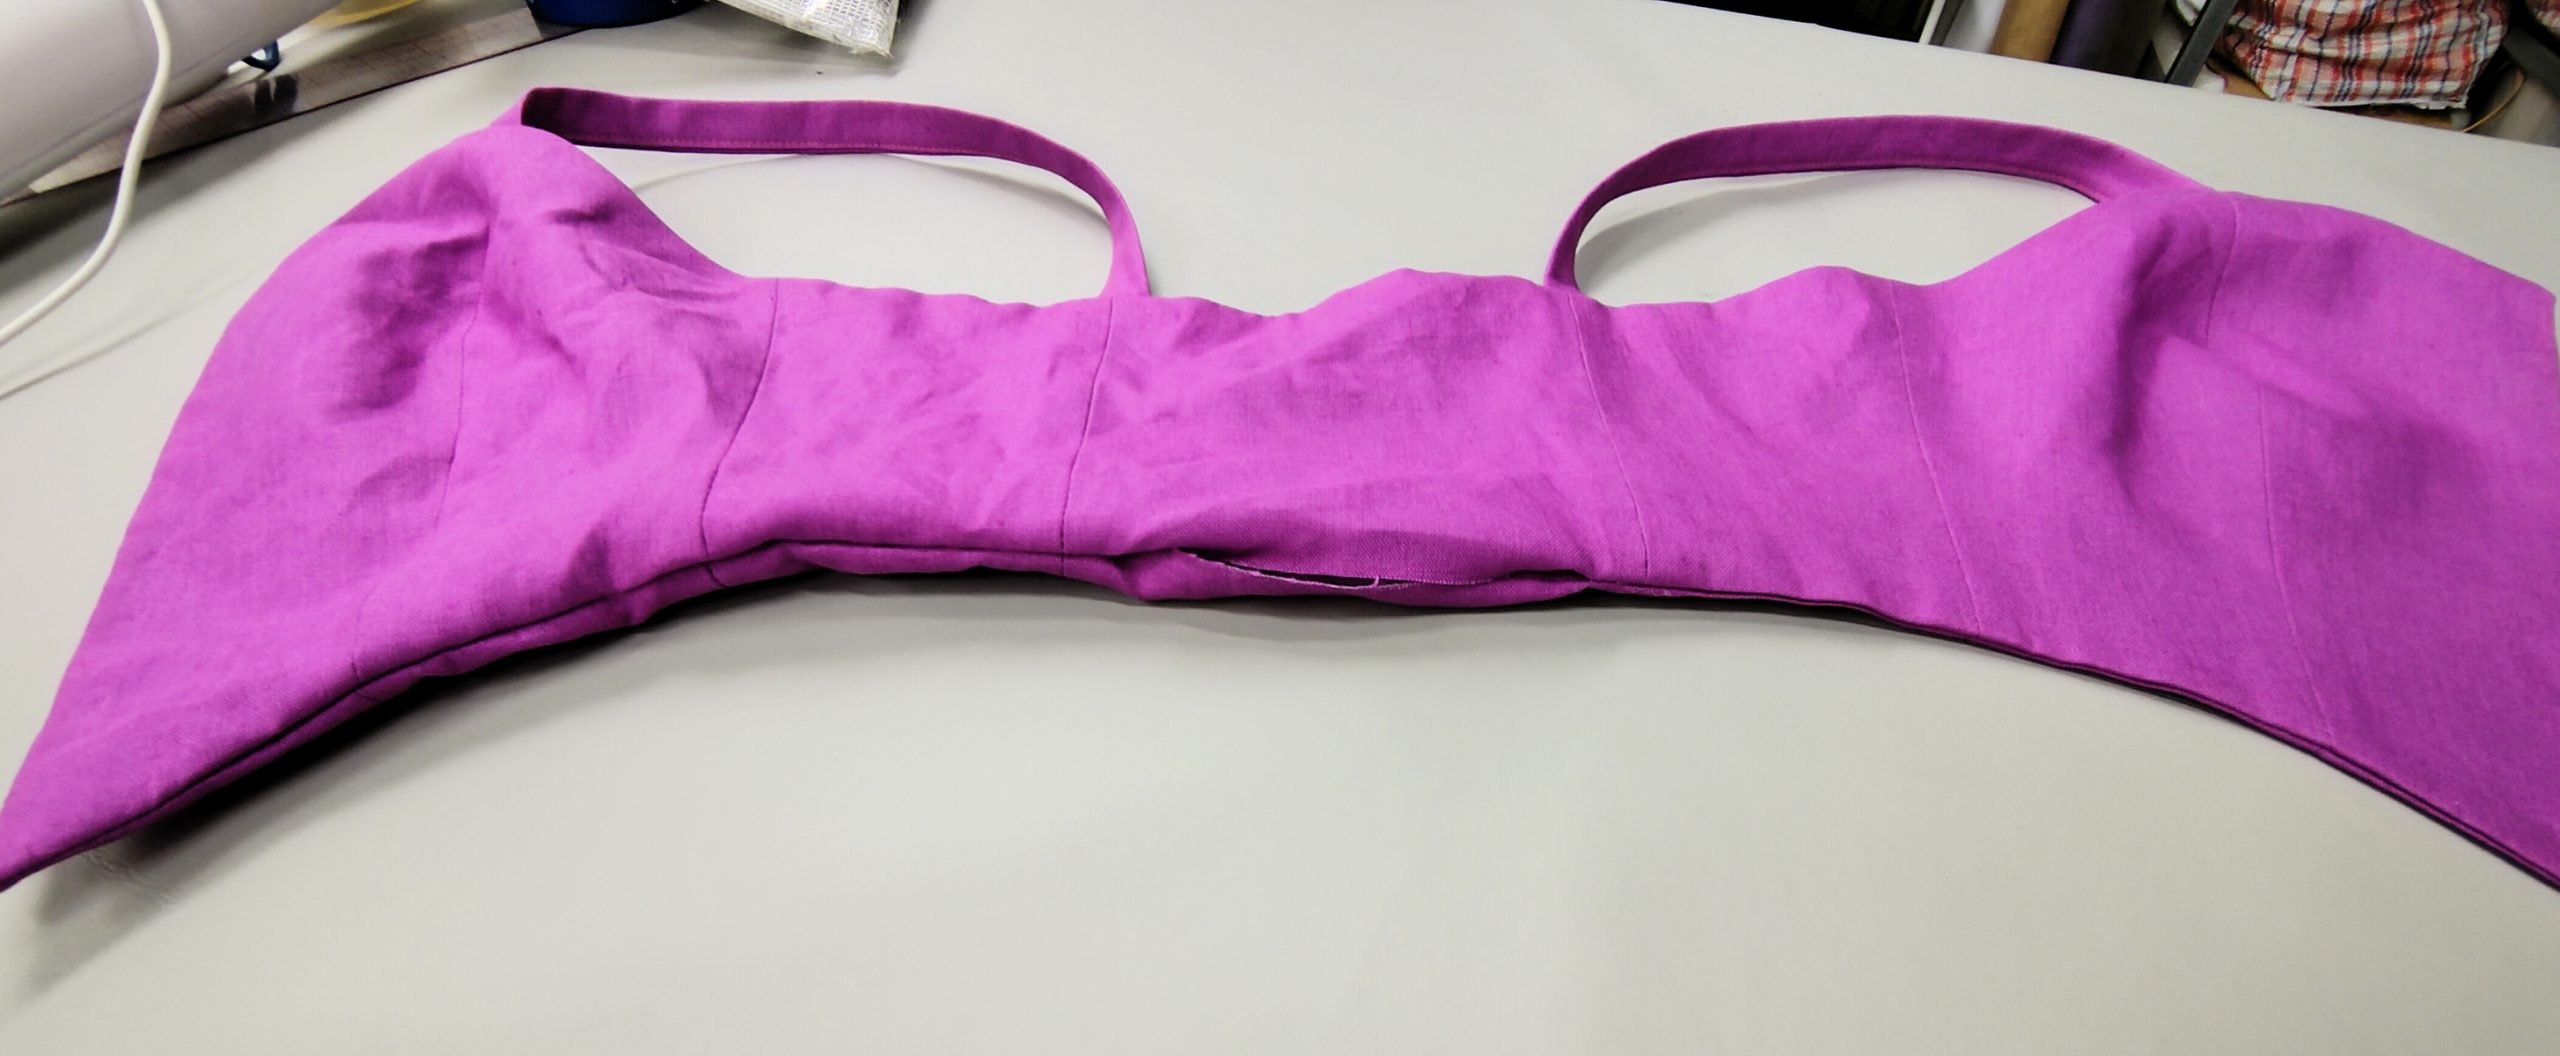
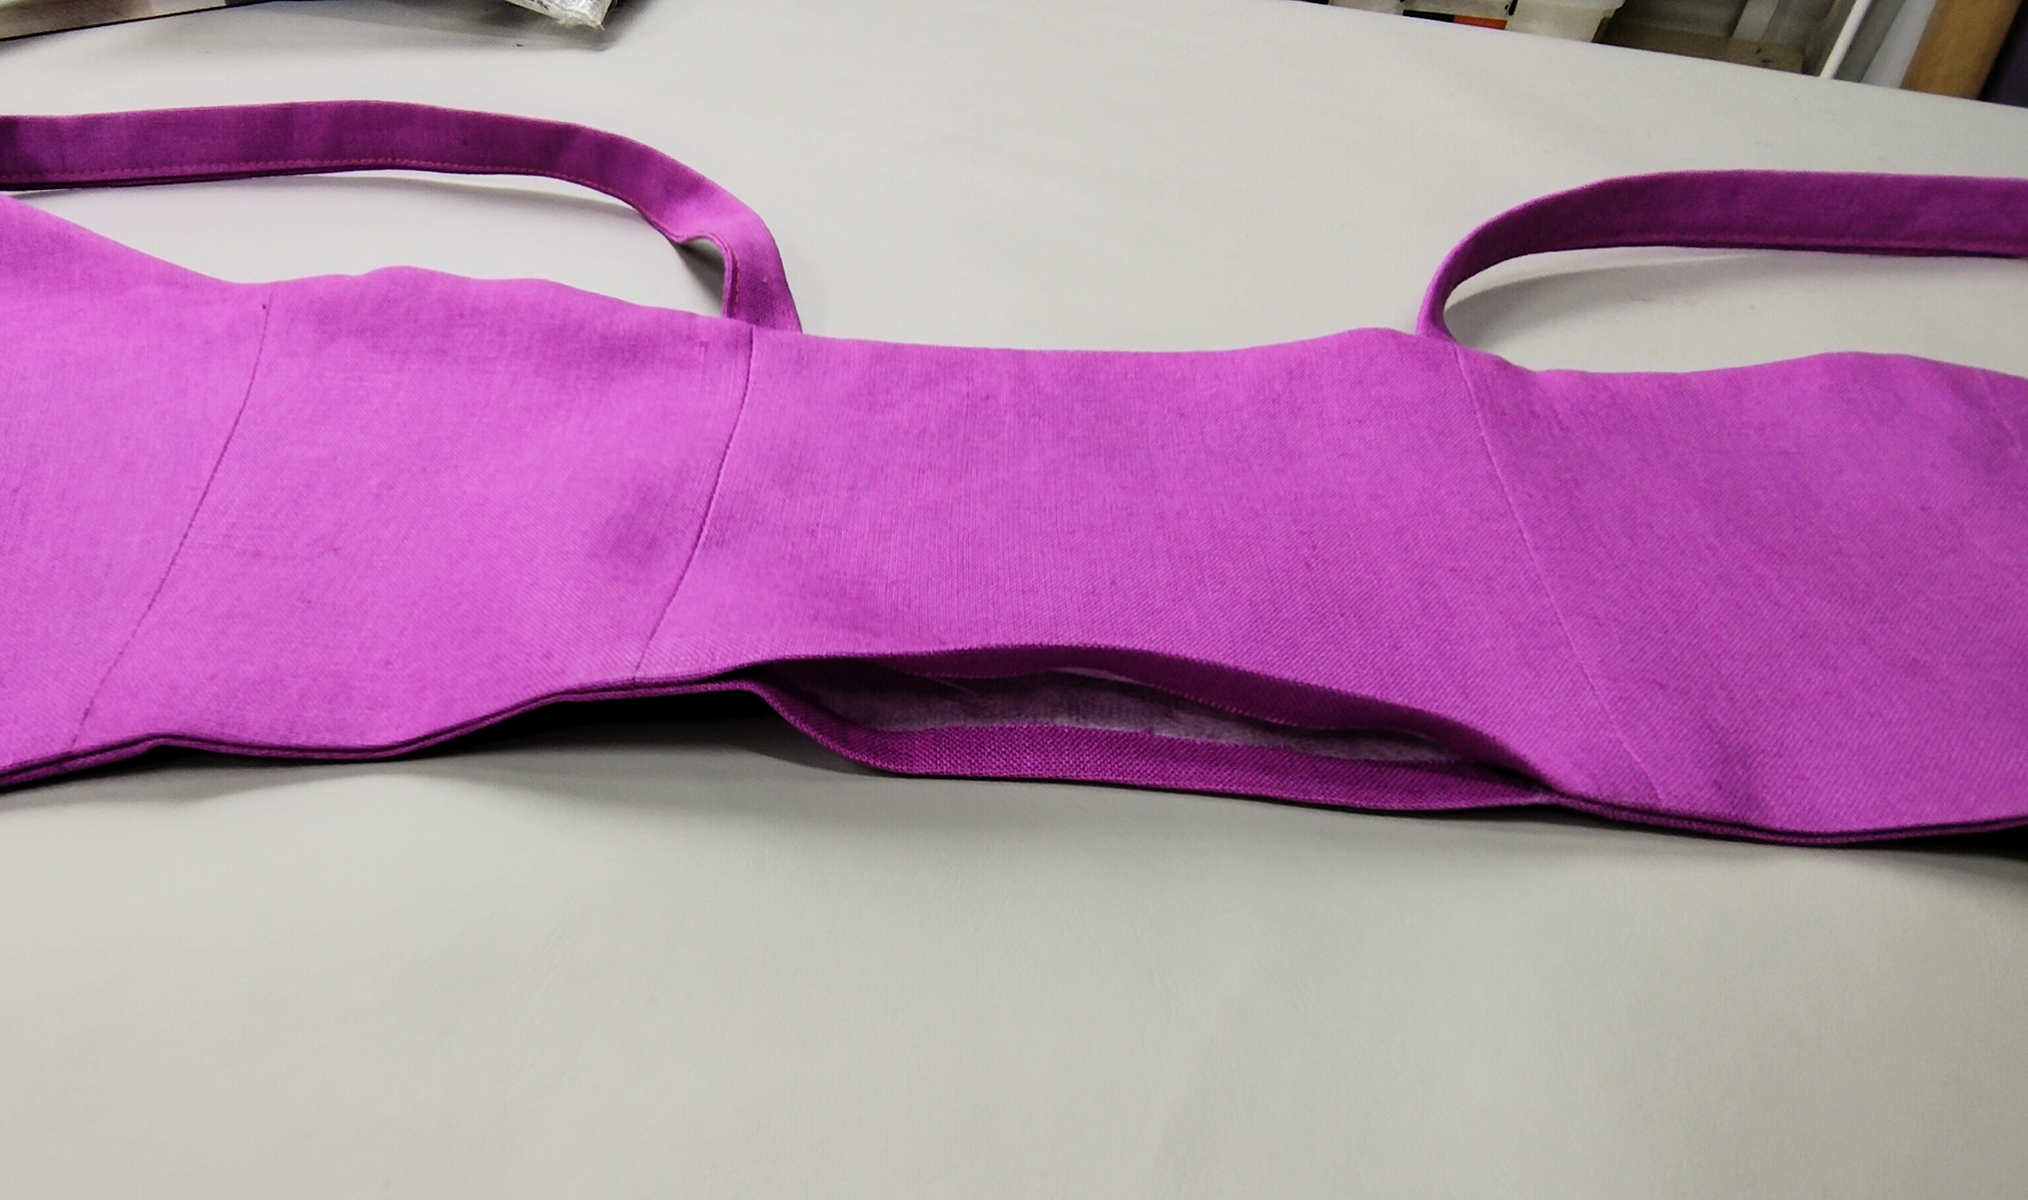
Bag out and then press the seam down. Make sure that the lining and the outer are sitting flat against each other and that there isn’t any bagginess or twisting.
This is where you should be now. Now is a good time to check if the straps are the right length or if the fit is how you want it. As the hem seam is open, now is a good time to correct these issues.
8. HEM
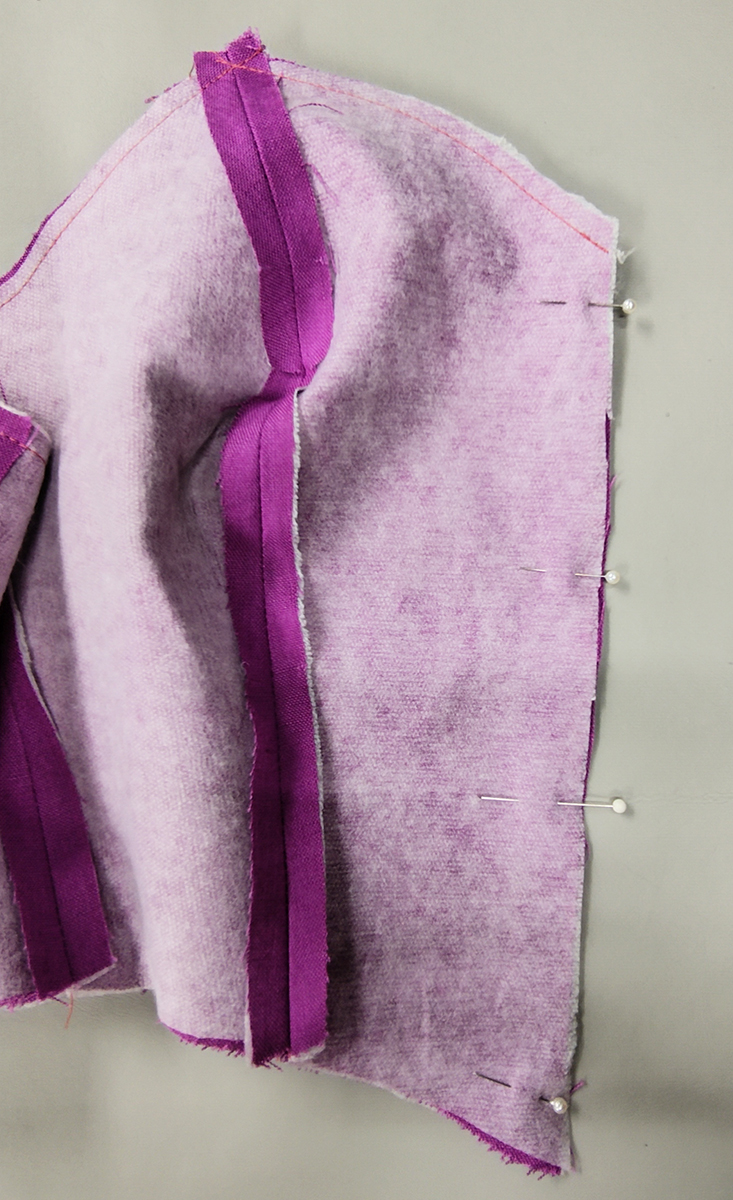
Pull the garment inside out through the open hem. Pin from the centre front to just past the back seam, which connects the side back and centre back panels. Sew along this edge using a 1 cm seam allowance.
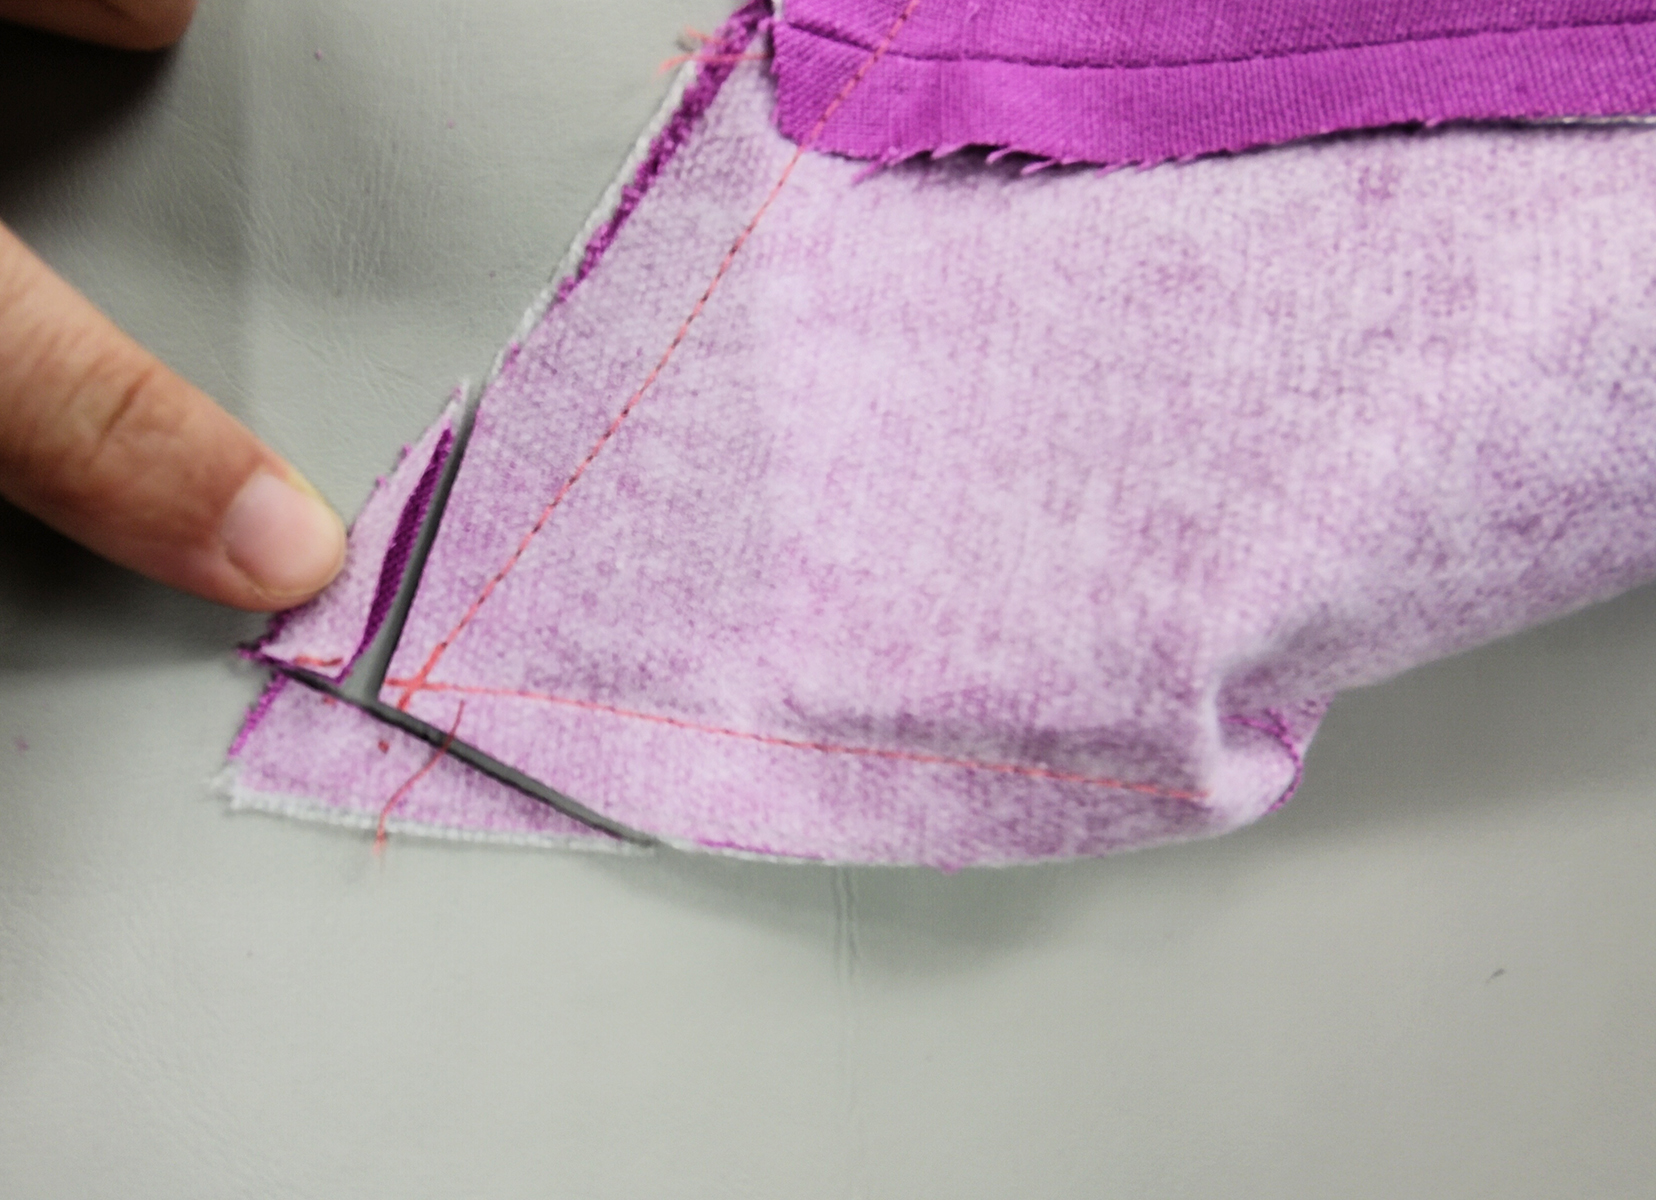
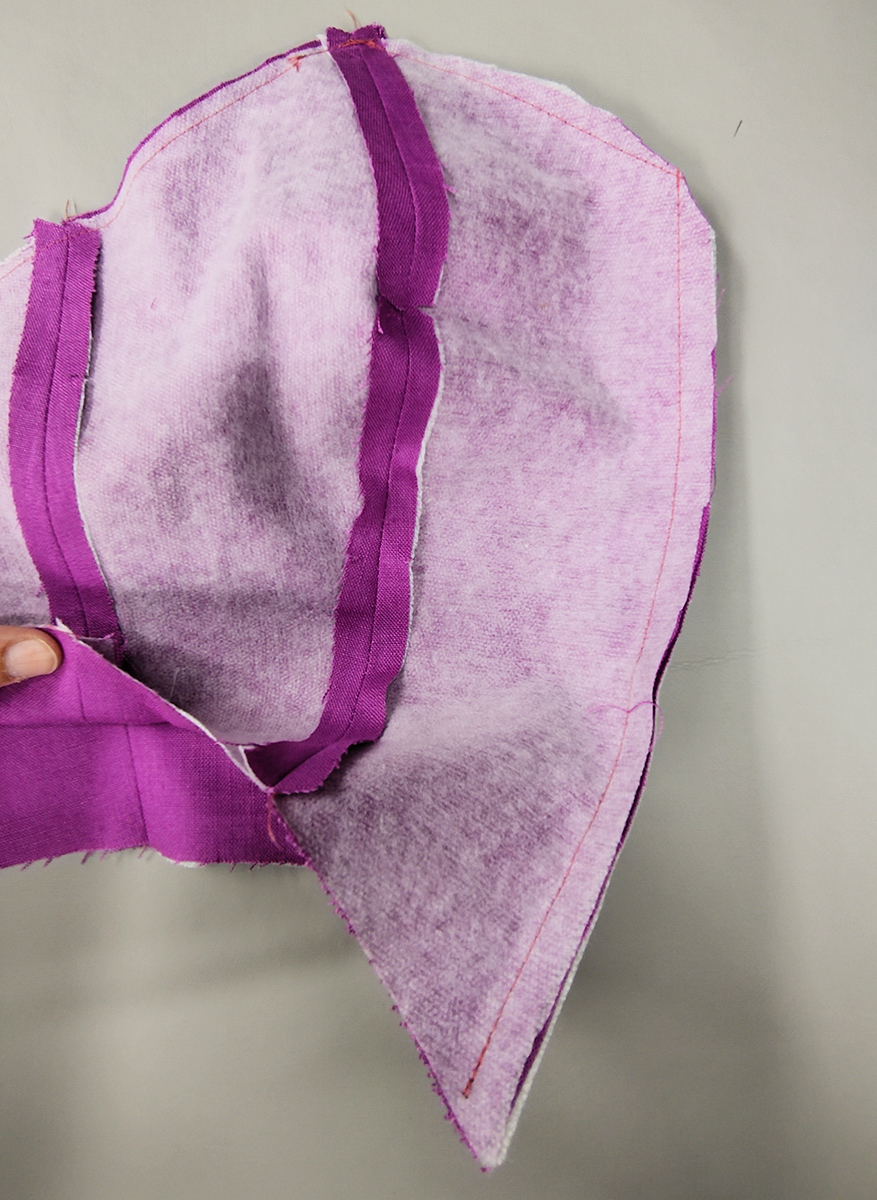
Don’t forget to clip the excess seam allowance, as shown, so the corners are crisp.
Repeat for the other side of the hem. Do not sew completely shut, as you need to keep a section along the hem seam open so the garment can be pulled back out to the right side.
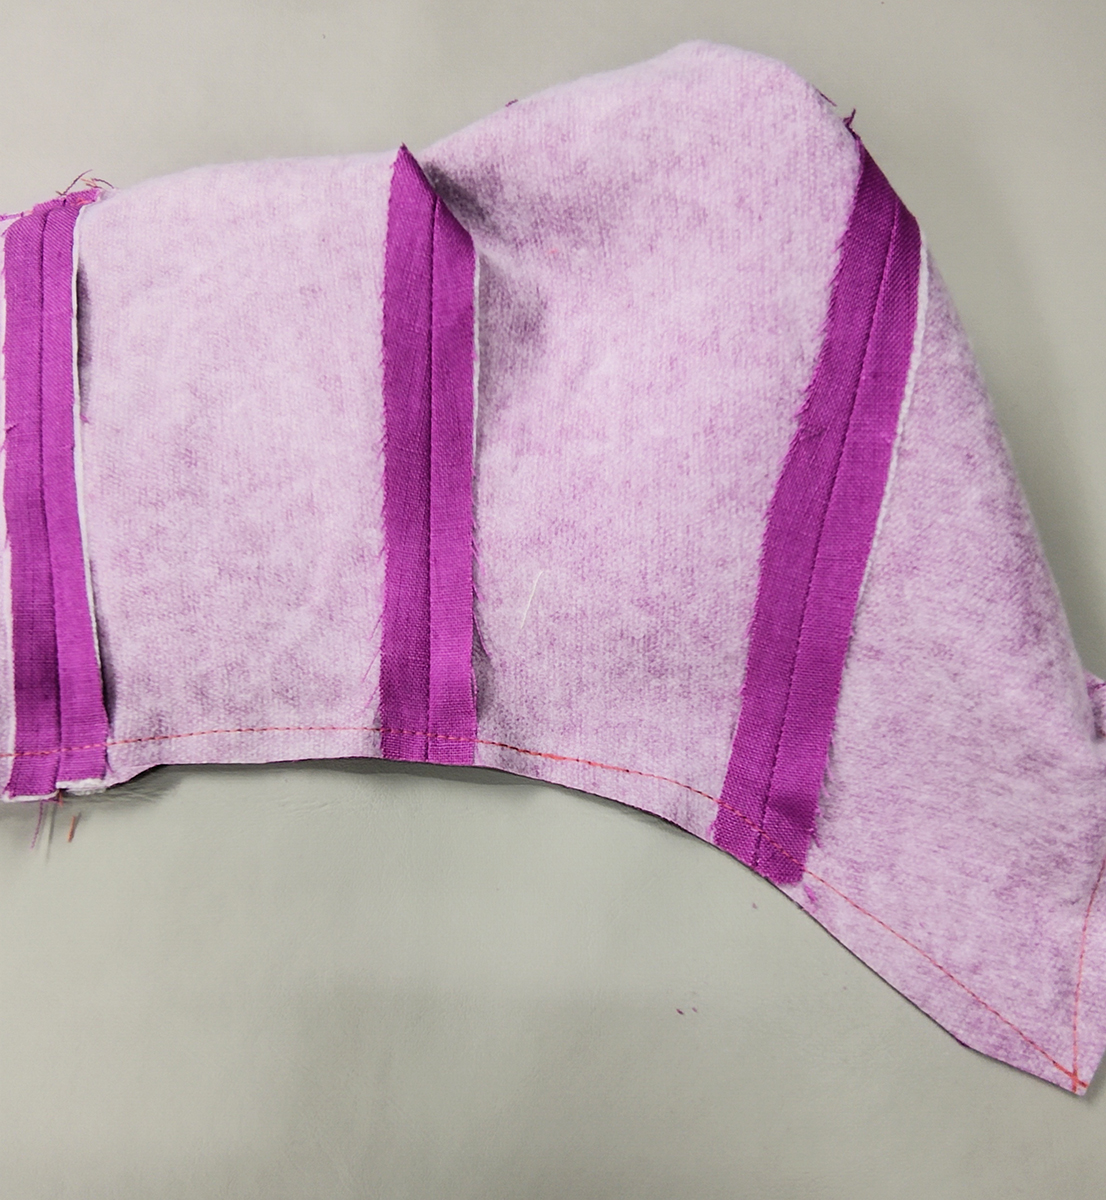
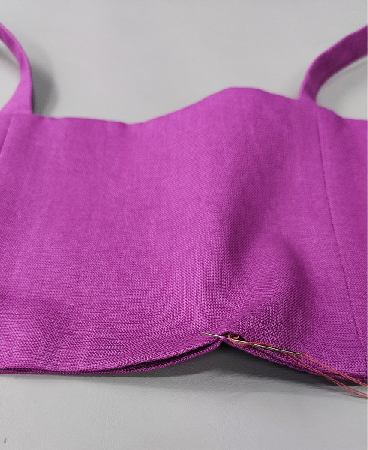
Pictured is one side of the garment inside out, with the stitching up to the back seam and corners clipped.
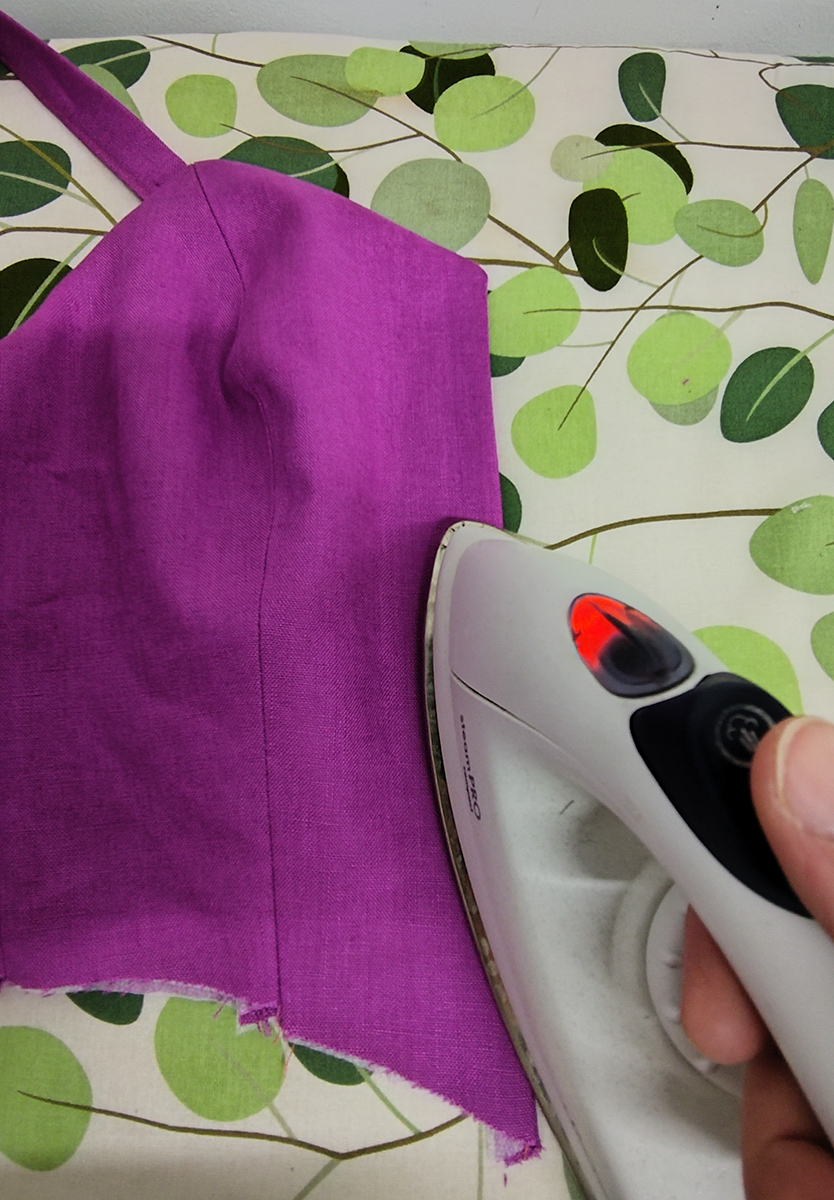
Pictured is the same side of the garment bagged out to the right side with the hem seam pressed.
You should now have an opening on the hem seam, which has to be stitched shut. I am going to close my seam by hand stitching an invisible slip stitch along the seam.
Press down all seams before sewing. This will make the stitching placement easy to see.
Slip stitch along the hem opening in a matching thread.
9. EYELETS
On the paper pattern, there are drill-hole marks symbolised by the little crosses down the centre front. Transfer these marks to the front of the bodice. You can mark a little dot with some chalk or an erasable pen. These will be where you will make a hole and insert the eyelet.
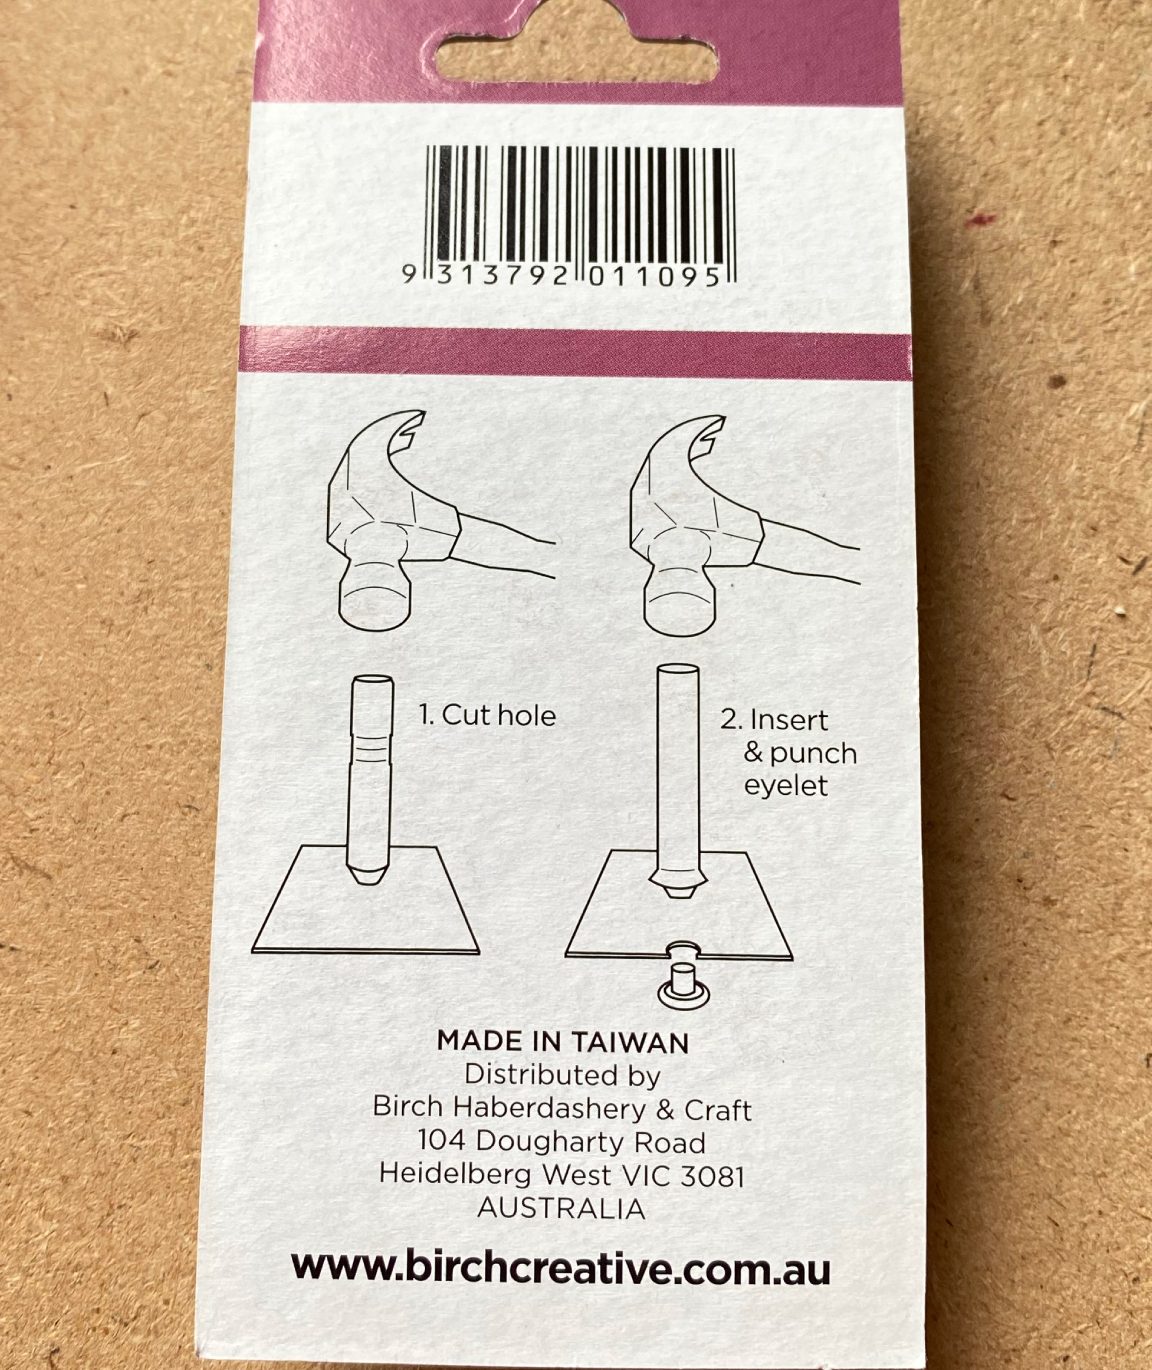
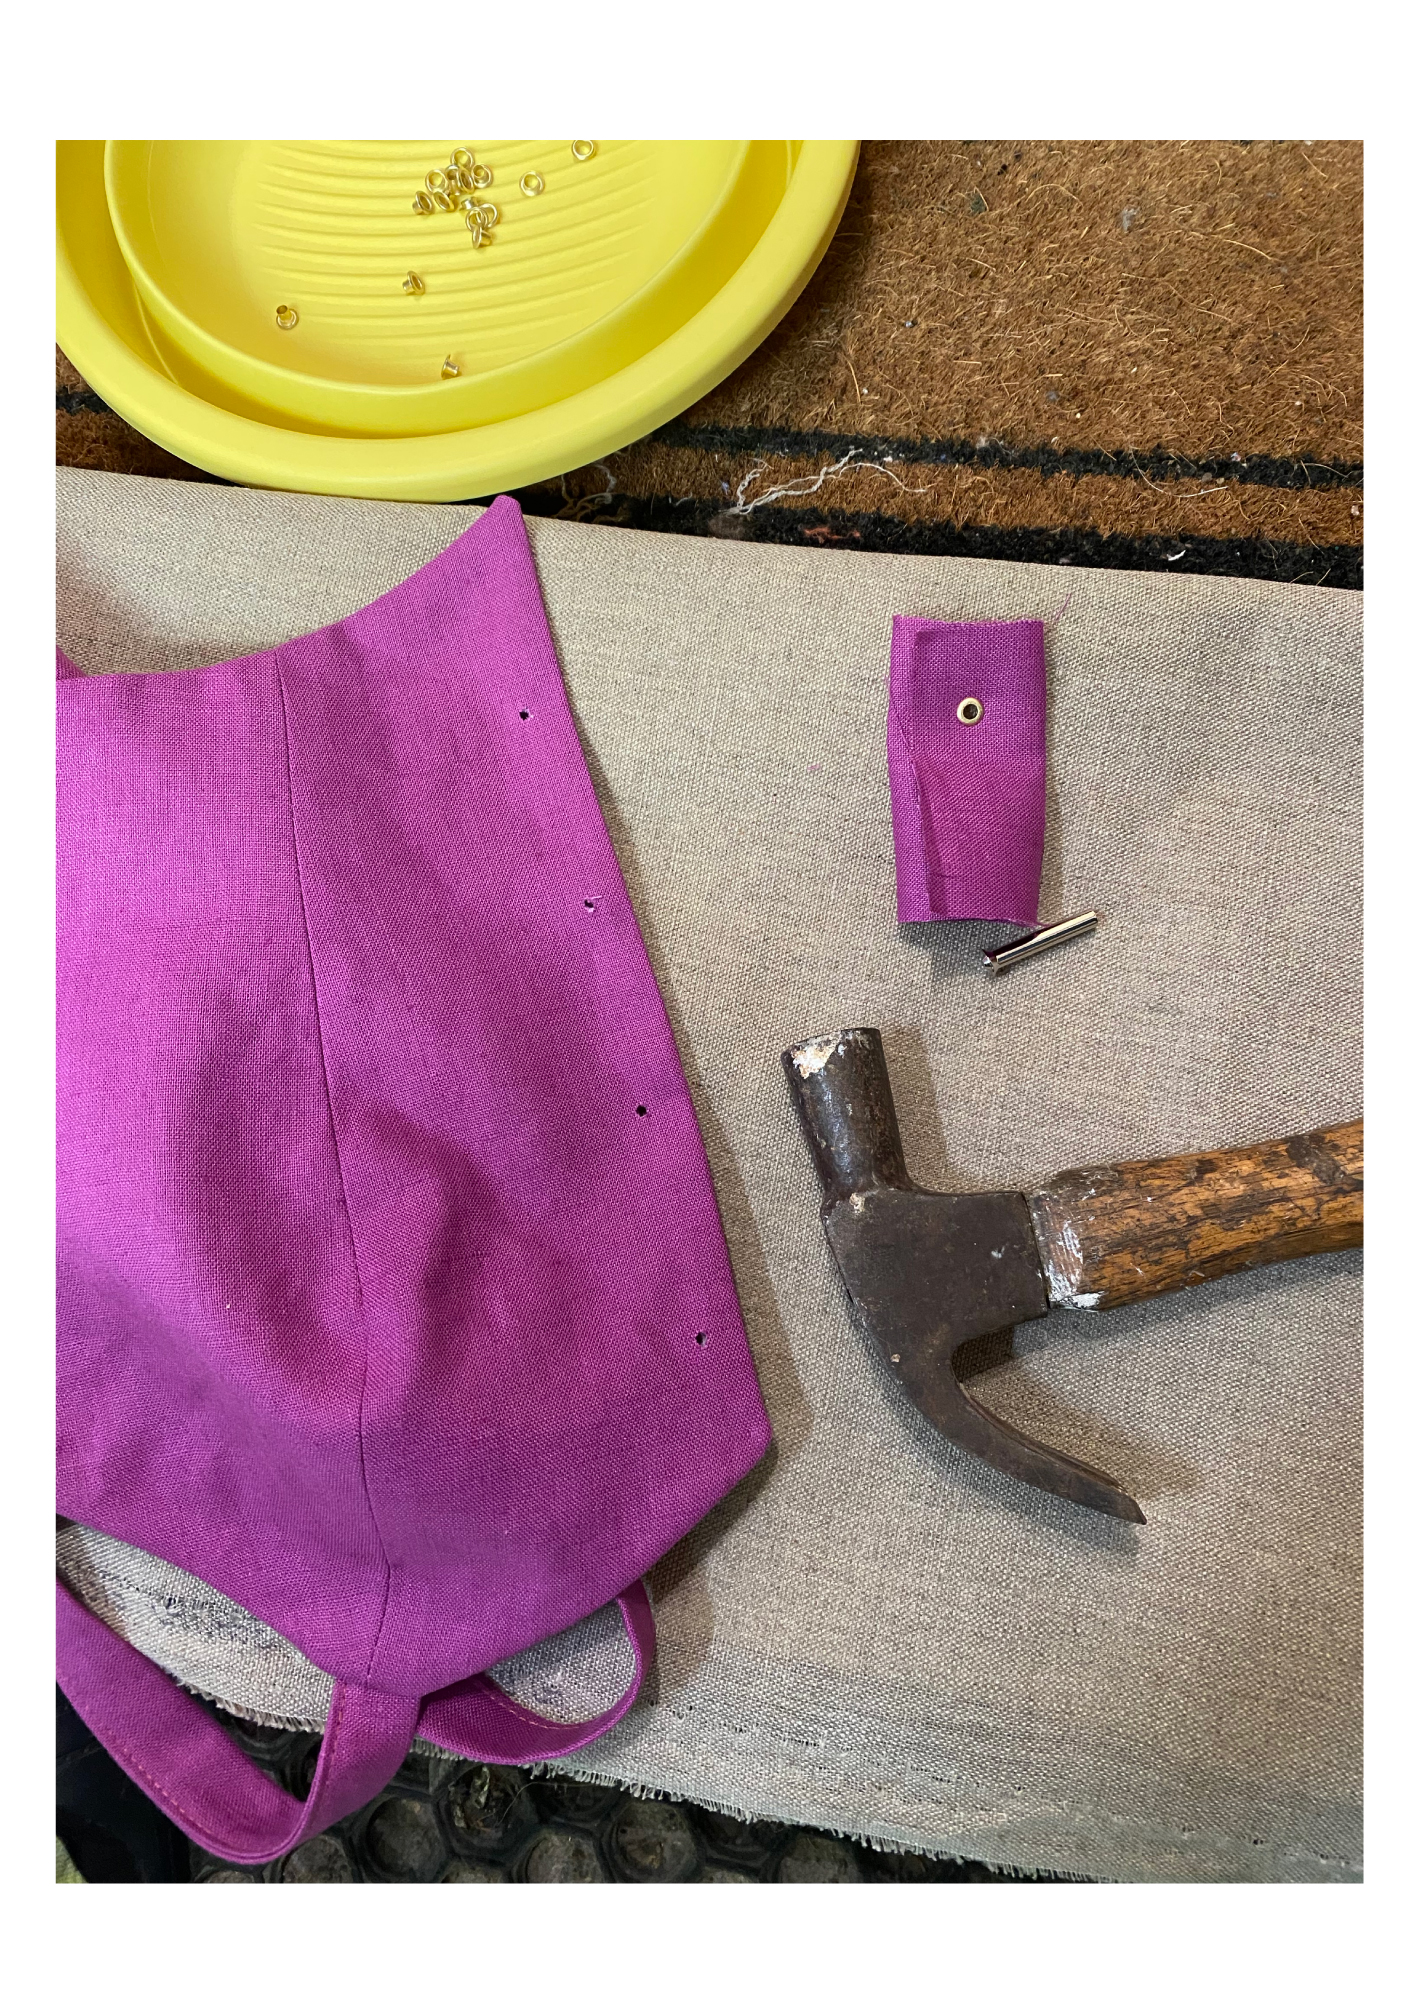
Please follow the instructions that come with your set of eyelets. Mine comes with a little hole punch and an eyelet tool.
I got set up on my doorstep, which is made of stone, and placed a piece of canvas to protect my garment from dirt. I find that a hard surface that can withstand hammering gives the best result.
It’s a good idea to practice on some spare fabric to get used to the amount of force that is needed to make the eyelet look good.
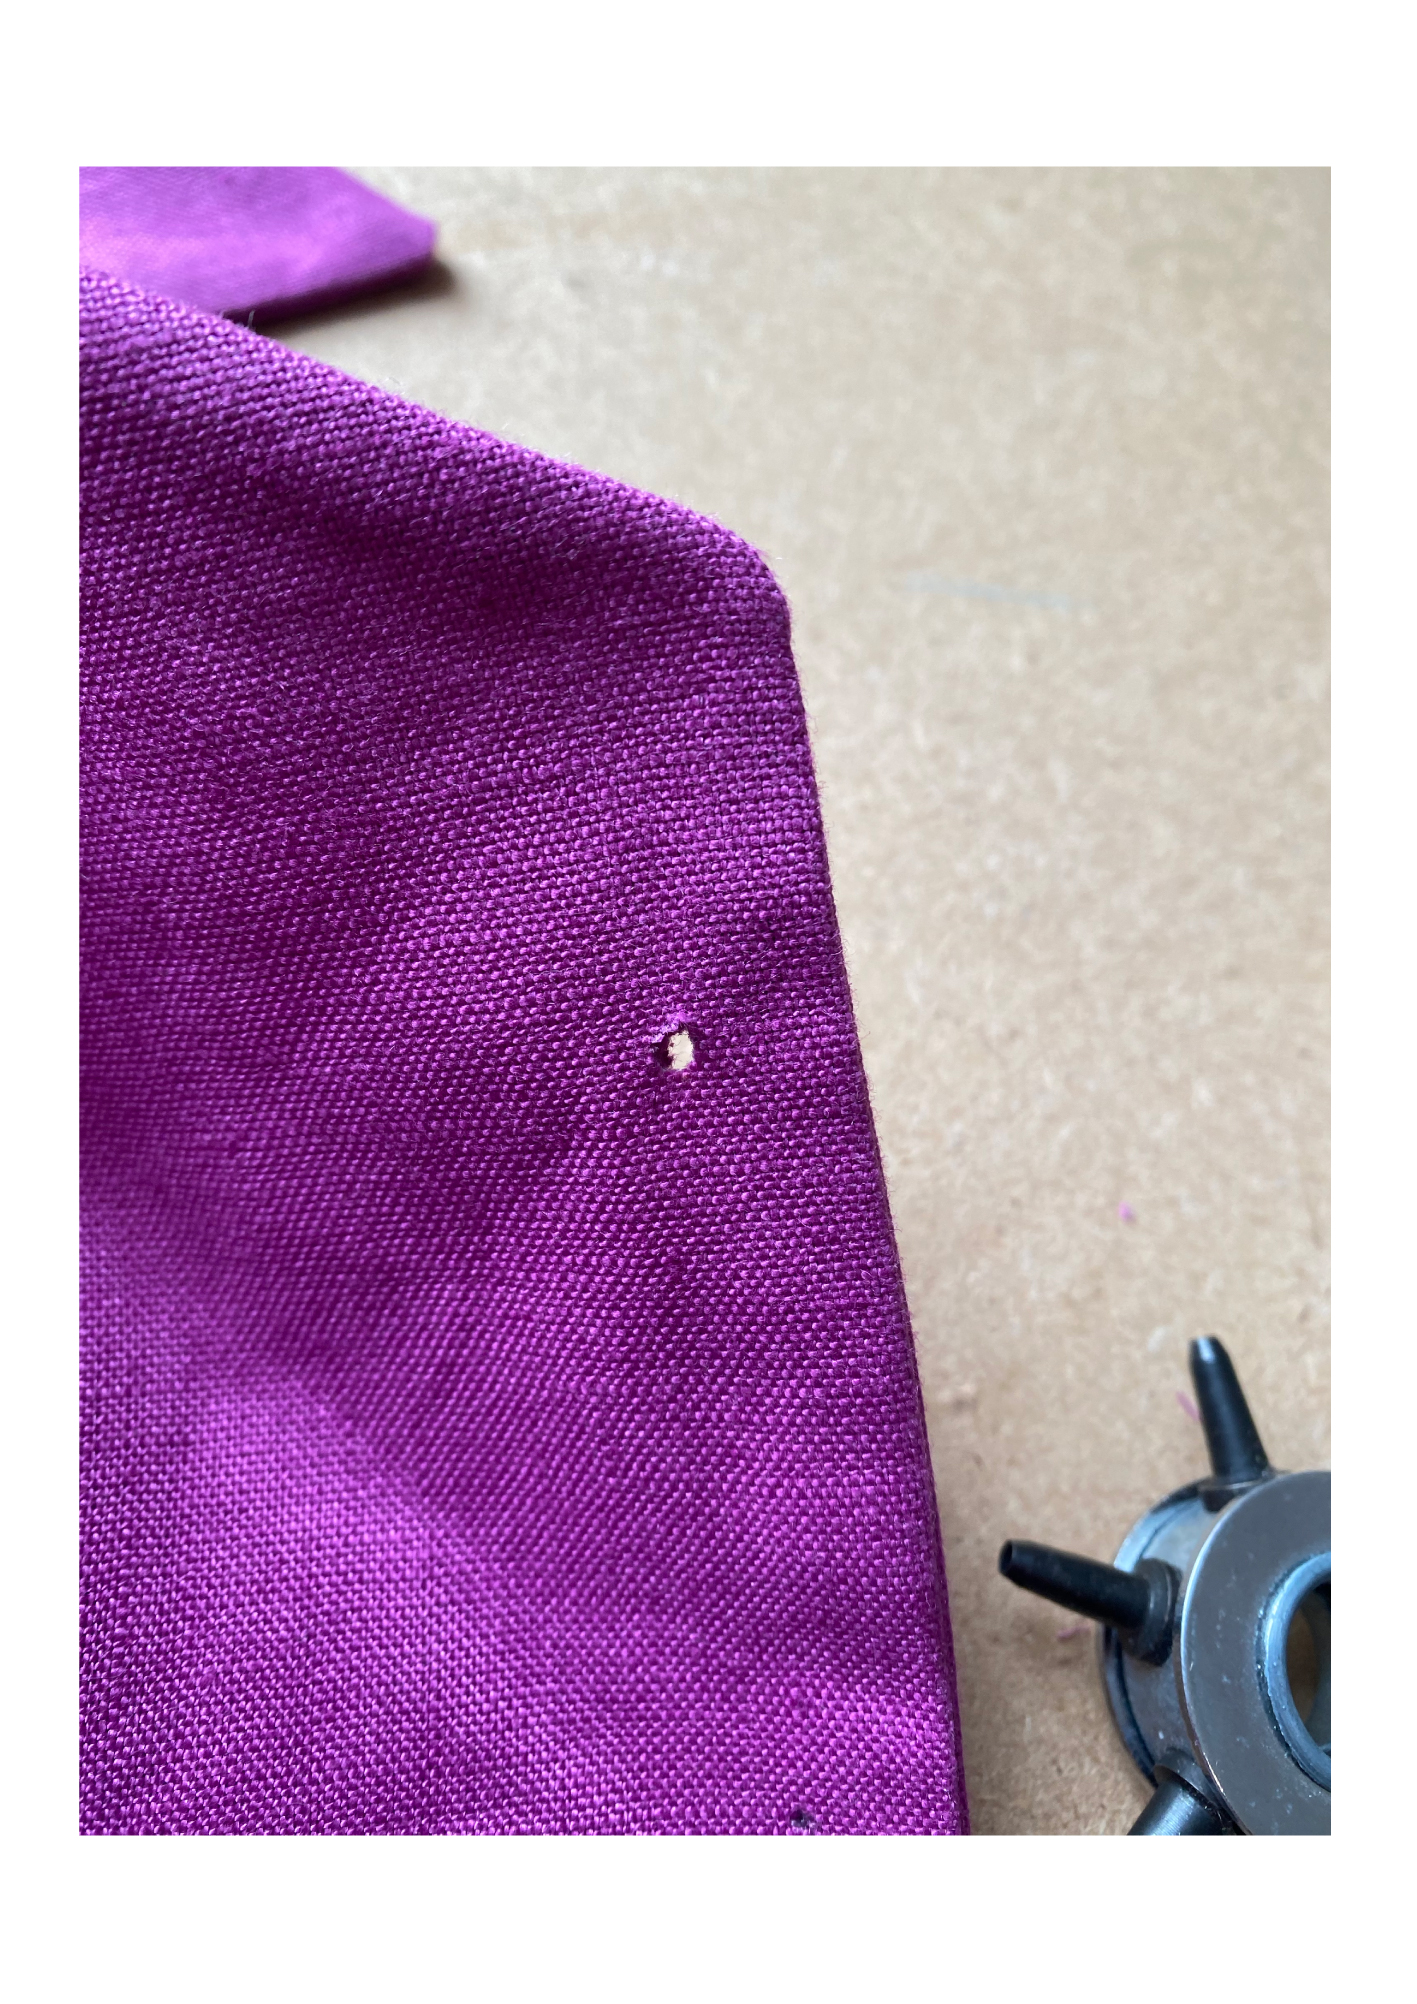
Punch holes using the marks as a guide. Repeat on both sides.
The holes should be 1.2cm (1/2 inch) from the edge.
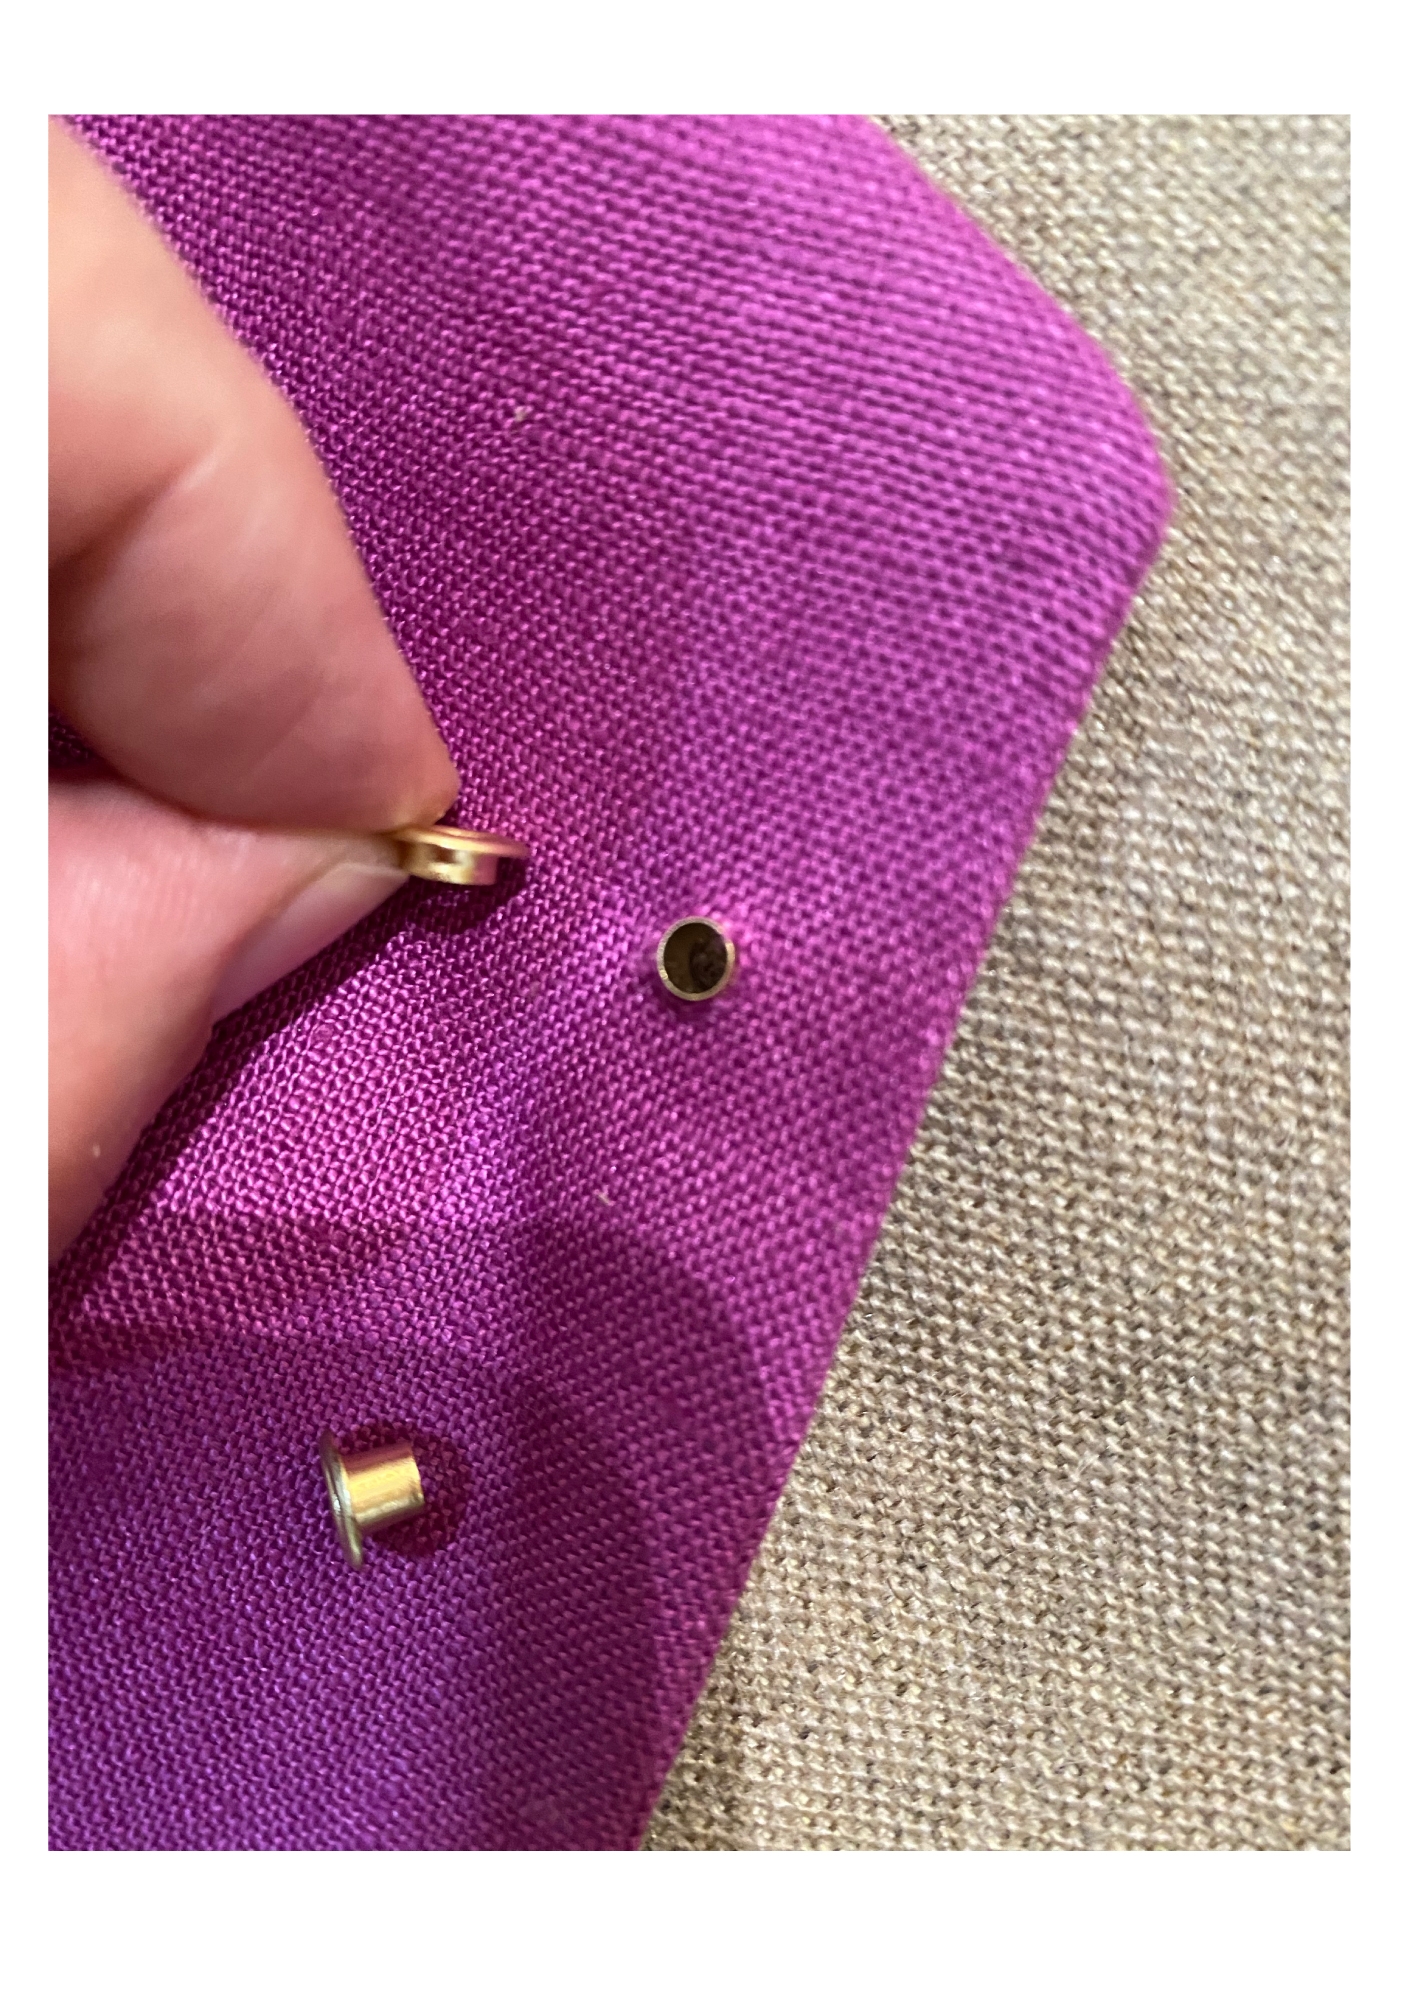
Position the longer eyelet piece from the right side underneath, then the shorter eyelet piece fitting on top.
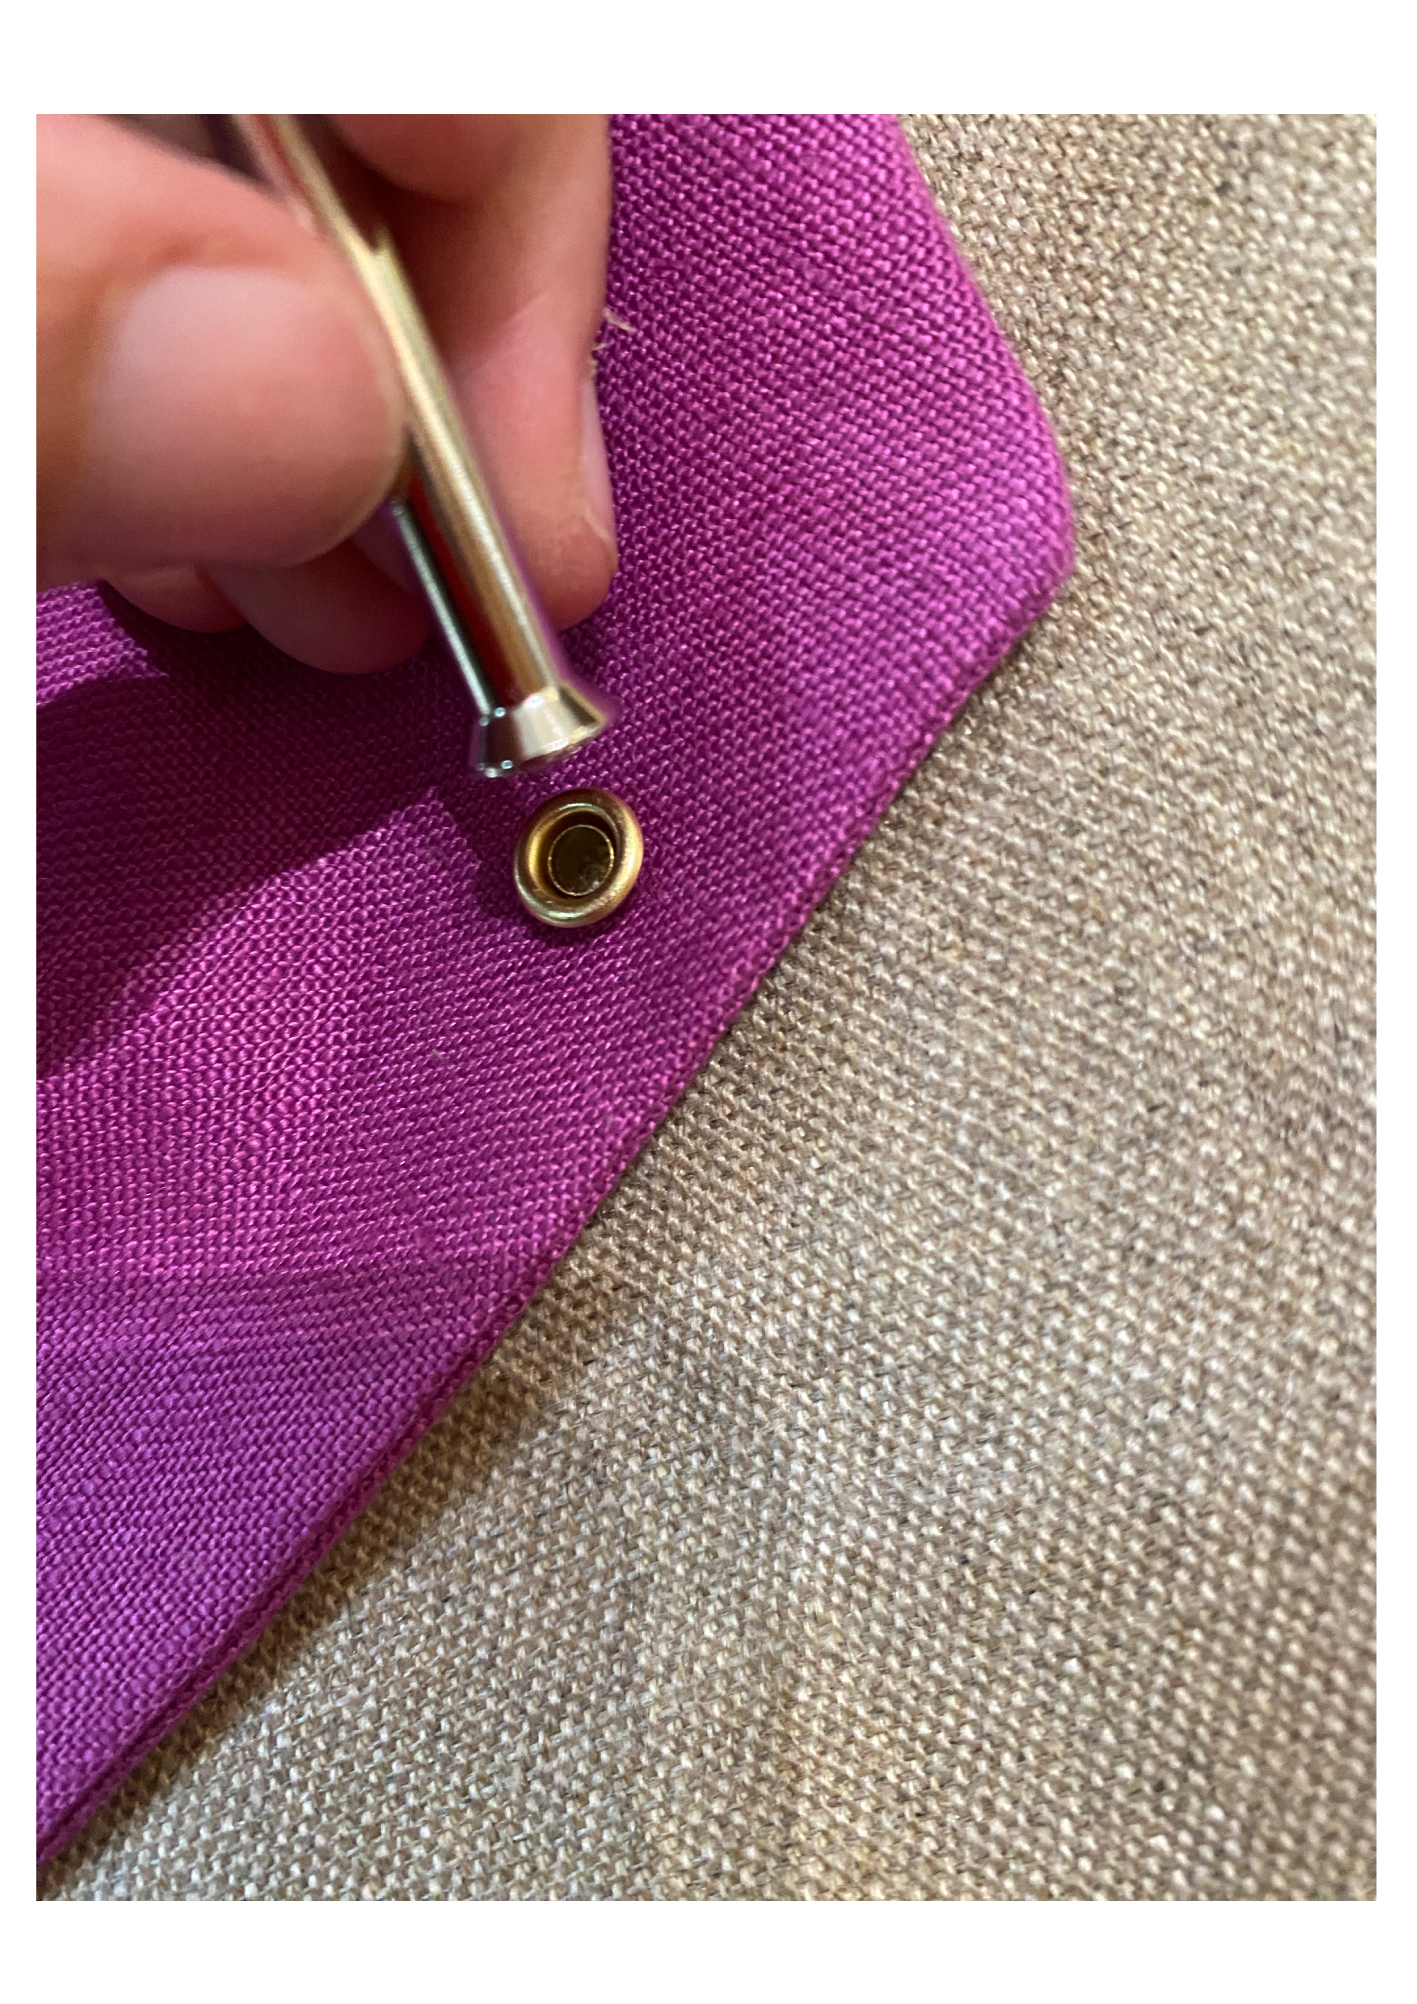
Carefully hammer down on both pieces with the eyelet tool included in your kit.
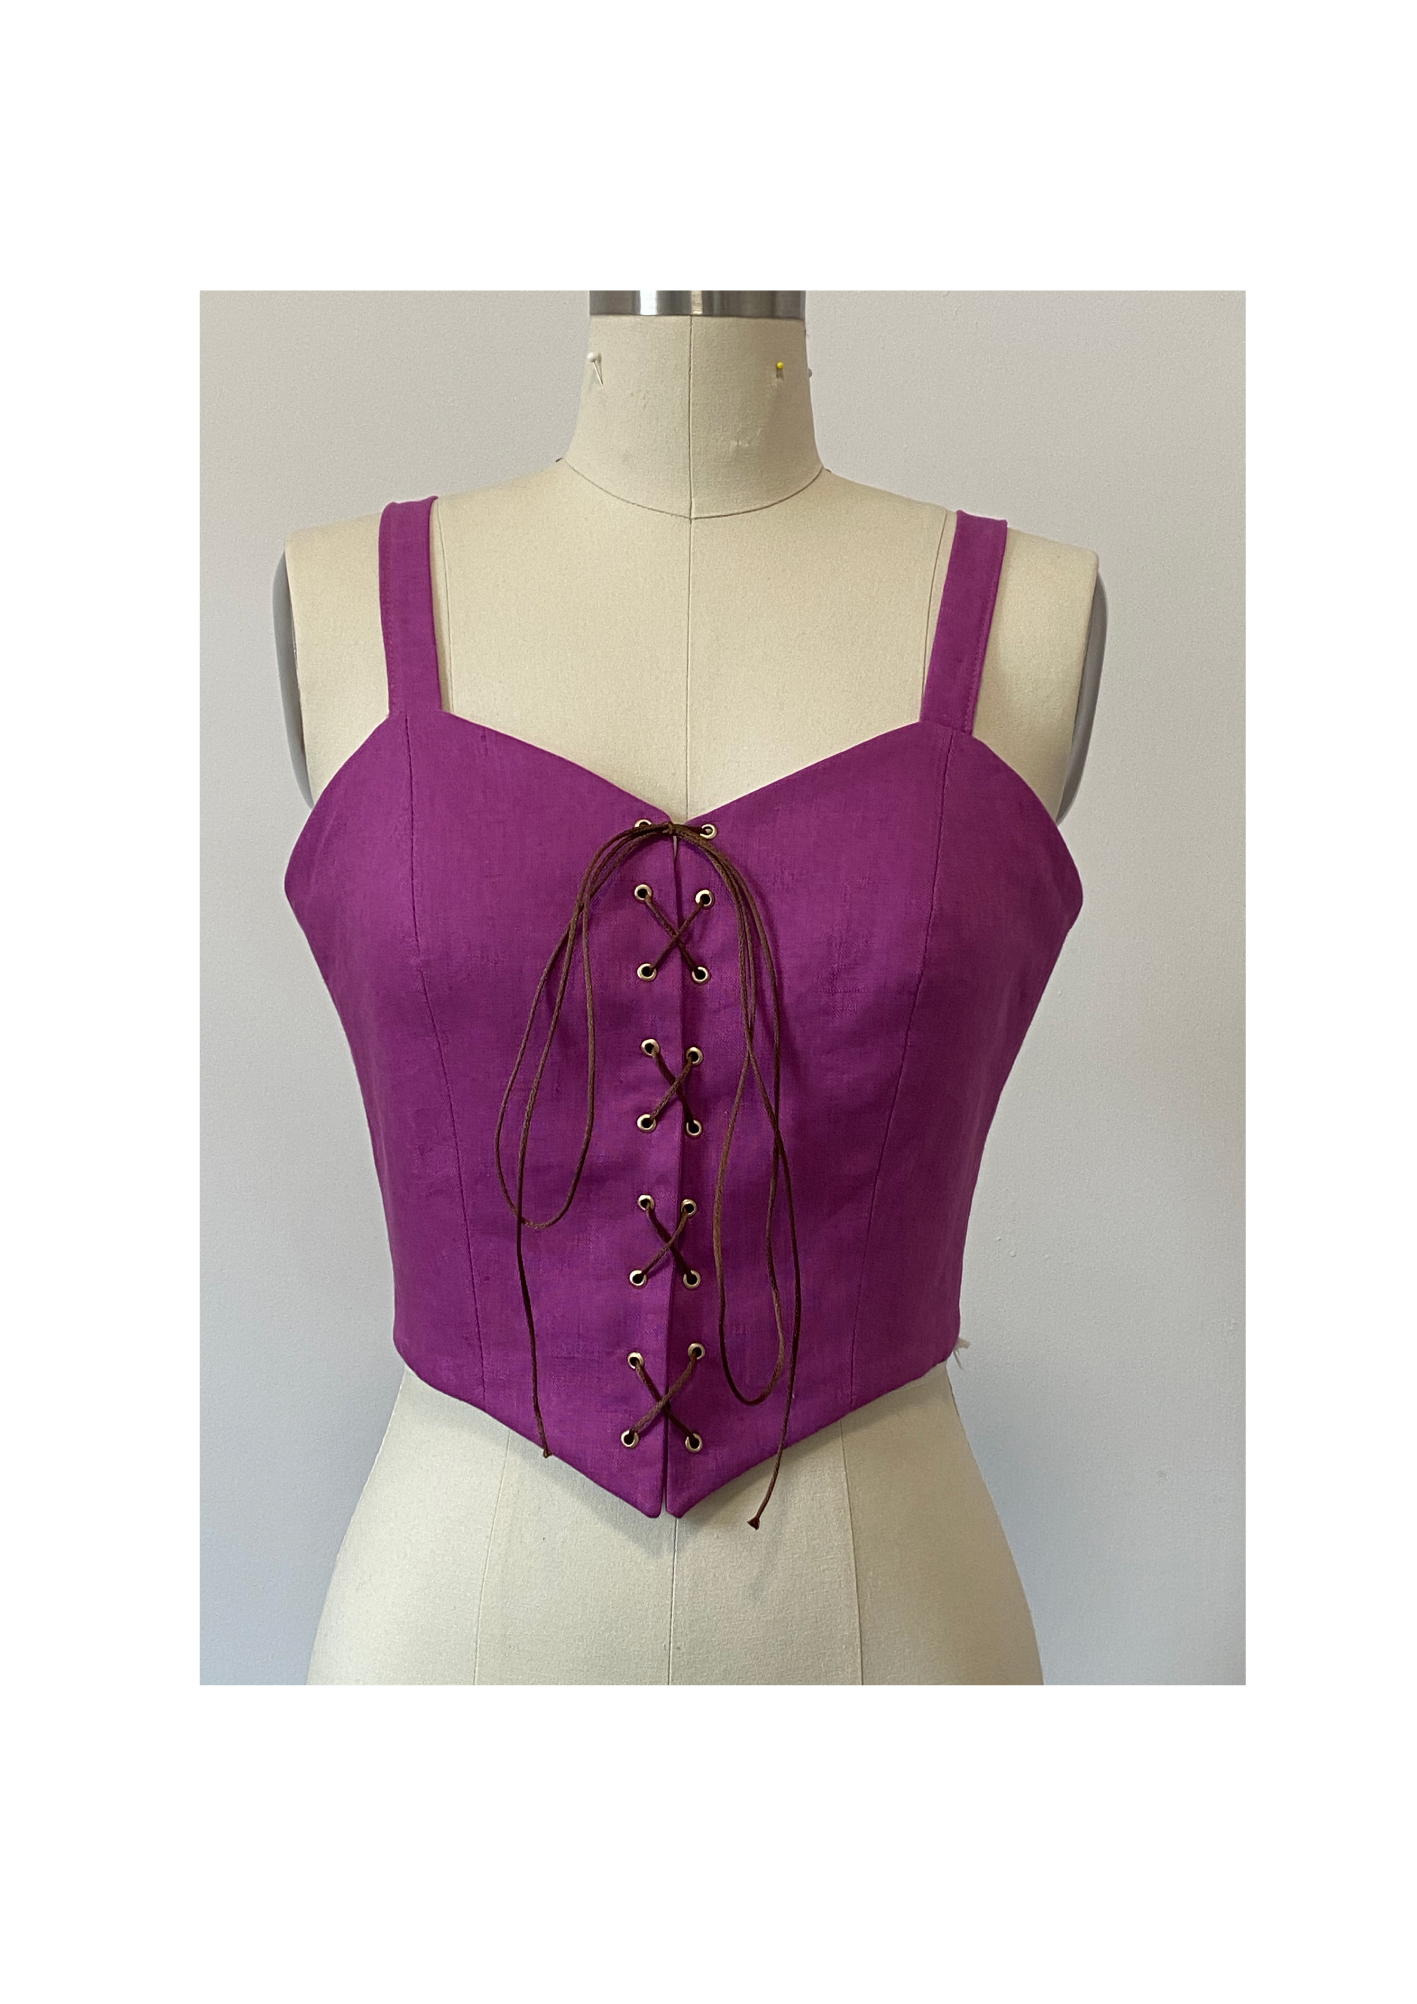
Lace up the eyelets with your cord or ribbon.
Congratulations! You have now finished the Lace Up Bodice.