Our Location
Redfern, Sydney, NSW
Australia

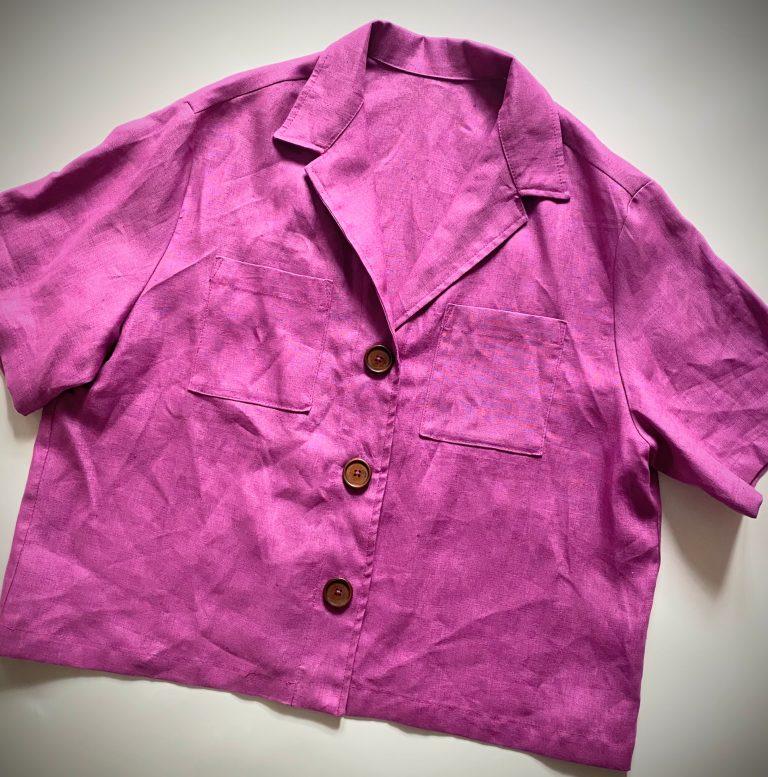
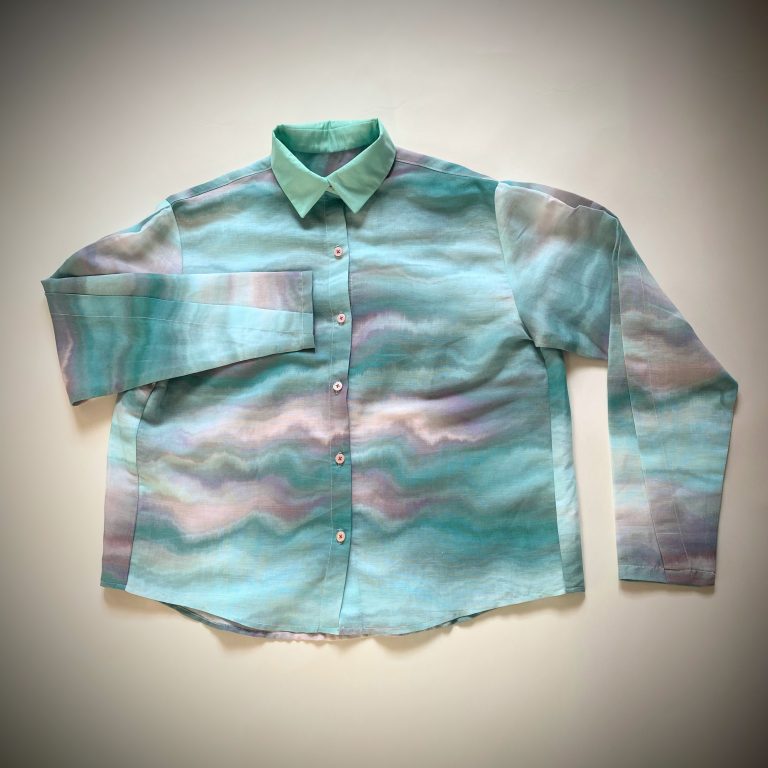
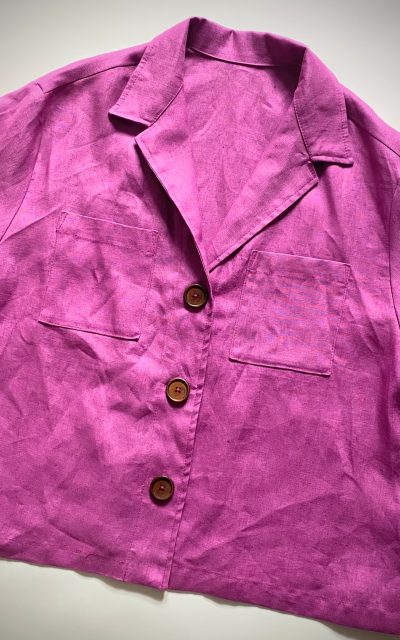
This simple oversized shirt will become a staple of your wardrobe. Easy to make and easy to wear. Let the fabric be the star in this make.
1. POCKETS
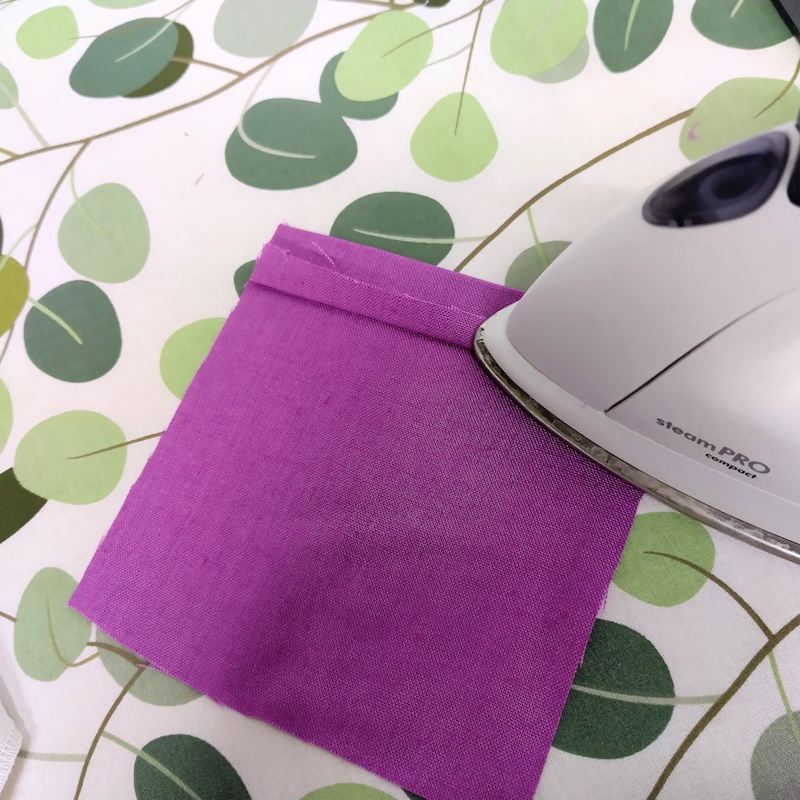
Fold 1cm at the top of the pocket, then fold again at the notches. This is the pocket facing.
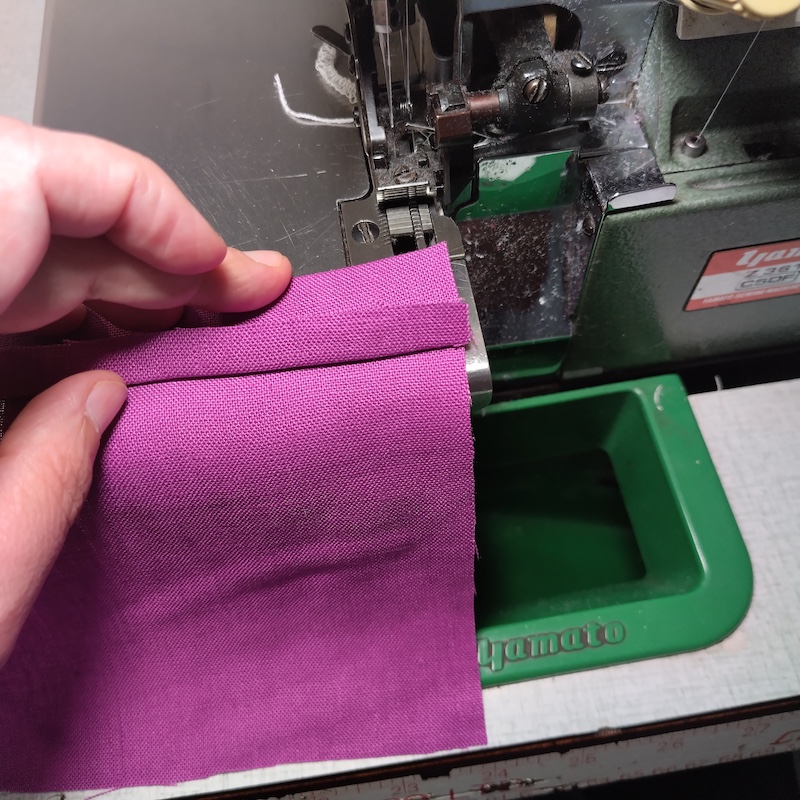
Leave the top folded edge (the facing), and overlock the 3 sides as shown.
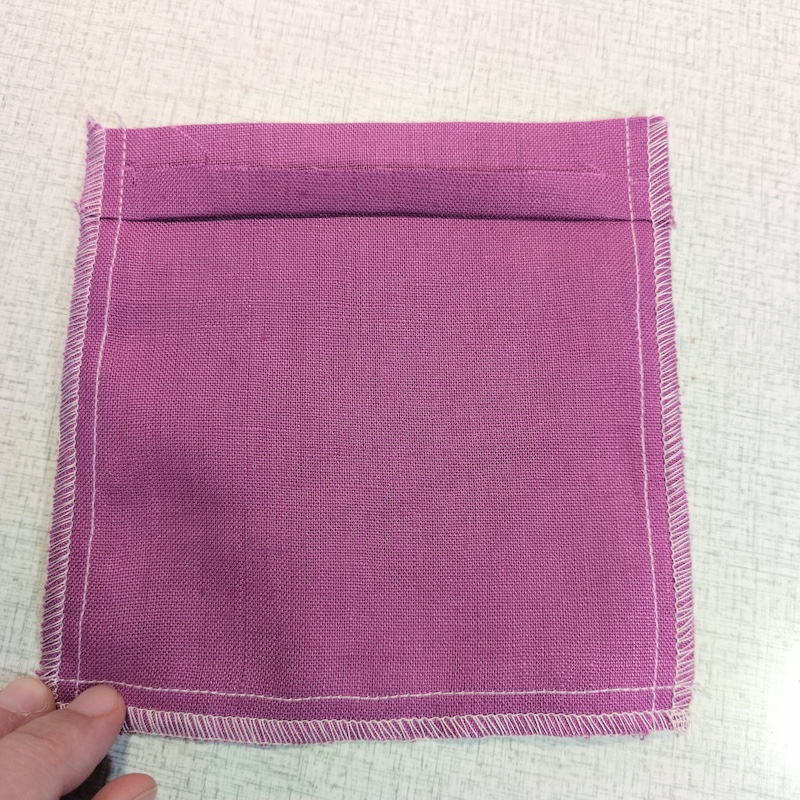
My overlocker has a lock stitch at 1cm. If you don’t have this feature, you can stitch the sides of the top pocket down as shown. Stitch down the pocket facing, using a 1cm seam allowance.
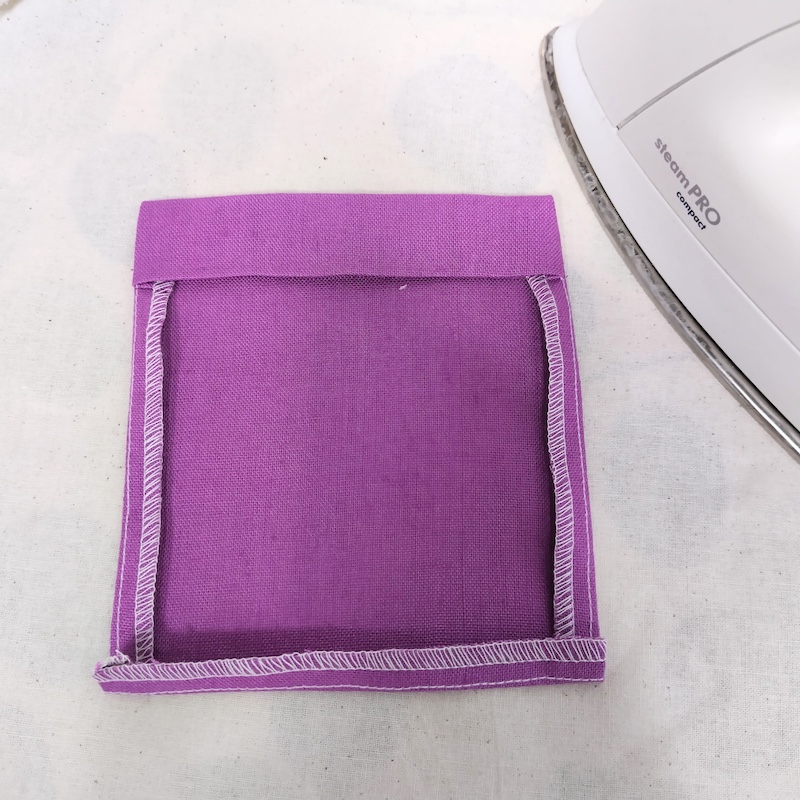
Bag out and press the sides of the pocket down. You are pressing a 1 cm seam.
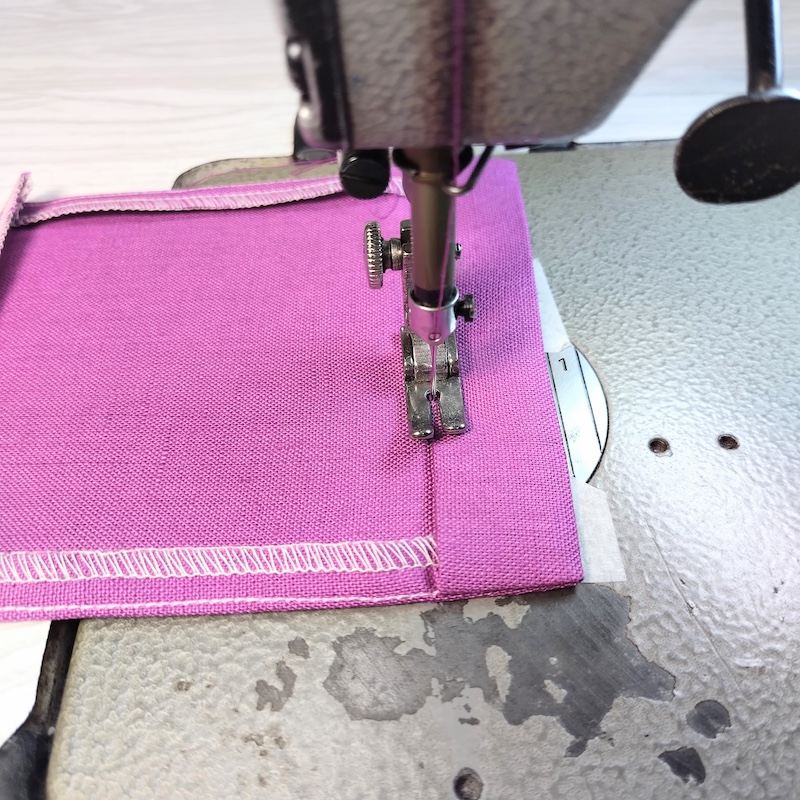
Stitch down the top facing of the pocket.
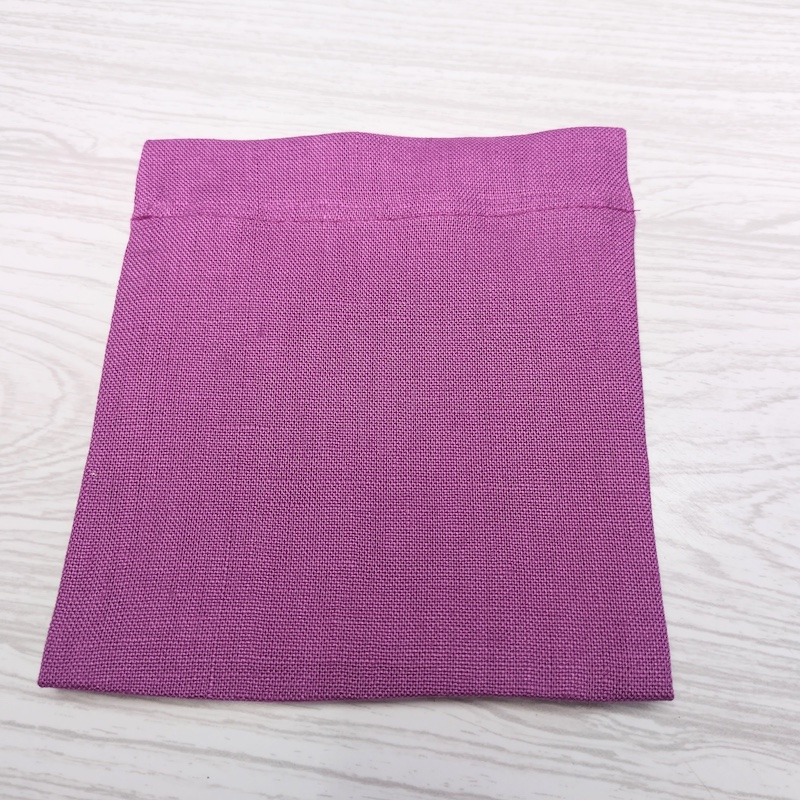
This is the pocket ready to be stitched onto the front of the shirt. Repeat with the other pocket.
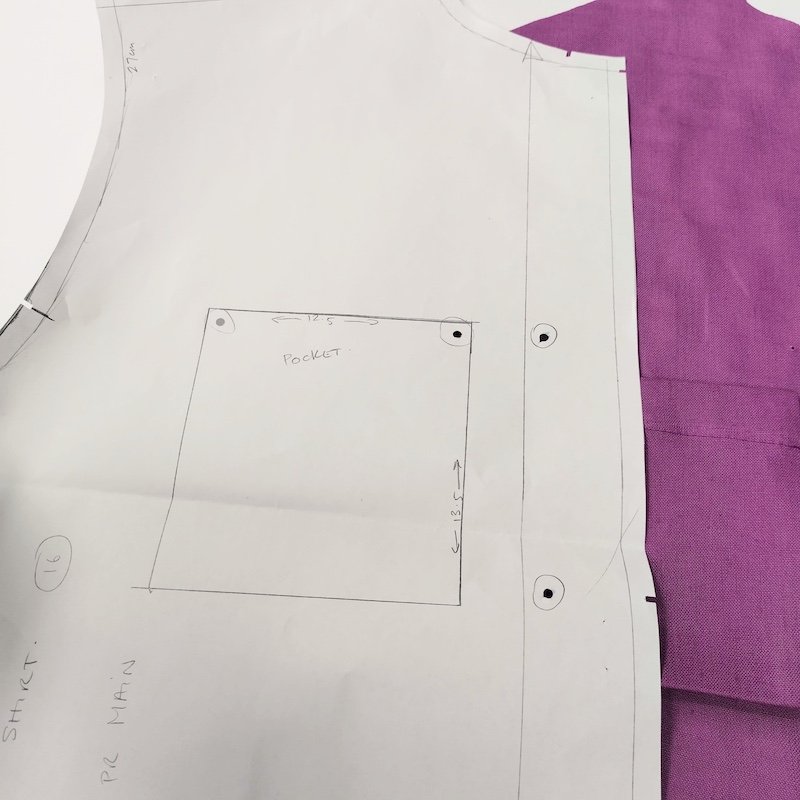
Grab the two front panels of your shirt and pull out the pattern to mark the pocket positions, if you haven’t done so already. As you can see in this photo, I am using my original pattern. You will have a printed version.
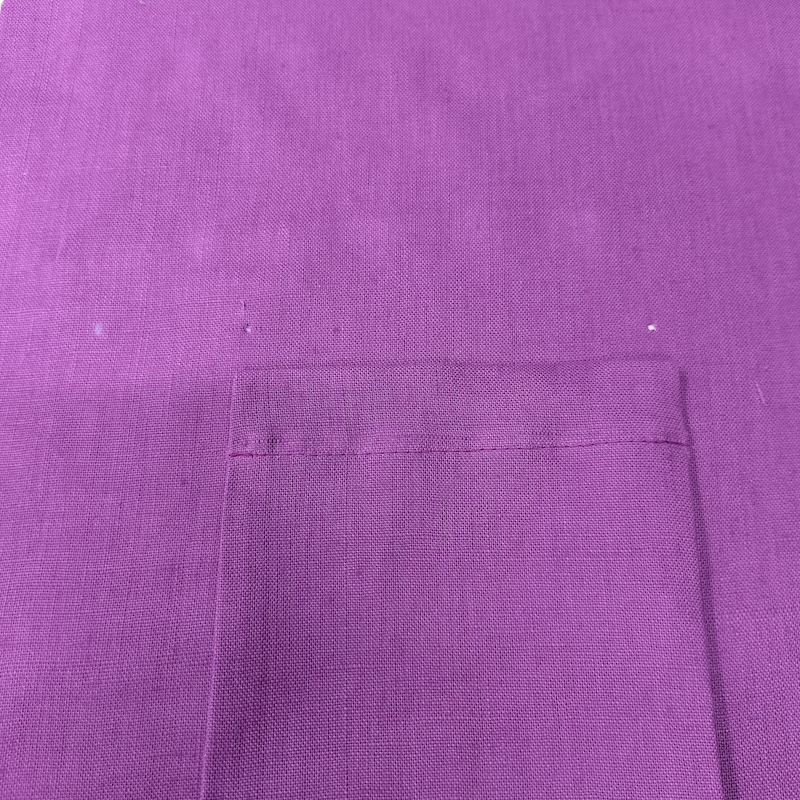
The two drill holes mark the positions of the top of the pockets. Make sure you cover your drill holes with the pocket.
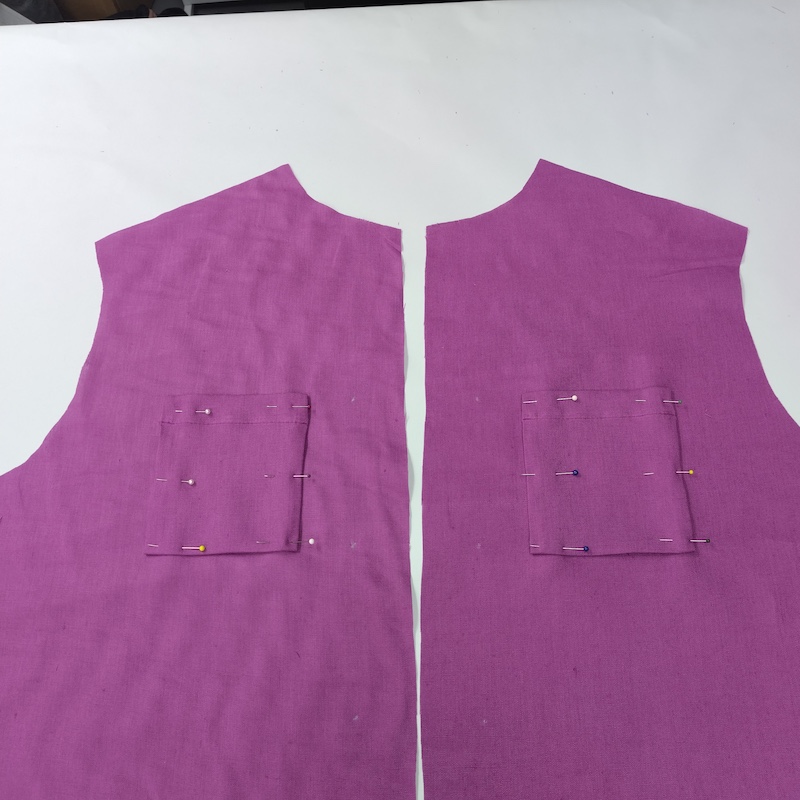
Once the pockets are in position, pin them down to keep them in place whilst sewing.
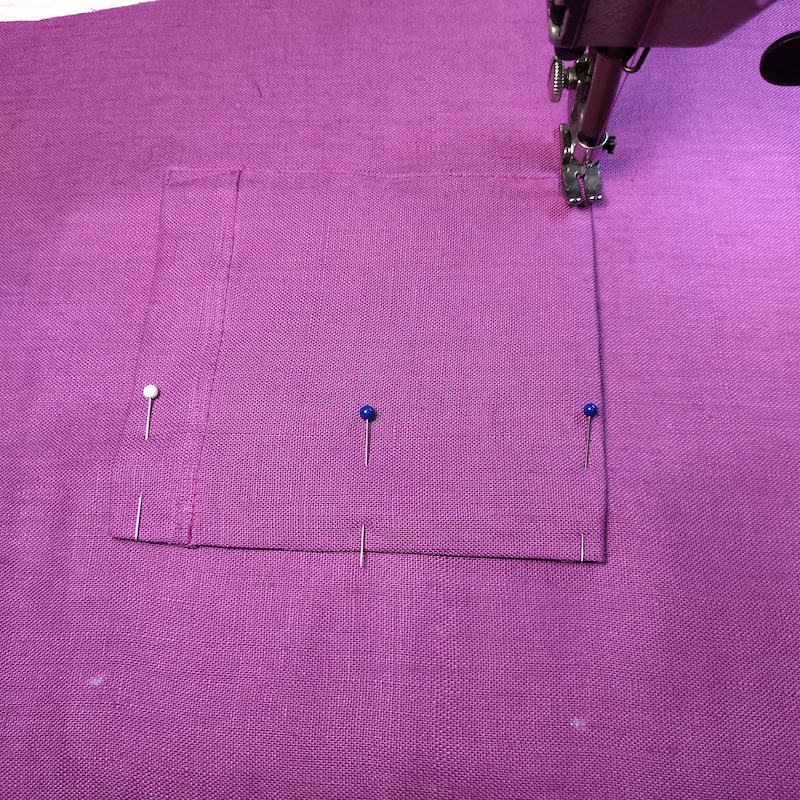
Stitch carefully around pockets to secure them to the front panel.
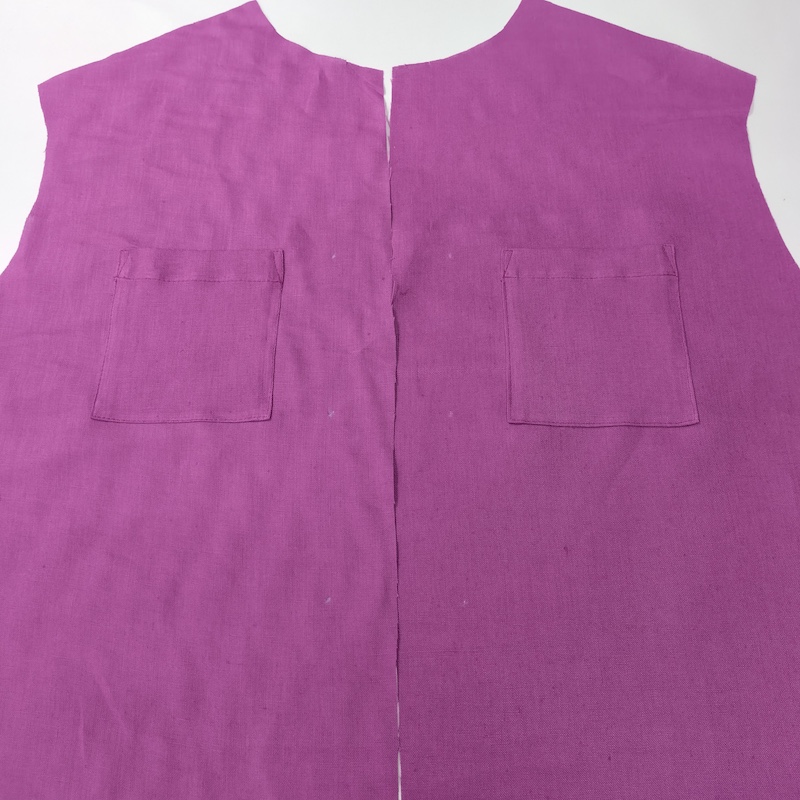
Now, both pockets should be sewn onto the front panels. Check to see if they are straight and equal. It is easy to correct mistakes at this time.
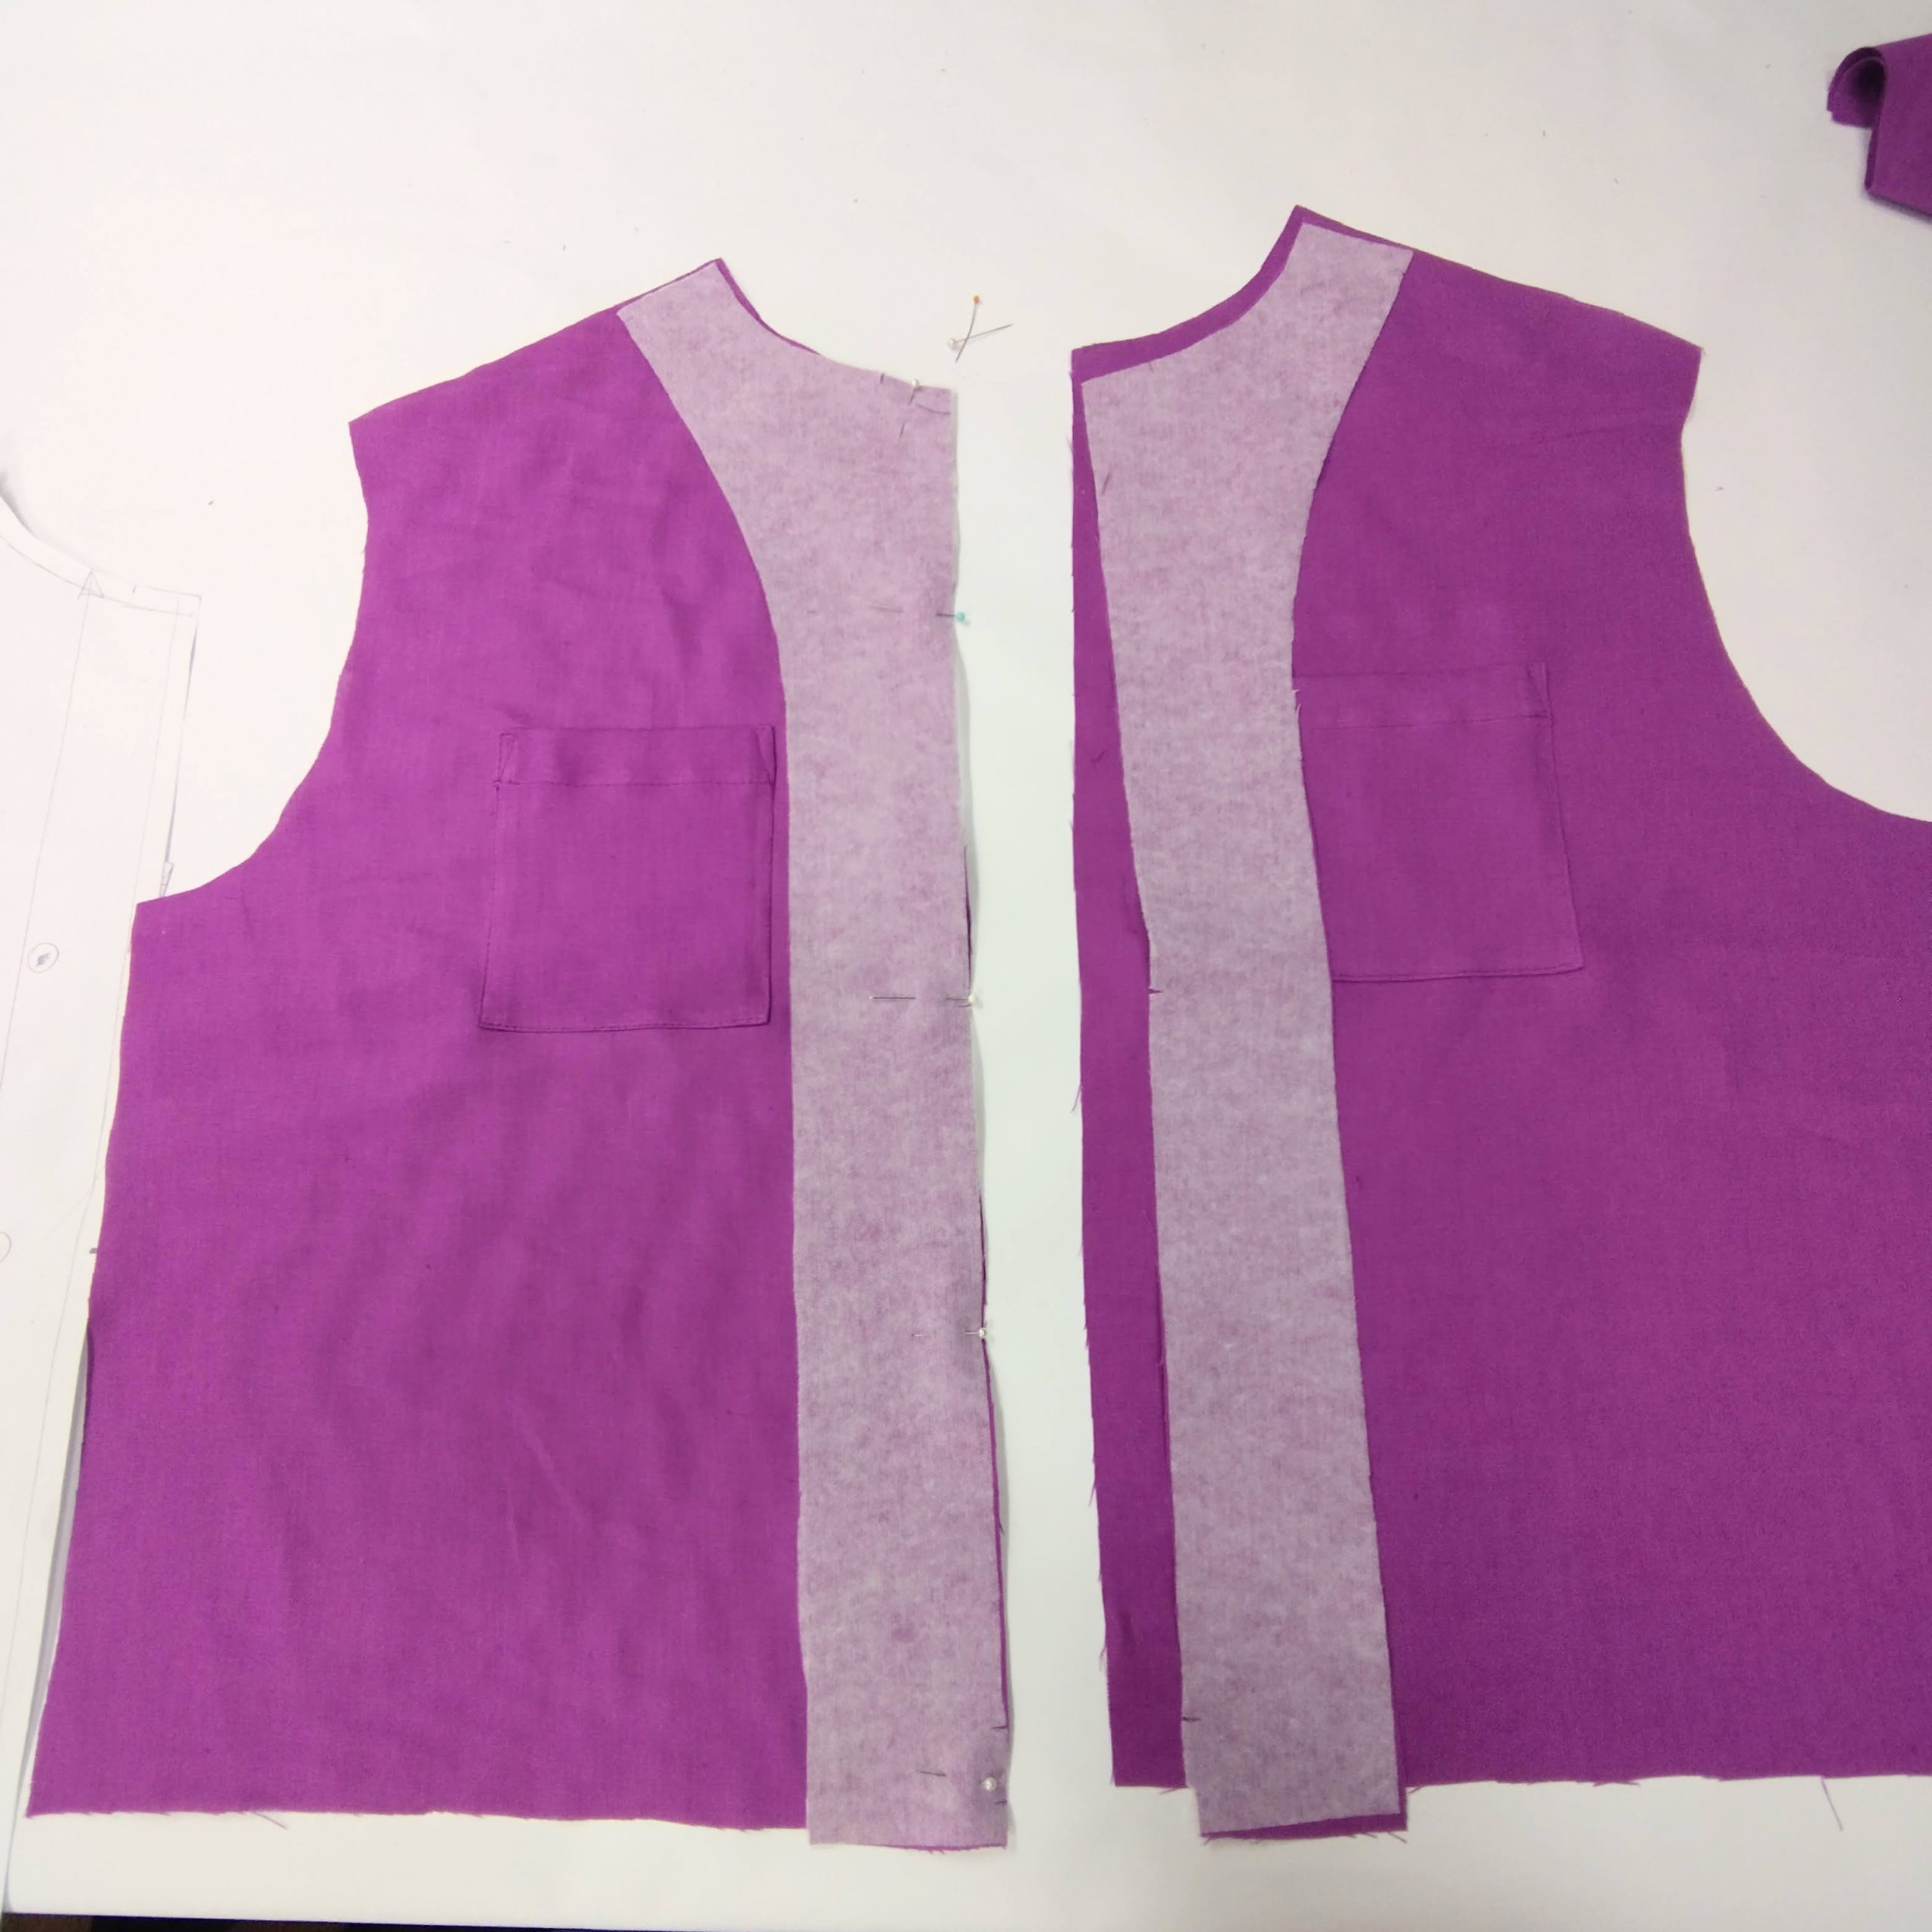
2. FACING
With your front facing pieces fused, place right sides together along the centre front opening edge of the front panels.
Pin in place.
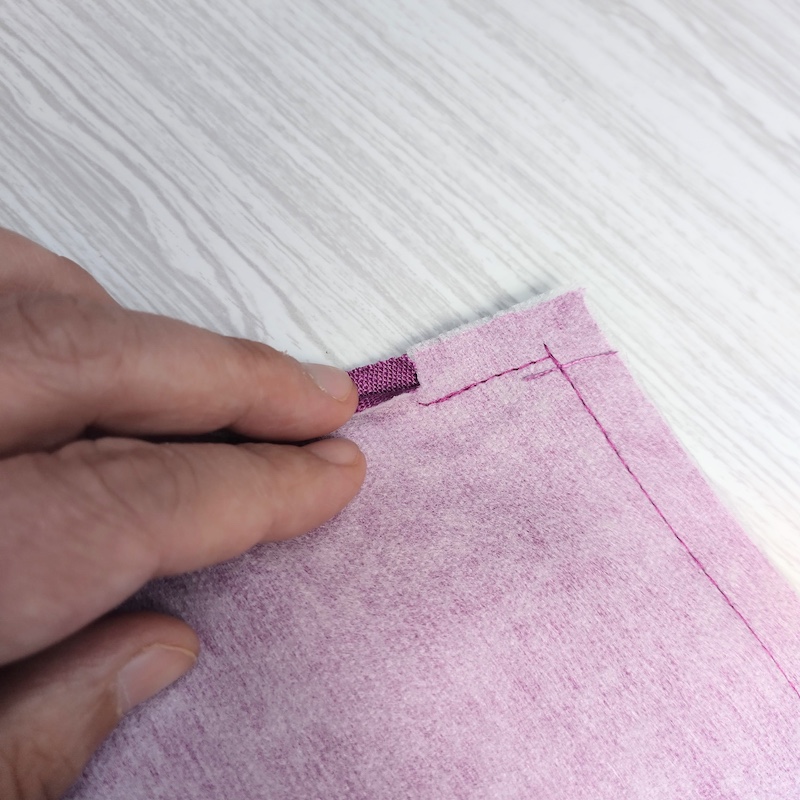
Starting at the notch on the neckline, about 2 cm in from the corner, stitch along the edge using a 1cm seam allowance. Turn the corner and stitch down the centre front.
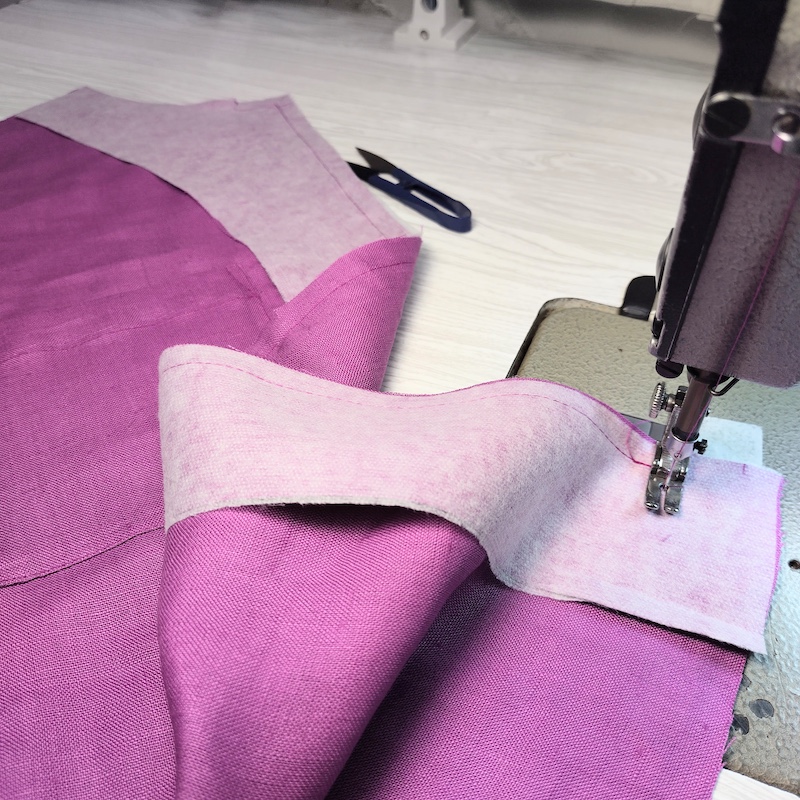
Stop stitching at the hem notch, 3.5cm from the edge of the fabric, turn and stitch along the hem finish. Stop 1cm before the facing edge. We are going to turn the facing edge under to create a nice finish. If you do not want to do this, you could overlock this edge.
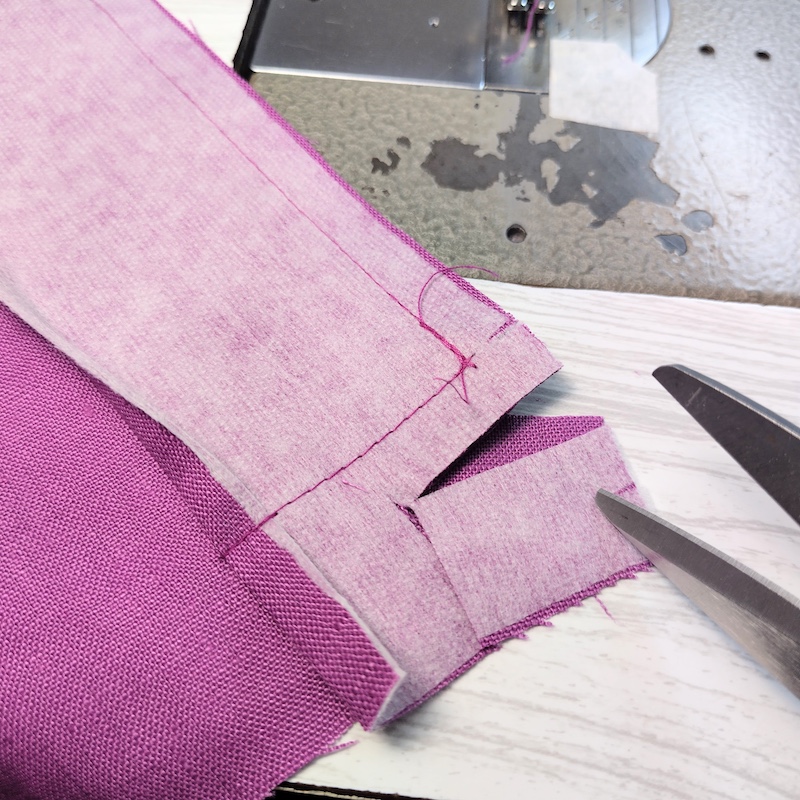
I have backtacked along the corner edge to make the corner stronger. Trim excess from the corner. As seen in the photo, I have sewn down the turned seam.
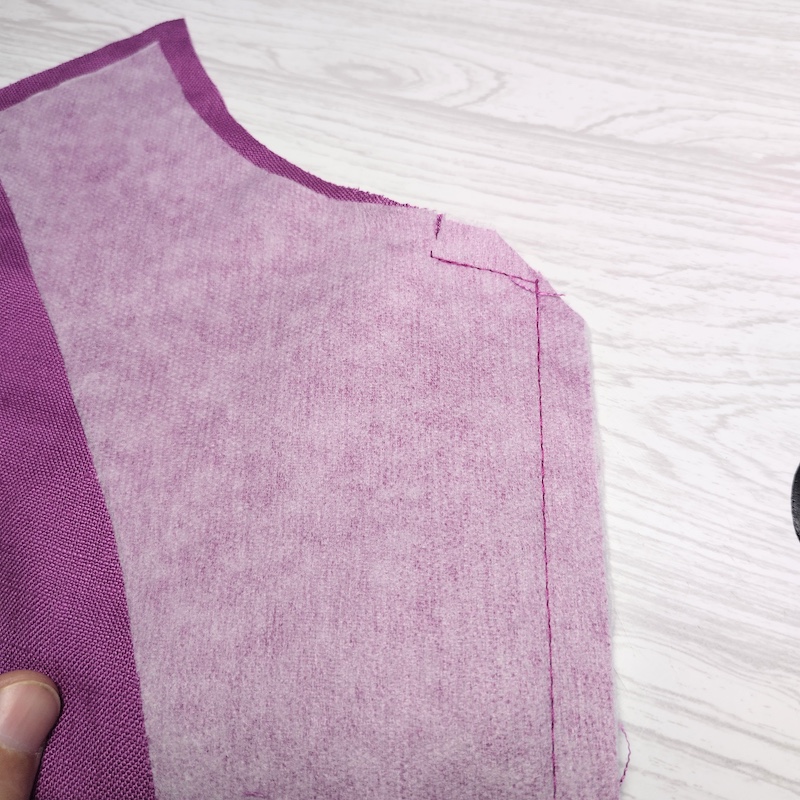
Trim excess fabric from the top corner at the collar.
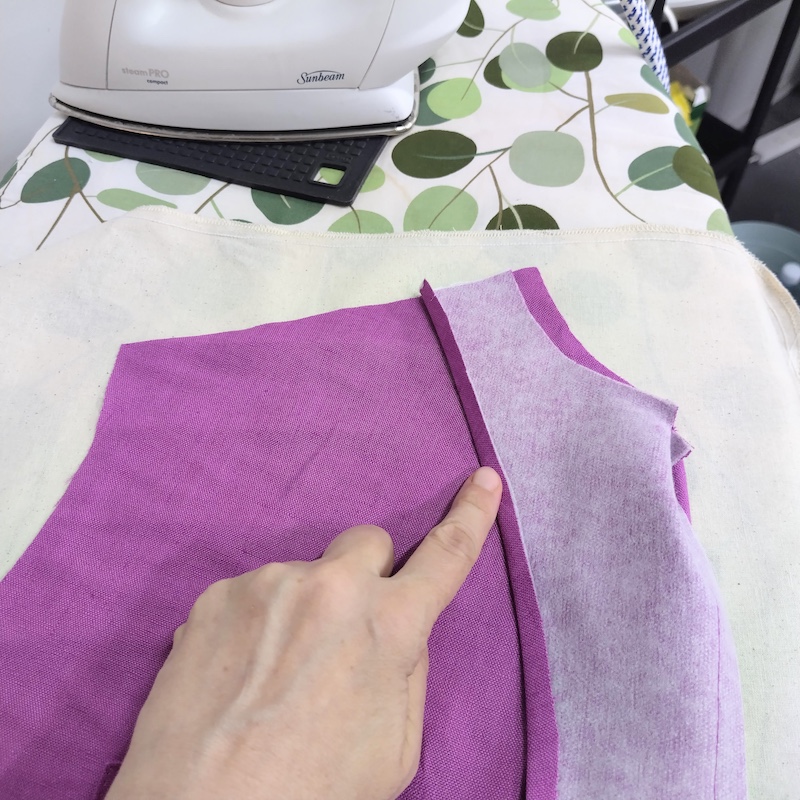
Press a 1cm seam down along the facing outer edge.
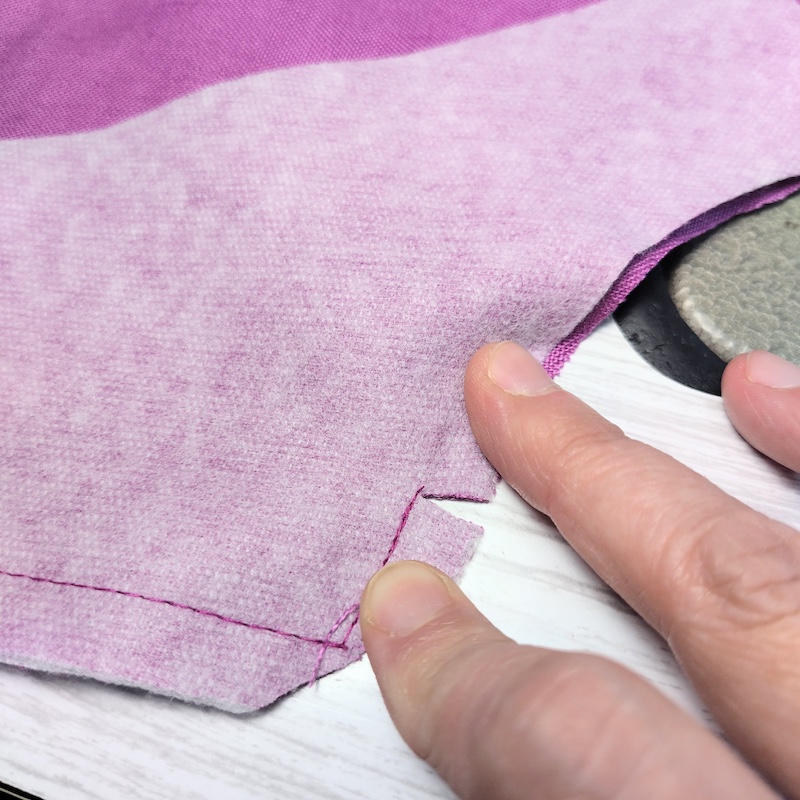
Cut the notch at the collar to meet the stitching. We are now ready to bag out the facing.
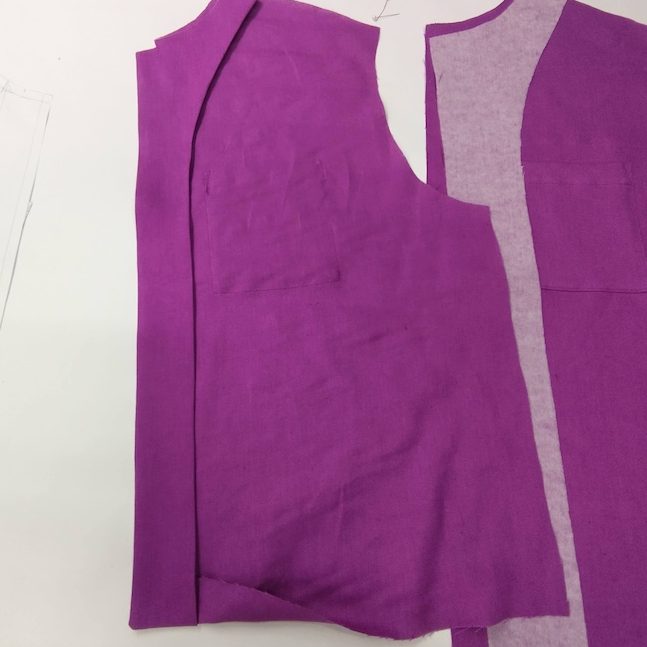
Bag out to the right side and give the facing a good press. Please note, press the double turn along the hem, in preparation for the stitching. For instructions on how to press the double turn hem, please go to point 4.
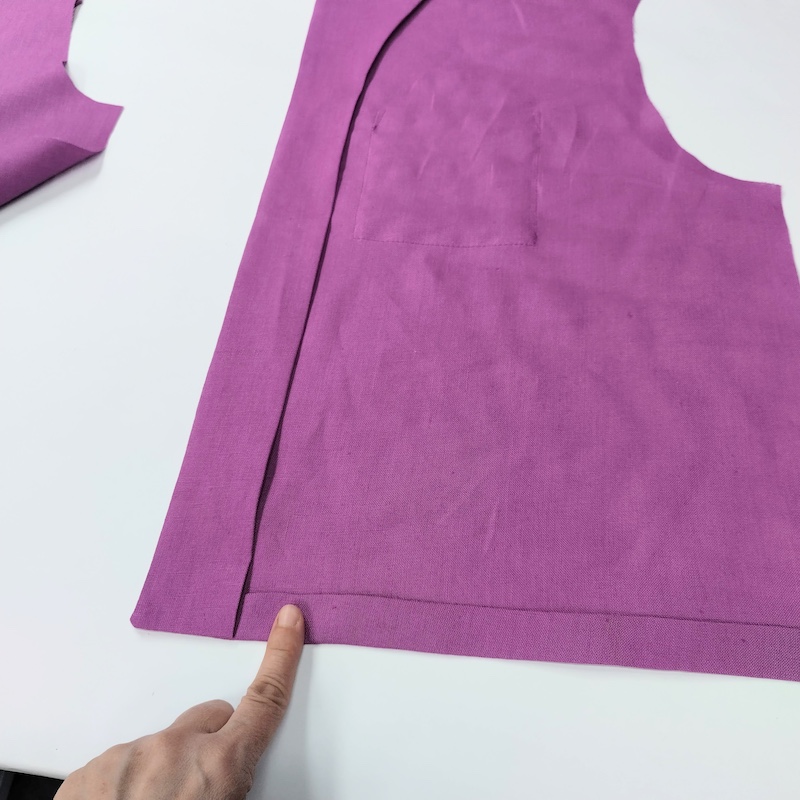
This photo shows the double turn along the hem. Just pressed, not sewn, with the facing before pinning down.
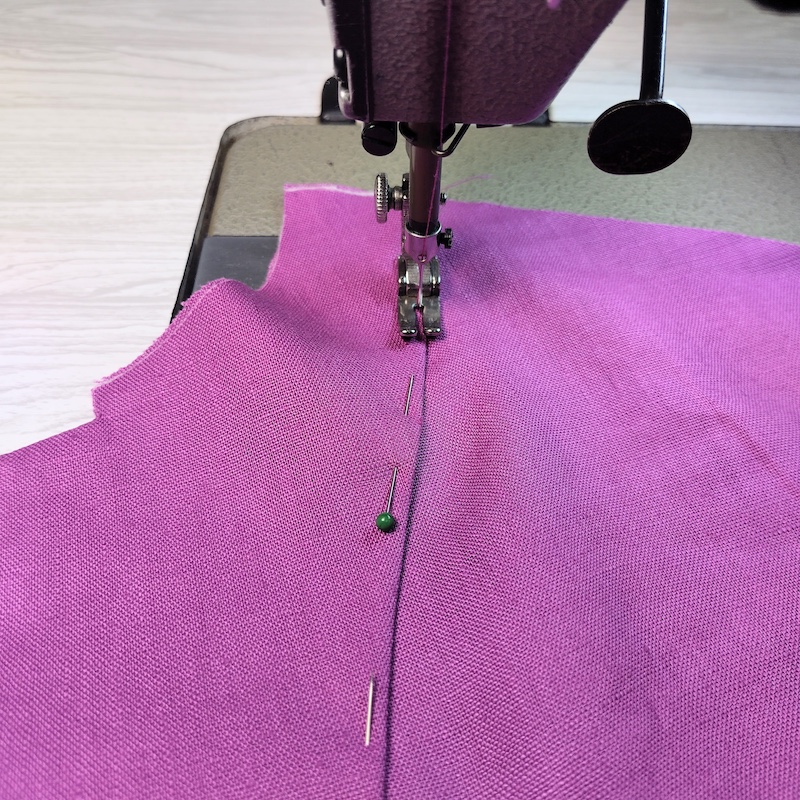
Once the facing is neatly pressed, pin it down and stitch closely along the folded edge. Your stitch should be about 2mm from the edge.
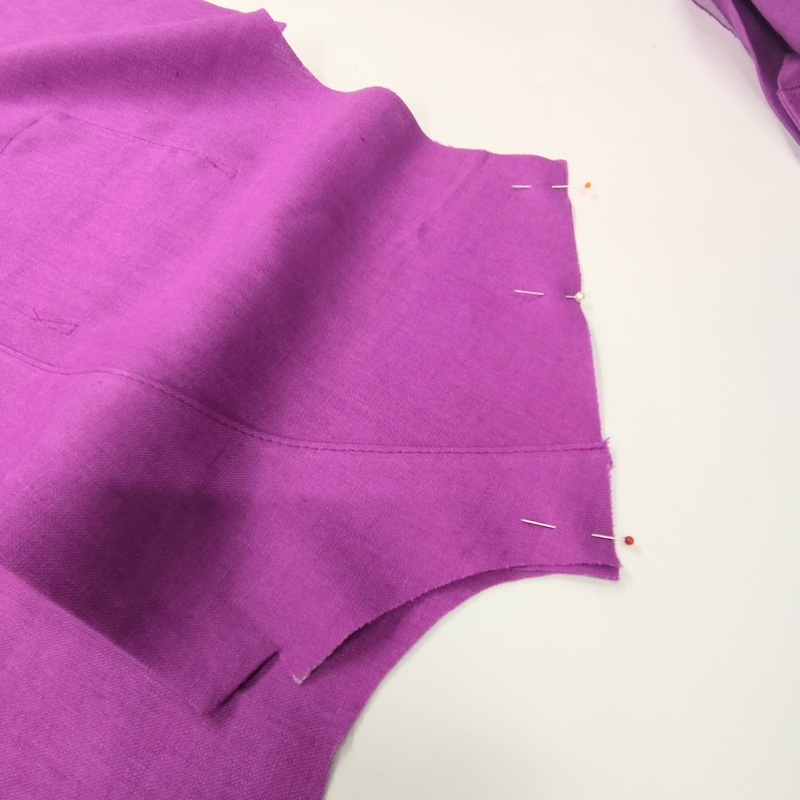
3. SHOULDER & SIDE SEAMS
Place the front panel on top of the corresponding shoulder of the back panel, right sides together. Pin and stitch the shoulder seam with a 1 cm seam allowance.
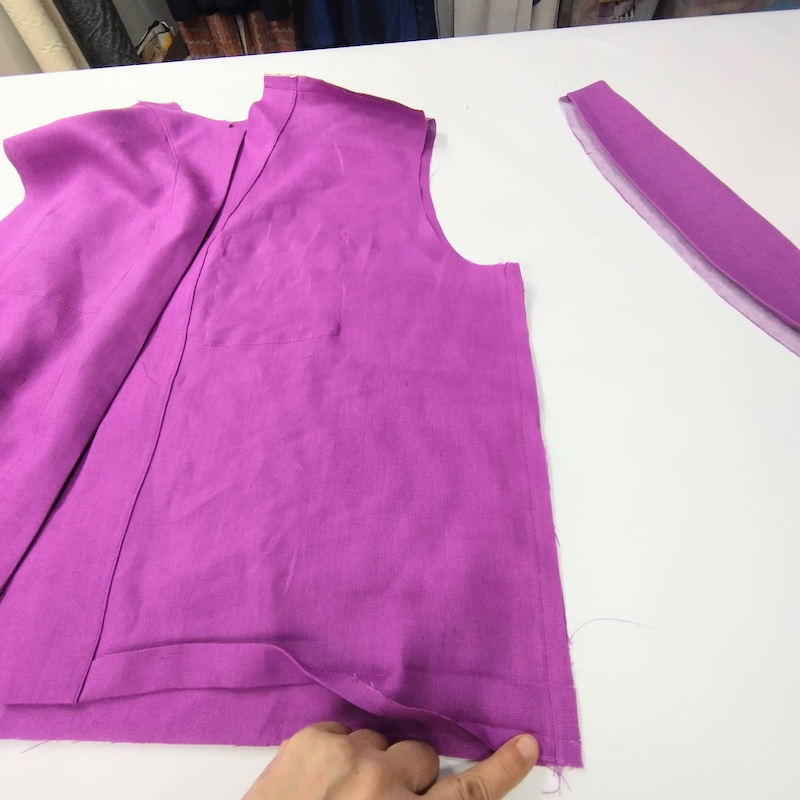
Sew the side seams at 1cm seam allowance and overlock both the shoulder seams and the side seams together.
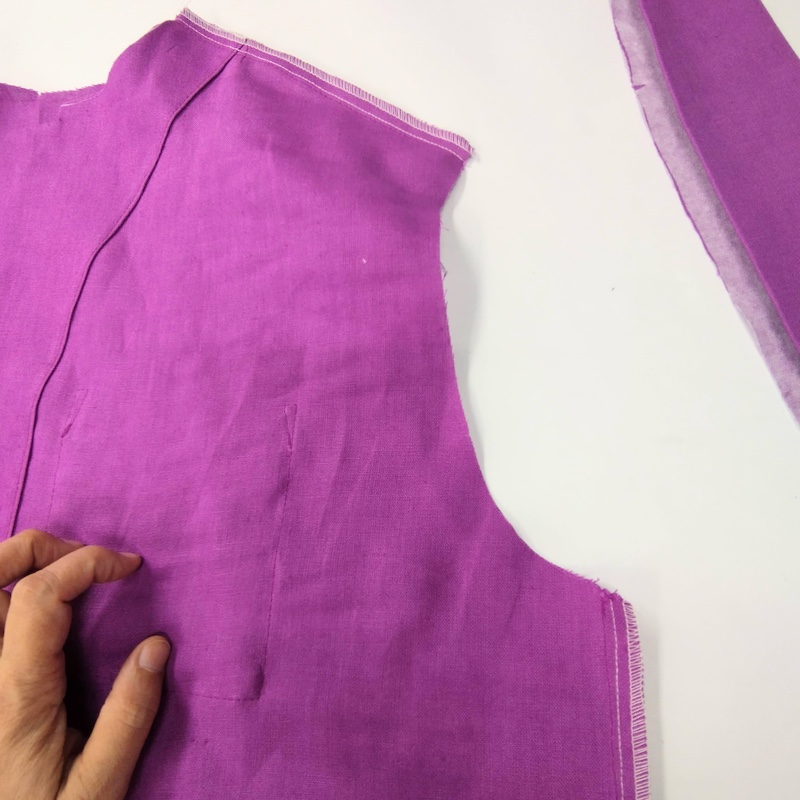
Overlocked shoulders and side seams.
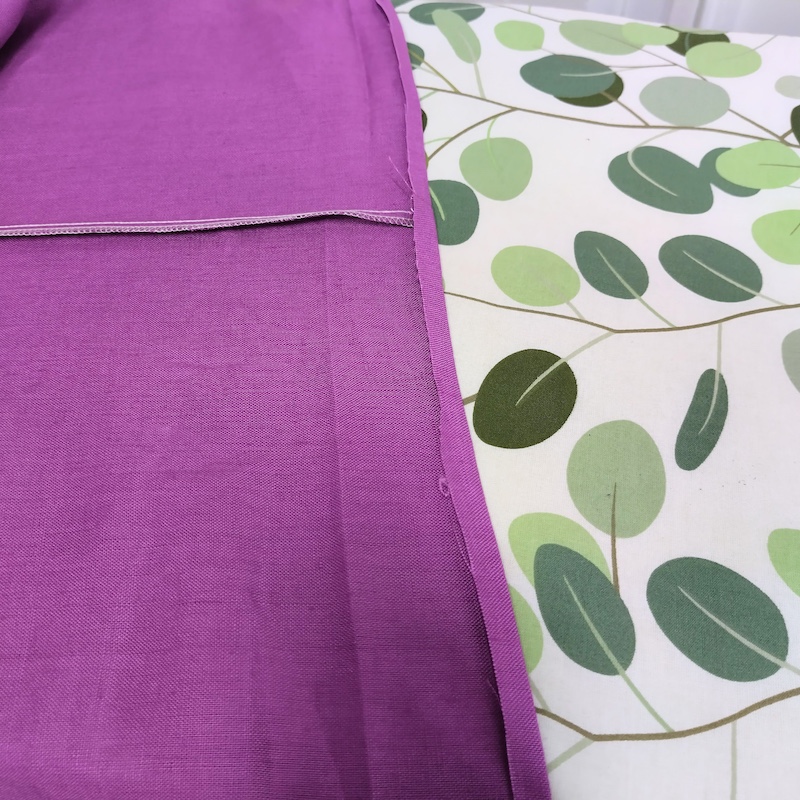
4. HEM
Press the first turn of the double-fold hem at 1cm.
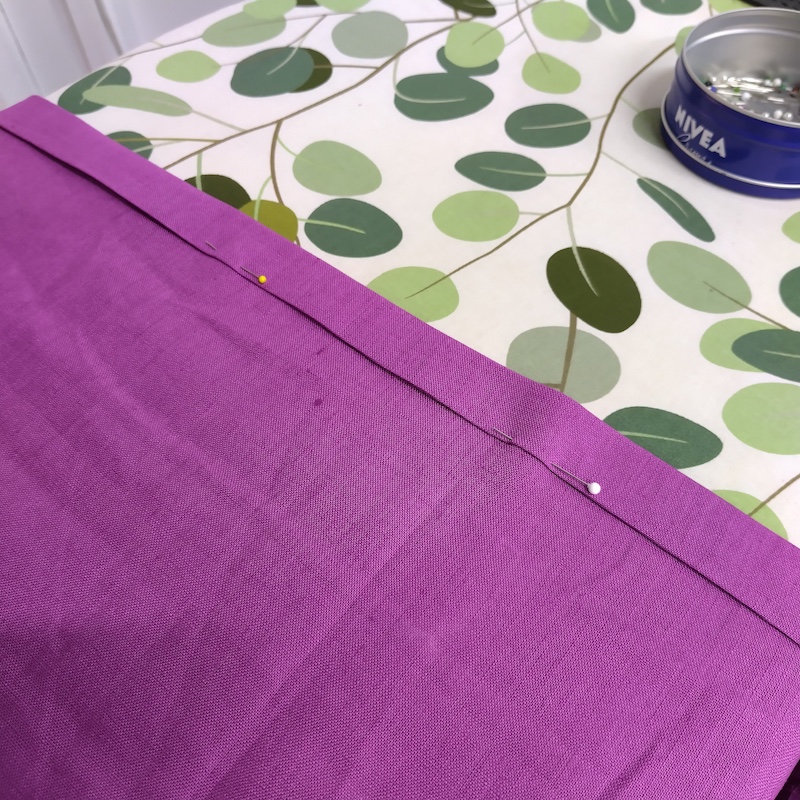
Then turn again at 2.5cm and press. Pin the hem down to keep it in place.
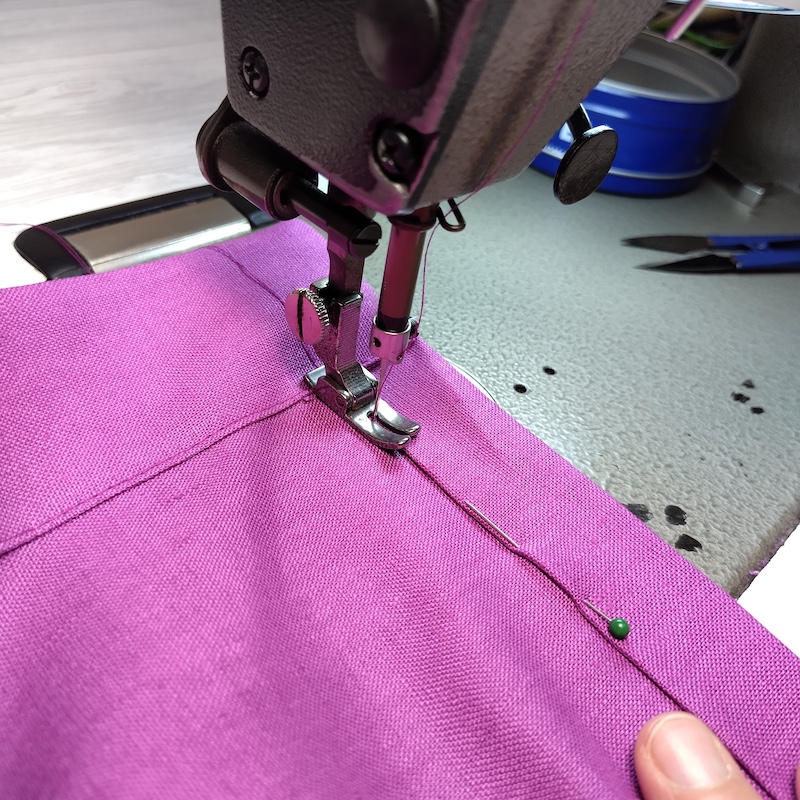
Sew the hem along the fold at 2mm from the edge.