This method gives a clean, durable finish — often used in jeans, trousers, and tailored garments.
You’ll Need:
- 2 front garment pieces (left and right)
- 1 fly guard (also called fly shield) – cut from fabric and interfaced
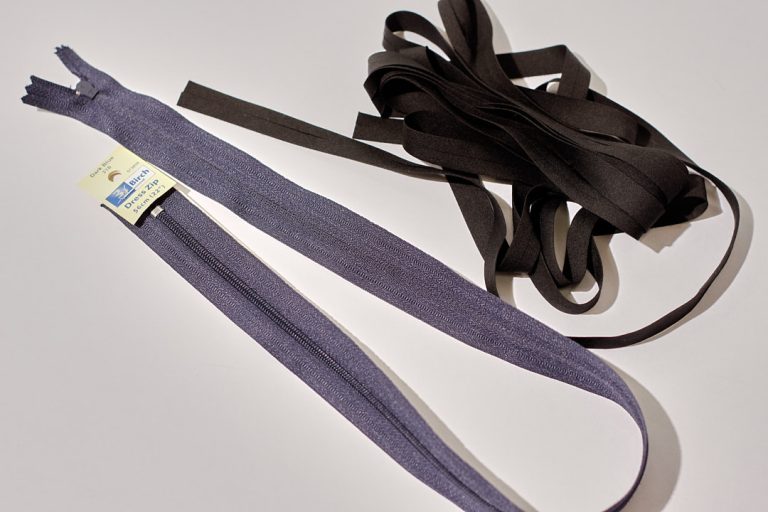
- 1 zipper (metal or nylon; 5–7″ depending on the pattern)
- Interfacing (for fly extensions and fly guard)
- Tailor’s chalk or fabric marker
Step-by-Step Instructions:
1. Interface and Prepare
- Apply light to medium interfacing to:
- The fly extensions on both front pieces (usually 1–1½” wide).
- The fly guard on one side (wrong side of fabric).
- Finish raw edges of the fly guard and fly extensions (overlock, zigzag, or turn and stitch).
2. Press the Fly Extensions
- On the left front piece (as worn), fold and press the fly extension under along the center front line.
- The right front stays flat — this is the underlap.
3. Prepare and Attach the Fly Guard
- Fold the fly guard in half, right sides together.
- Stitch around the long curved edge if applicable (some patterns are rectangular), then turn right side out and press.
- Baste or pin the straight edge of the fly guard to the right front fly extension, along the zipper edge, with right sides together.
4. Sew the Zipper to the Right Side (Underlap)
- Place the zipper face down onto the right fly extension, with the fly guard underneath it.
- Align the edge of the zipper tape with the fabric edge.
- Pin, then stitch with a zipper foot, close to the zipper teeth.
- Flip everything back out — the zipper should now be secured between the fly extension and the guard.
5. Attach the Zipper to the Left Side (Overlap)
- Fold the left front over the zipper, so the fly extension overlaps and hides the zipper.
- Adjust until the overlap looks even (about ¾” to 1″).
- Pin in place. Topstitch close to the folded edge of the left fly extension to secure it to the zipper tape beneath.
6. Topstitch the Fly
- Use tailor’s chalk to mark the fly curve on the left front — it should start a little below the waistband and curve outward, then back in to meet the rise seam line.
- Carefully topstitch along the curve through all layers (including the fly guard underneath).
- Add a second line of topstitching about ¼” away for strength and style.
7. Sew the Front Rise Seam
- Now flip the garment pieces right sides together.
- Match the crotch seam, starting from the inseam up to where the fly ends.
- Sew the front rise seam, blending into the zipper area just below the bar tack or fly topstitching.
8. Secure with a Bar Tack
- Add a bar tack at the base of the fly curve, just above the rise seam.
- This reinforces the area and keeps the fly in place.
Optional Finishing:
- Trim the zipper if it’s longer than needed, and bind or tape the top edge.
- If adding a waistband, enclose the top of the fly guard and zipper within it.
Tips:
- The fly guard adds comfort by keeping the zipper off the skin and adds structure.
- Baste the zipper or fly curve before topstitching if you’re nervous about shifting.
- For jeans-style pants, topstitch with heavy-duty thread and a longer stitch length for a professional look.