Our Location
Redfern, Sydney, NSW
Australia

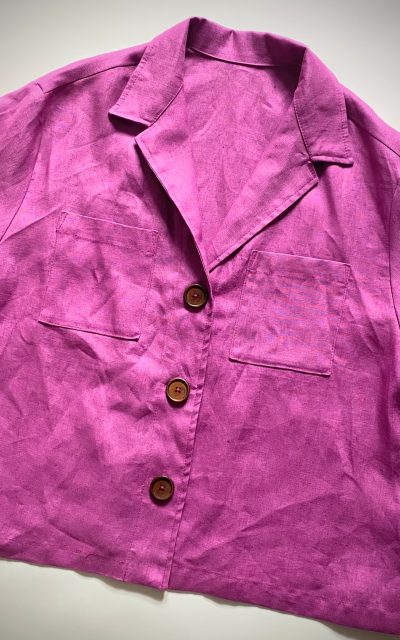
This tutorial will walk you through how to set in a sleeve using the most common method: the eased-in sleeve cap, perfect for most blouses.
YOU WILL NEED…
1. PREP YOUR SLEEVE
Start by sewing the underarm seam of your sleeve (right sides together) and press the seam open or toward the back. If your pattern includes a sleeve cap notch, make sure it’s marked clearly. Most sleeves have notches for front, back, and shoulder points — they’re your guide to matching everything up correctly.
Tip: Two notches indicate the back of the sleeve, one notch for the front, and a single top notch for the shoulder.
2. SEW TWO ROWS OF GATHERING STITCHES
Using a long straight stitch, sew two rows of basting stitches between the front and back notches along the sleeve cap — one at 1/4″ from the edge and another at 1/2″. Don’t backstitch at the ends. These will help ease in the slight curve of the sleeve into the armhole.
3. ALIGN AND PIN
Turn the blouse inside out and keep the sleeve right side out.
Slip the sleeve into the armhole so the right sides are together, matching:
Pin those anchor points first, then gently pull on the basting threads to gather the sleeve cap slightly, easing the fullness to fit between the front and back notches. Distribute the gathers evenly — you’re aiming for a smooth, rounded sleeve cap without puckers.
4. STITCH THE SLEEVE TO THE ARMHOLE
Once pinned and eased evenly, stitch around the armhole with a regular stitch length, sewing just inside the second row of basting stitches (about 5/8” or your pattern’s seam allowance). Go slowly, and adjust gathers as you go to avoid puckers.
5. PRESS
Turn the blouse right side out and check for any tucks or folds — if everything looks good, press the seam allowance toward the sleeve using steam to help shape the cap.
For a truly professional touch, finish the seam allowance with a serger, pinking shears, or a zigzag stitch.
Optional: Topstitching
Some blouse patterns (especially casual or tailored styles) include a topstitch along the sleeve cap. This helps hold the seam allowance in place and adds a decorative element. If you go this route, press carefully and stitch slowly along the edge of the sleeve cap.
6. SOME POINTS
Sleeve setting might take a little practice, but with a careful eye and a few easing tricks, you’ll be sewing smooth, beautiful sleeves in no time. Don’t be afraid to unpick and re-set if needed — even experienced sewists do this now and then!
Hope this tutorial helped you set in a sleeve.