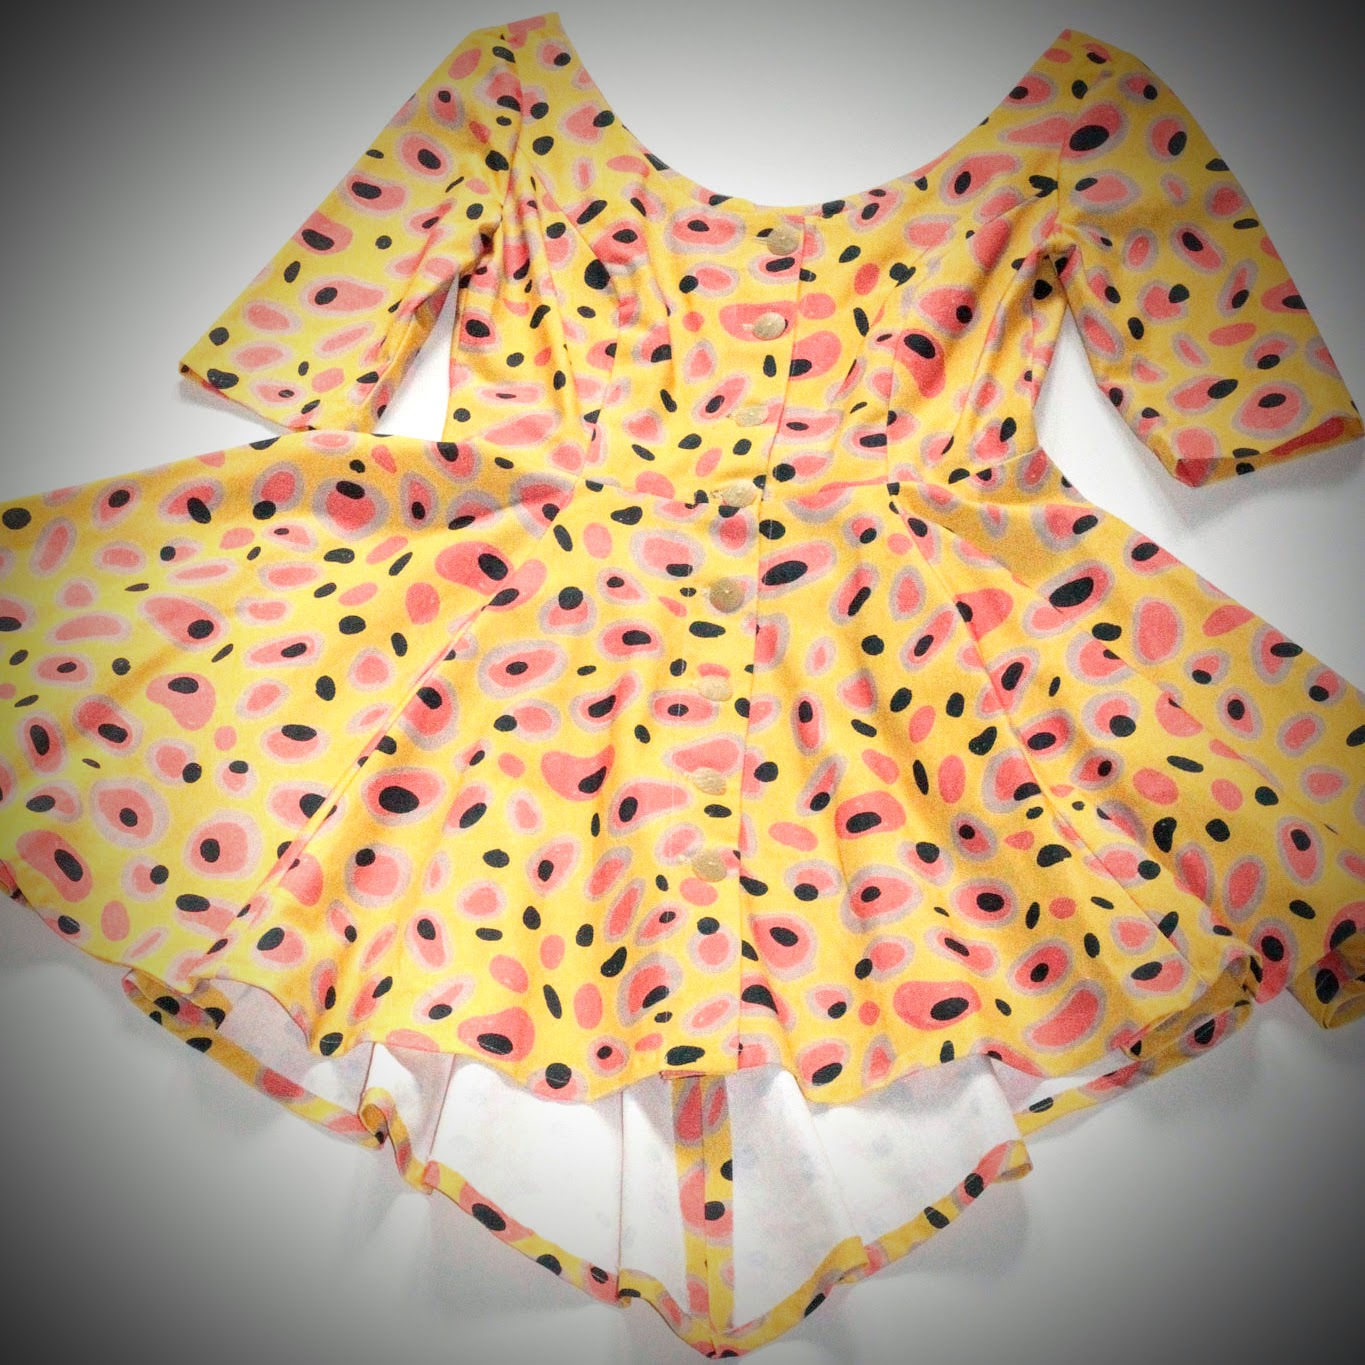
This method is used for traditional dress shirt collars, shirt dresses, and some blouses.
Collar Pattern Pieces:
You should have these pieces from your pattern:
- Upper Collar (outer, visible side)
- Under Collar (inner side—can be the same or different fabric)
- Upper Collar Stand
- Under Collar Stand
Typically, the upper collar and upper stand are interfaced for structure.
STEP-BY-STEP INSTRUCTIONS:
1. Interface the Pieces
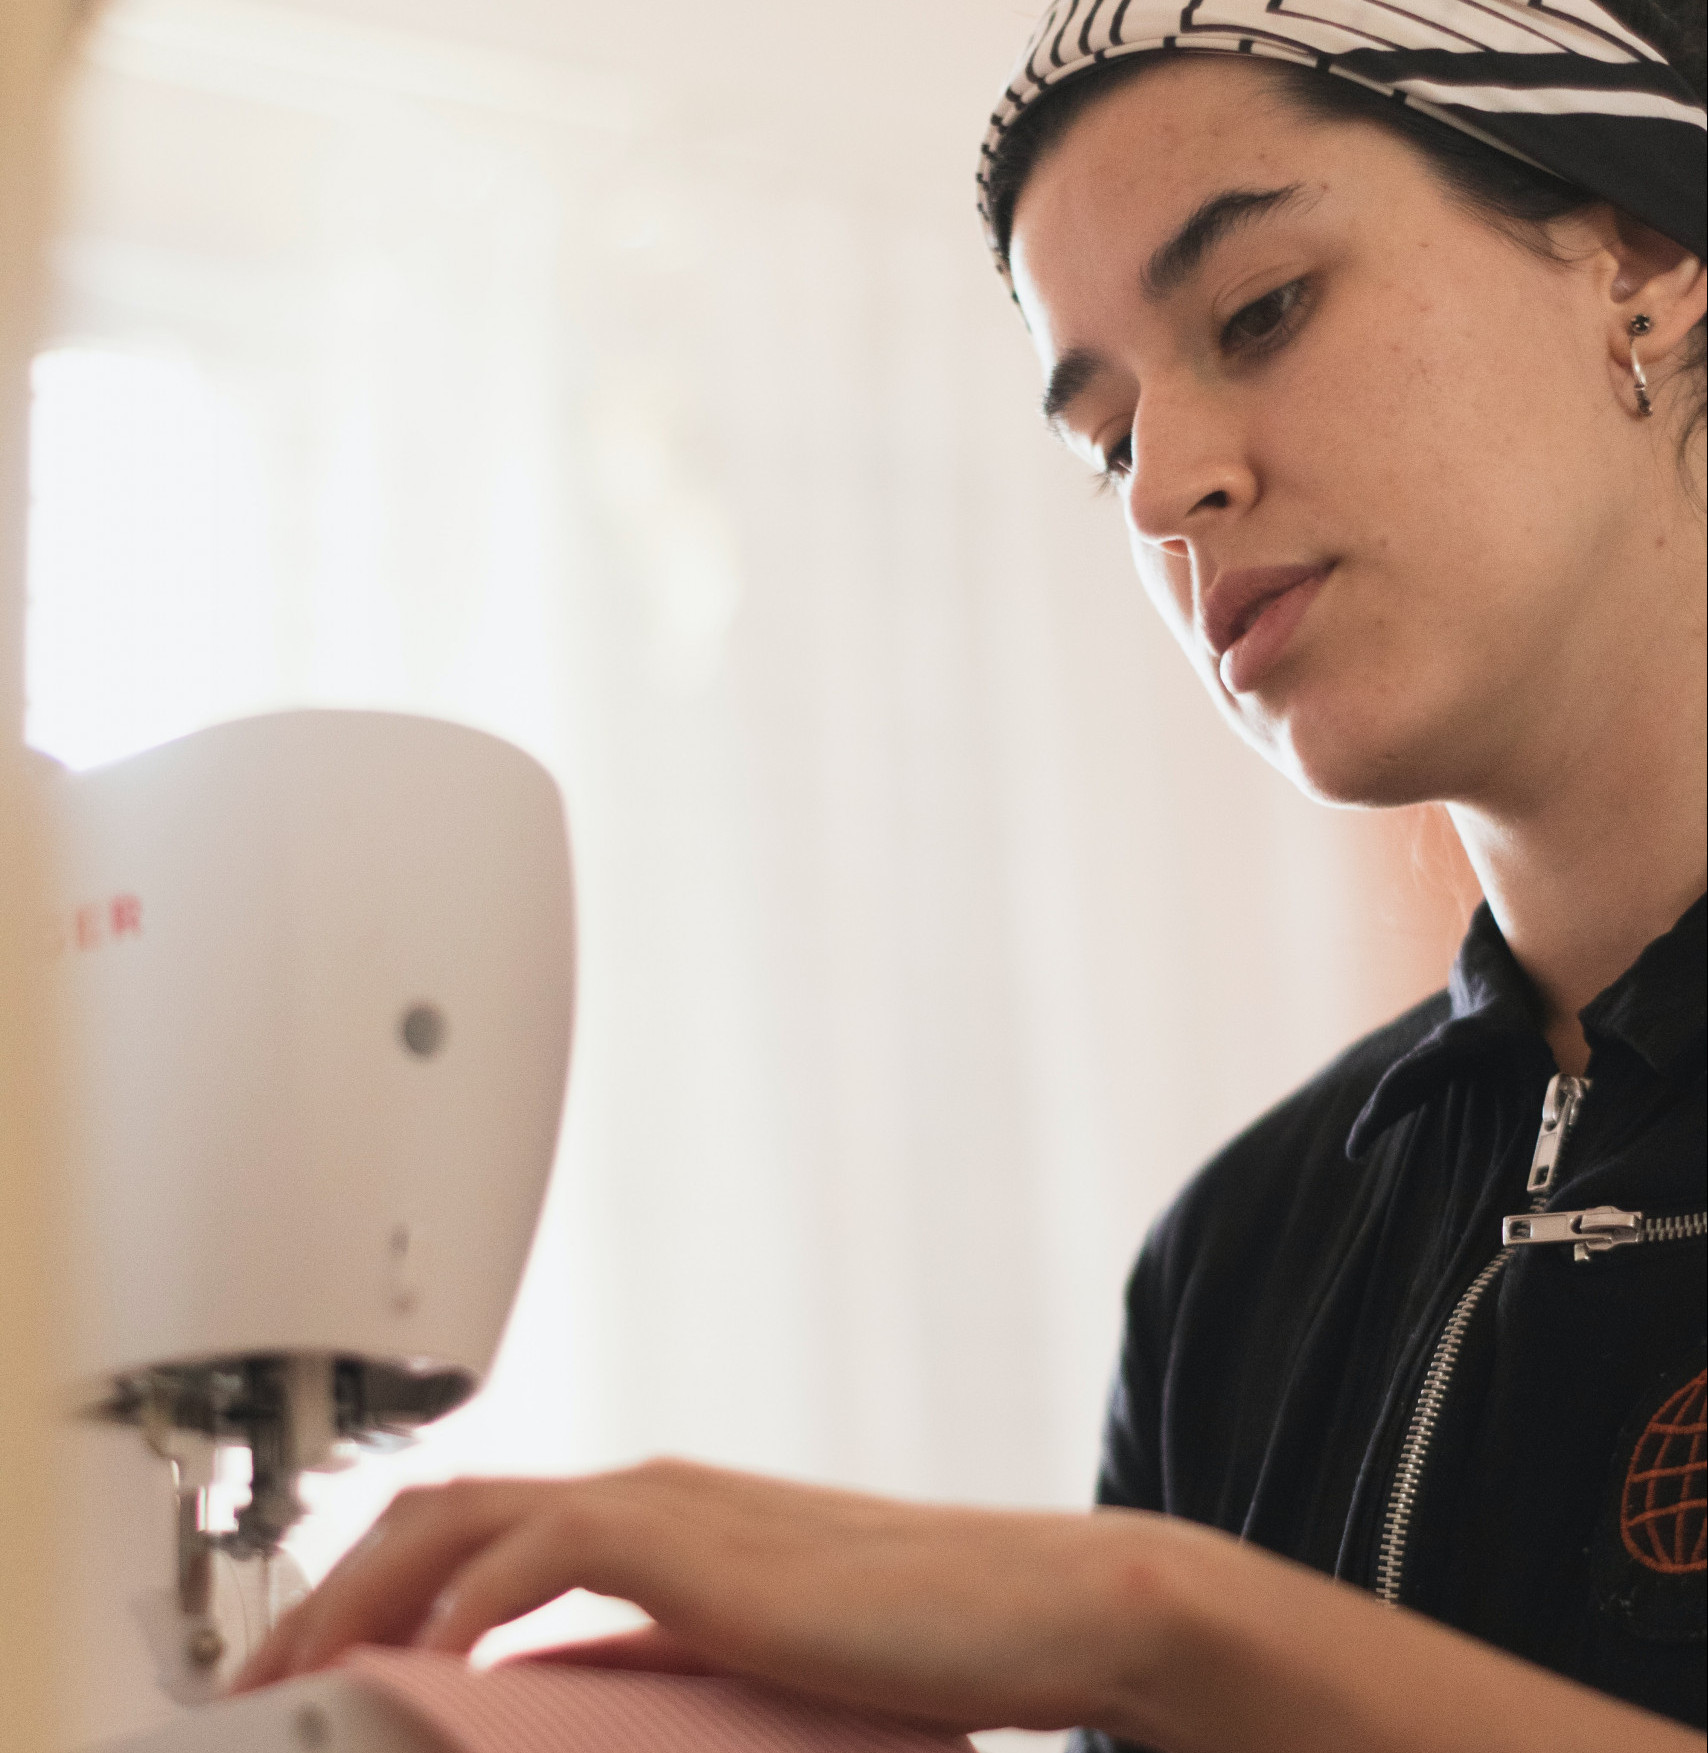
2. Sew the Collar
- Place the upper collar and under collar right sides together.
- Stitch along the long outer edge and the two short sides (leave the neckline edge open).
- Trim seam allowances, grade them, and clip corners.
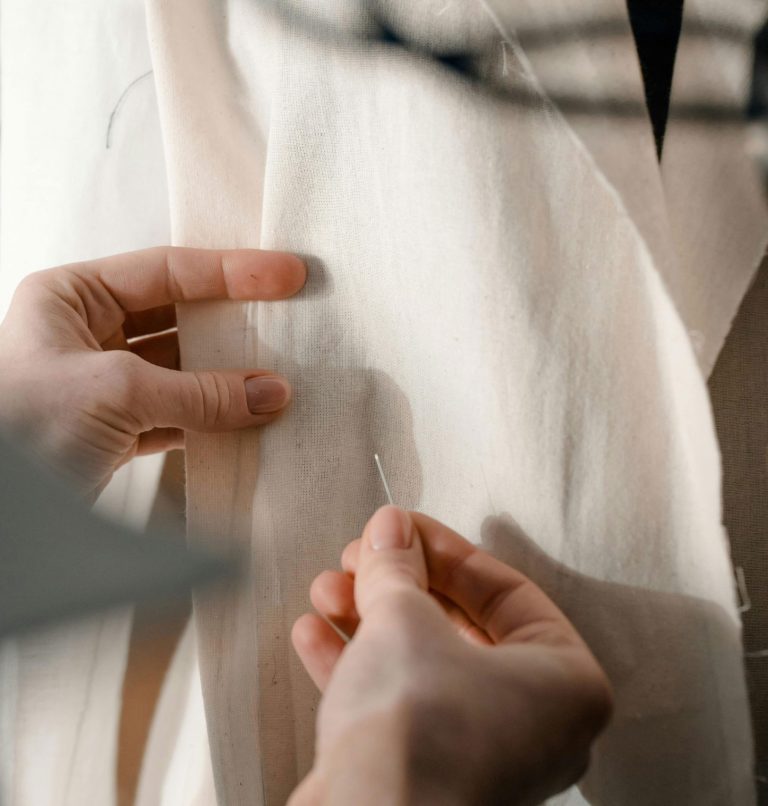
- Turn the collar right side out and press sharply, making sure the corners are crisp.
- Topstitch around the outer edges if desired (typically 1/8″ from edge).
3. Attach Collar to Collar Stand
- Sandwich the collar between the two collar stand pieces:
- The right side of the collar against the right side of the upper collar stand.
- Lay the under collar stand on top, right side down.
- Align all raw edges along the neckline edge of the collar.
- Stitch through all layers along this edge (neckline edge of the stand).
- Turn the collar stand pieces right side out and press.
4. Prepare to Attach Collar to Shirt
- Staystitch the neckline of your shirt (optional but helpful).
- Pin or clip the under collar stand (the one without interfacing) right sides together with the shirt neckline.
- Match notches and center back.
5. Stitch the Collar Stand to the Shirt
- Stitch the under collar stand to the shirt neckline.
- Press the seam allowance upward into the collar stand.
6. Finish the Inside of the Collar Stand
- Turn the seam allowance of the upper collar stand under (fold it in), enclosing the raw edges inside.
- Press and pin or baste in place.
- From the outside of the shirt, topstitch all the way around the collar stand close to the edge, catching the folded edge of the inner collar stand underneath.
Final Touches
- Check that your collar sits evenly.
- Topstitch again if you want a double line or decorative finish.
Care Tips:
- Press your collar well during construction—it makes a huge difference.
- Use a point turner or chopstick to get crisp collar corners.
Lightweight interfacing gives a softer look, while heavier interfacing provides more structure—choose depending on your style.