Our Location
Redfern, Sydney, NSW
Australia

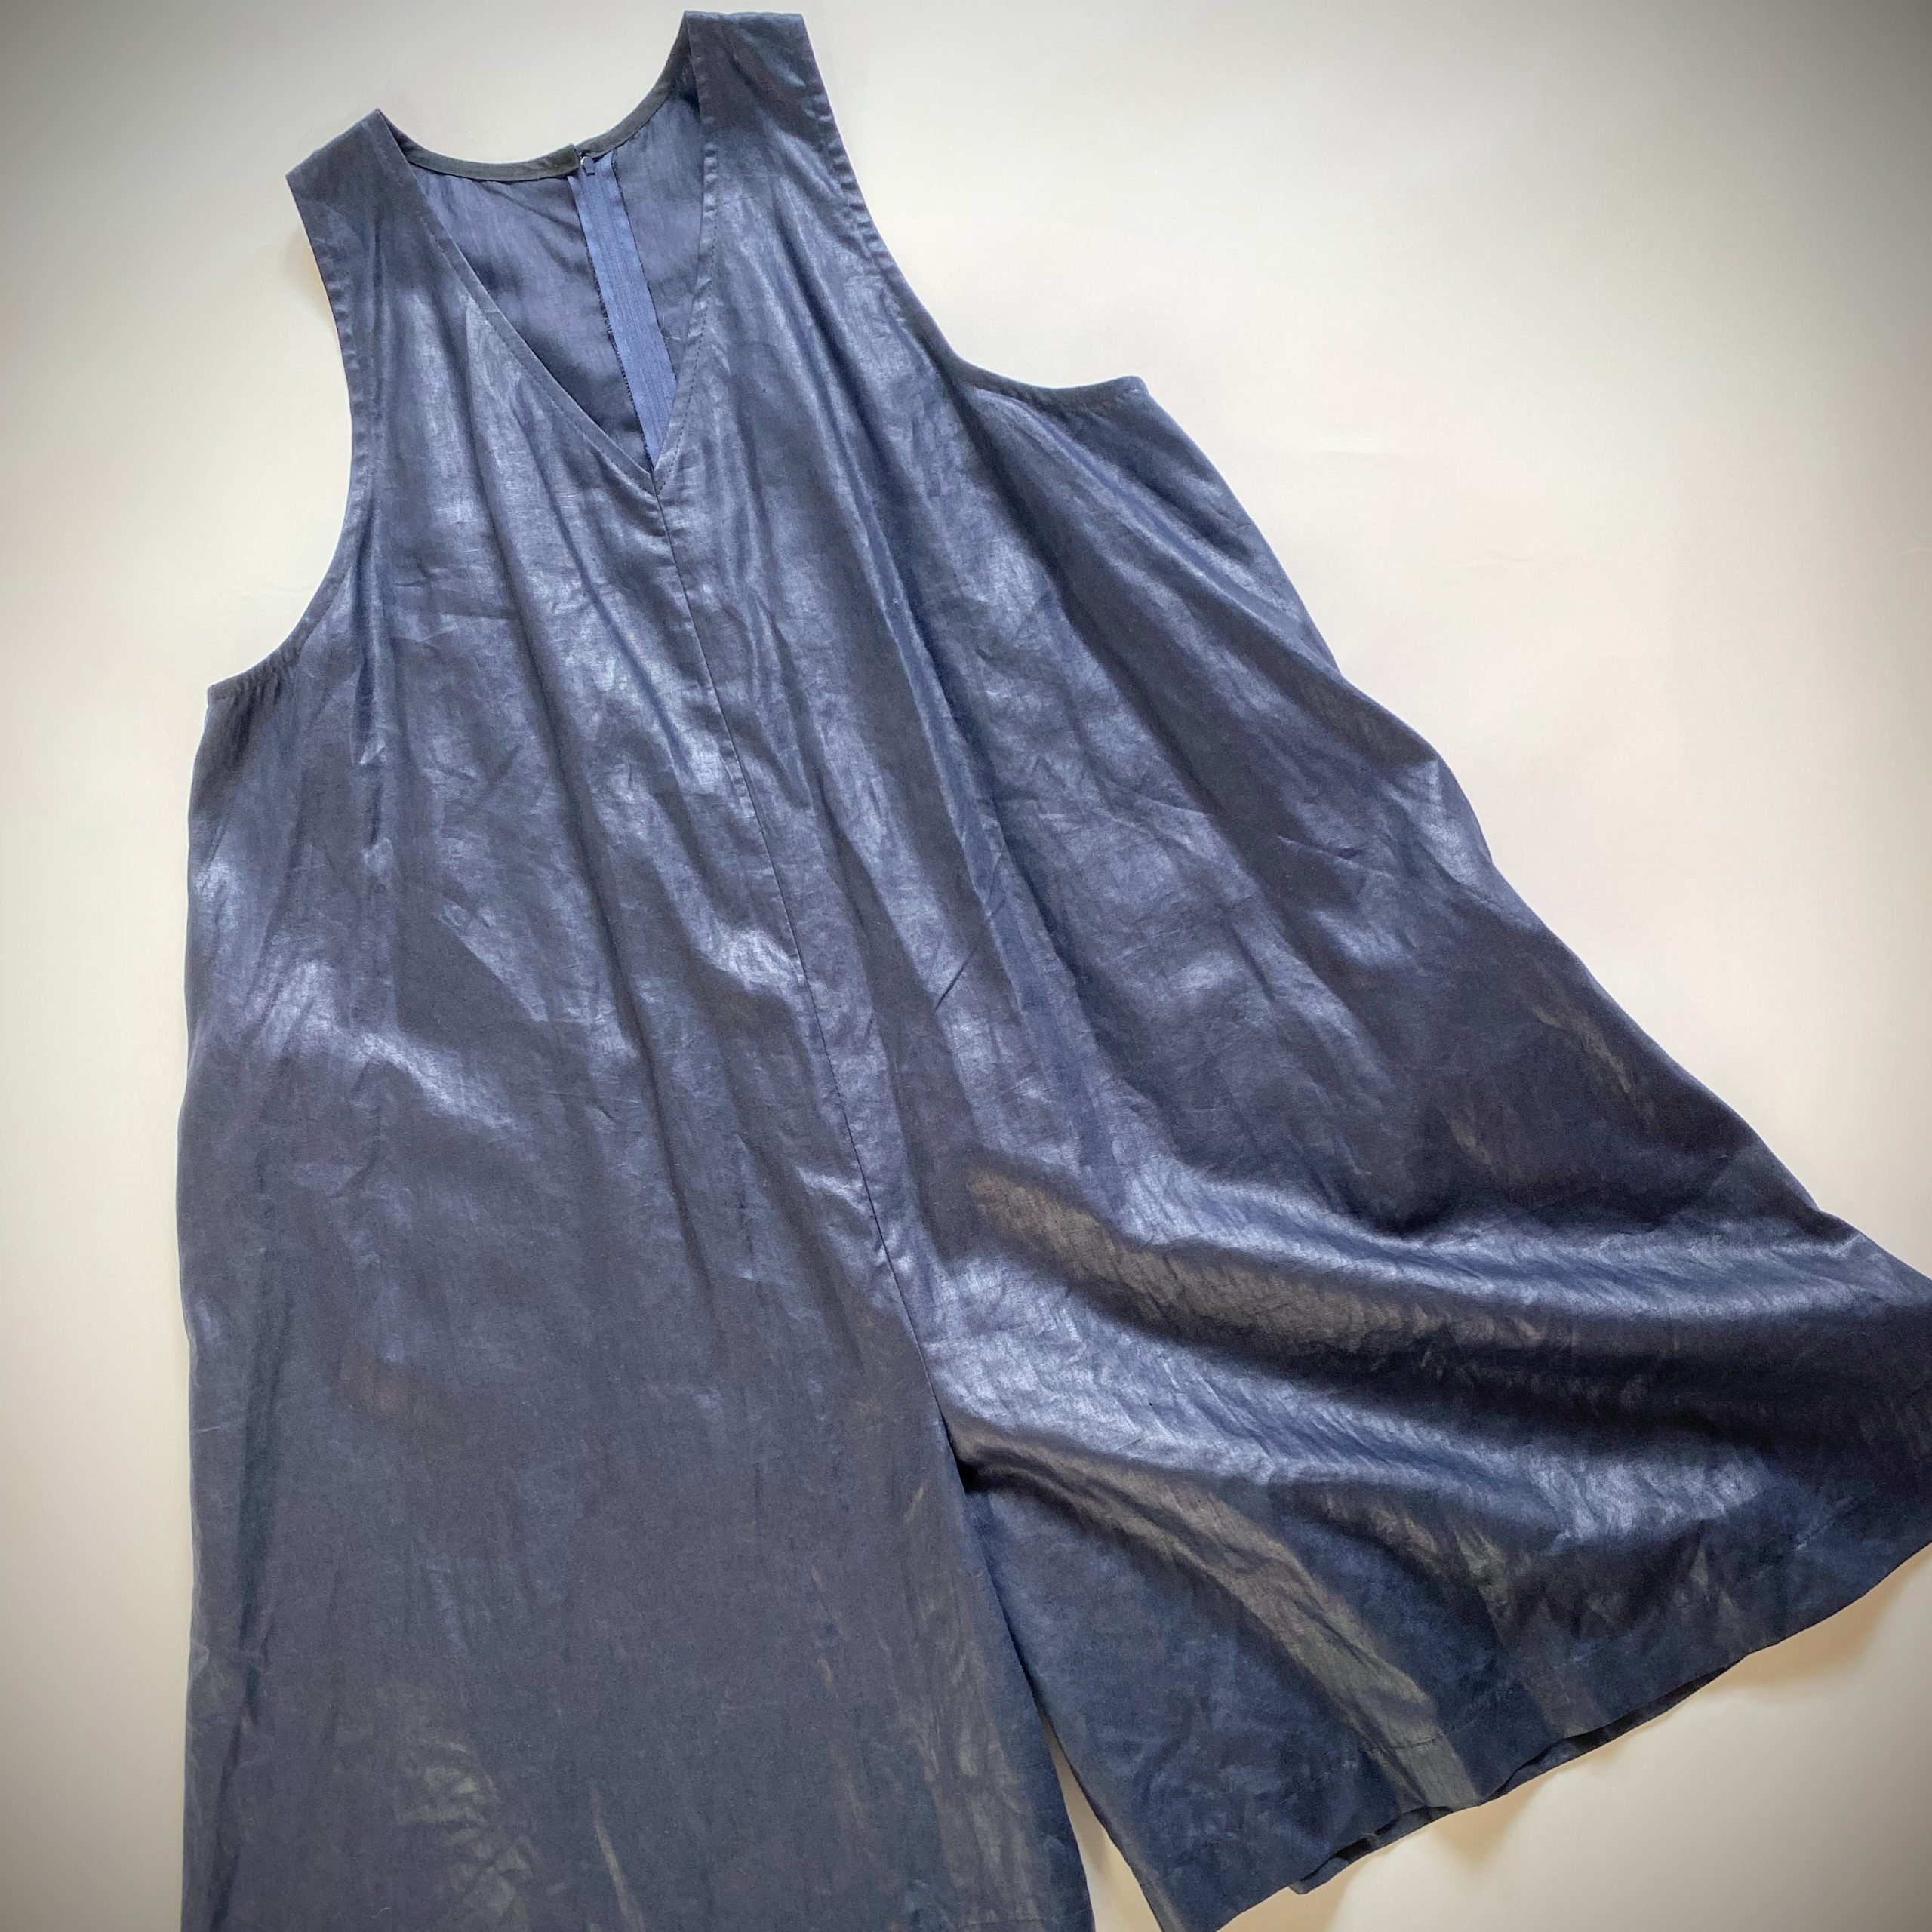
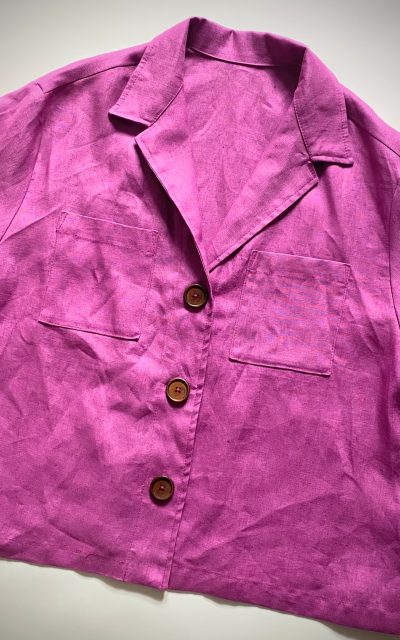
Easy and fast to sew, this is an excellent beginner’s project.
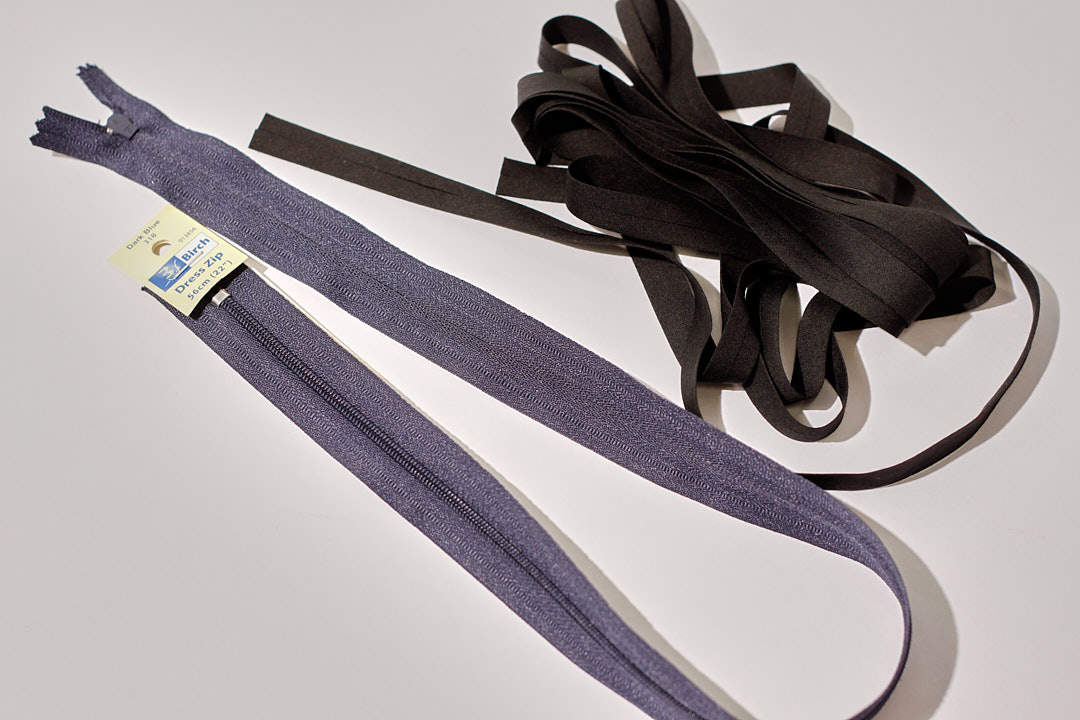
YOU WILL NEED….
A long dress zipper – ours is 56 cm
Some bias binding for armholes and neckline. We bought 3 metres.
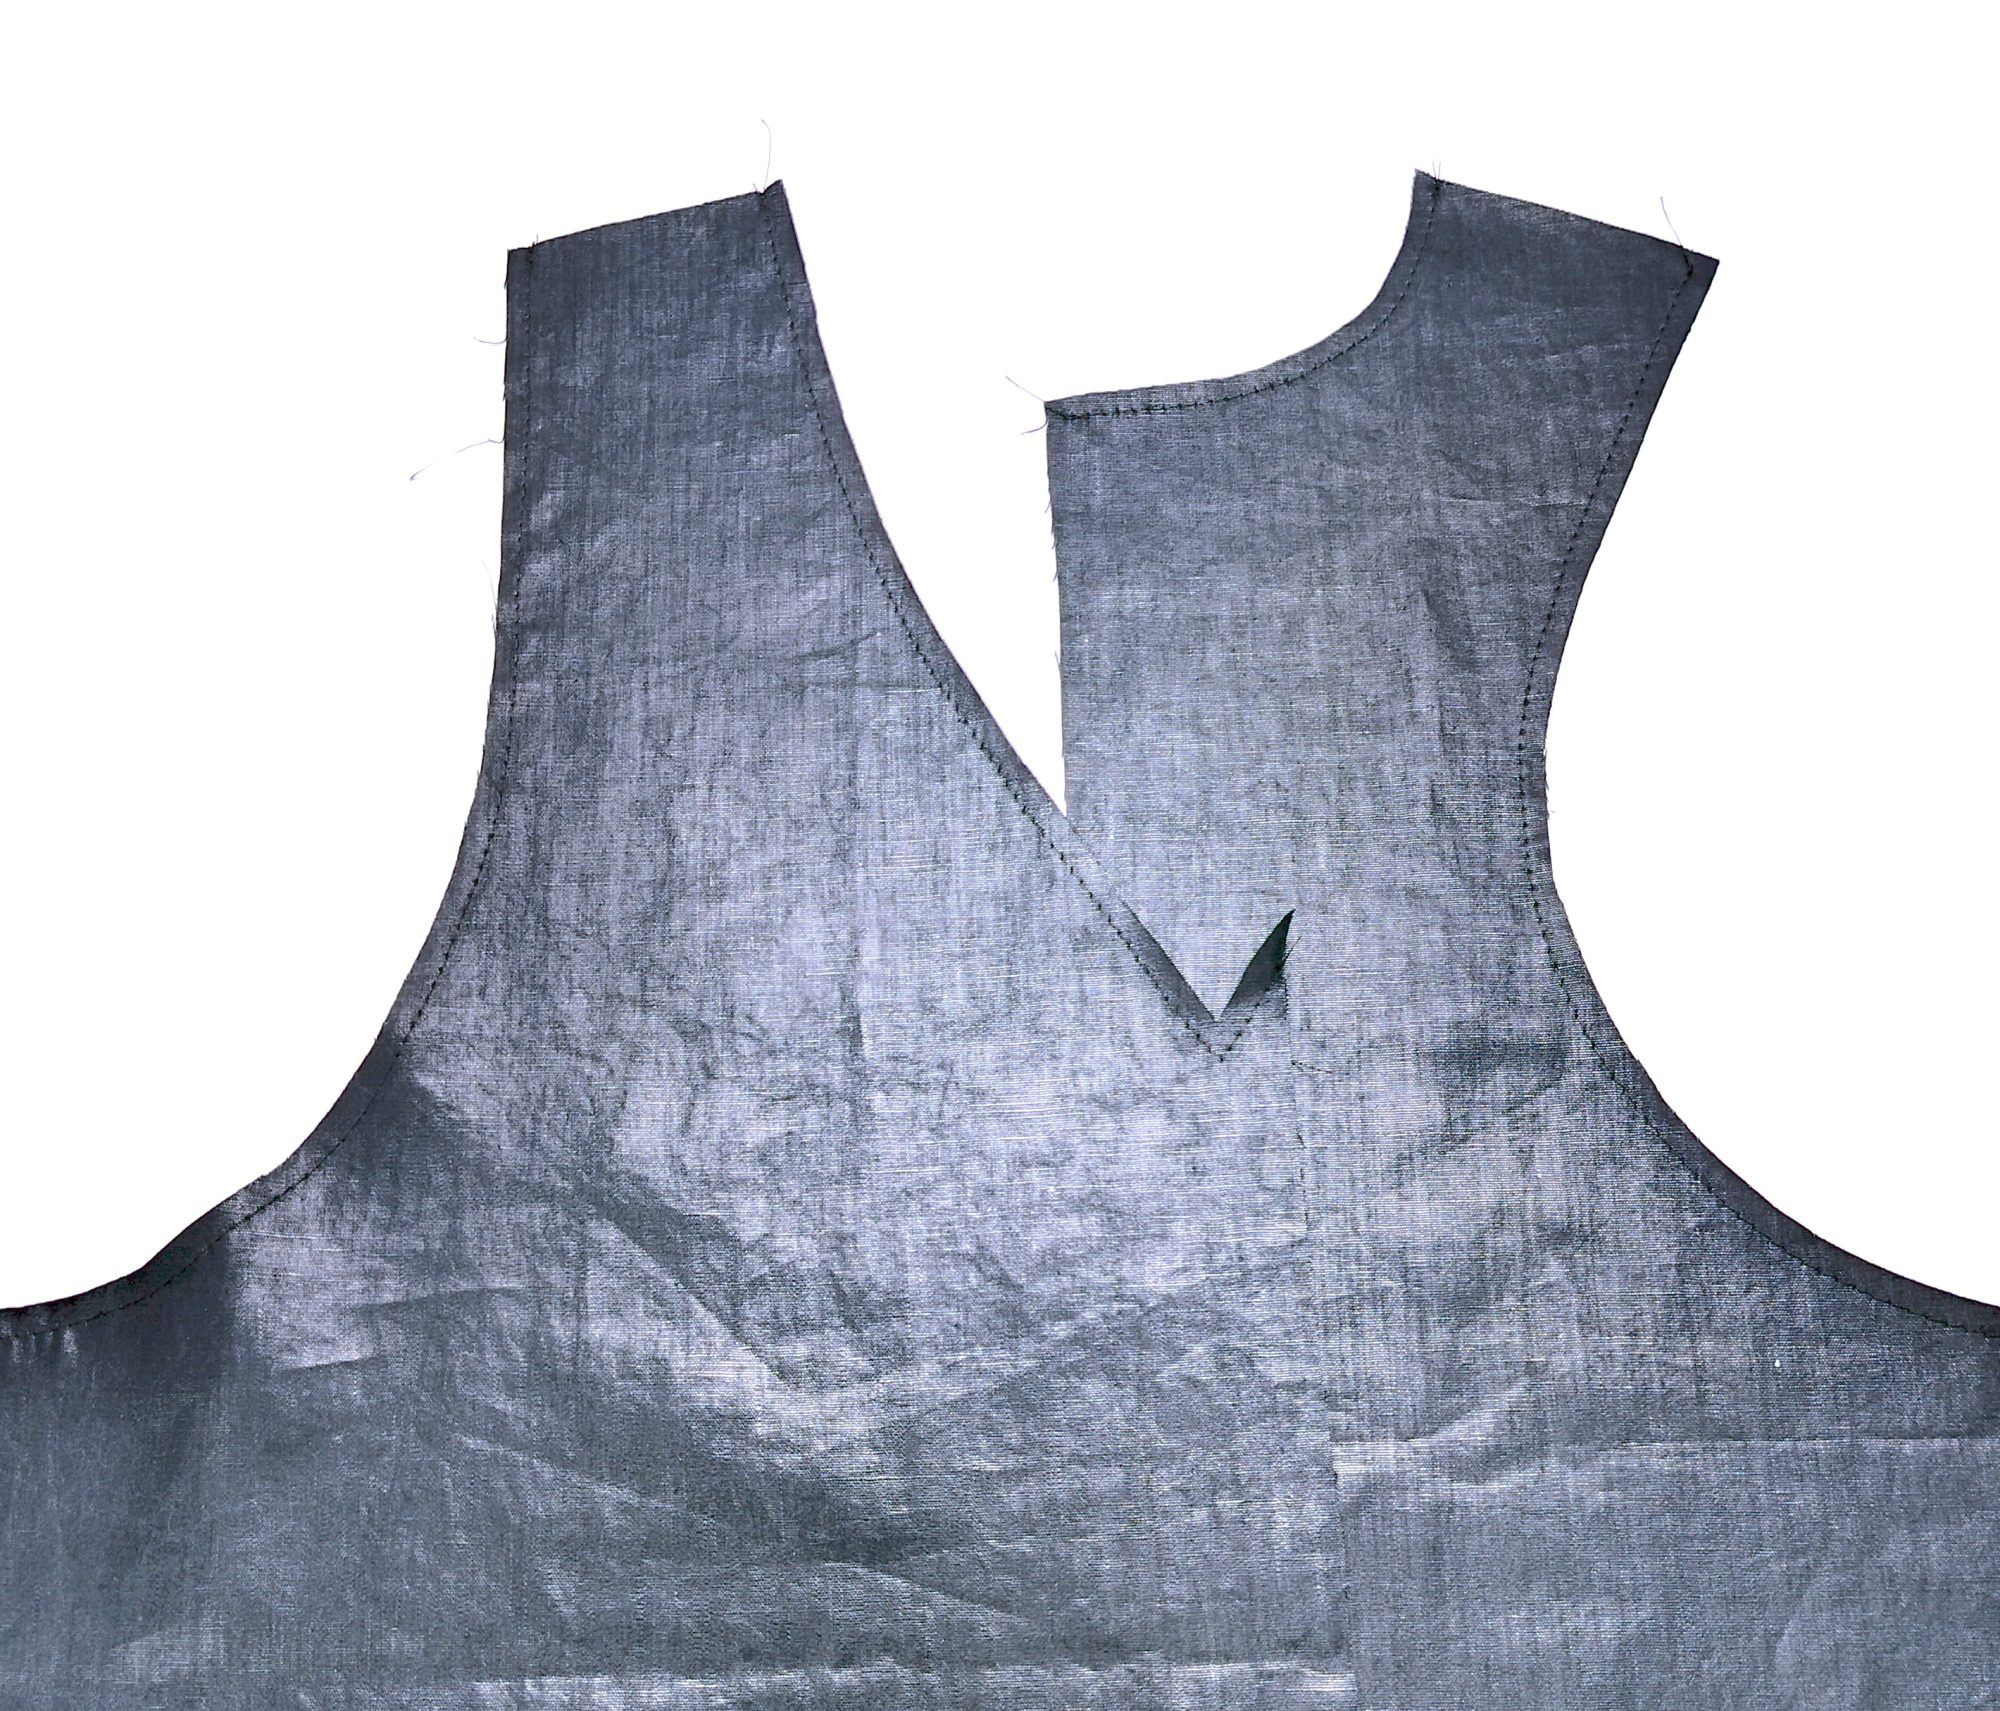
1.STAYSTITCH ARMHOLES & NECKLINE
Stitch a 6mm stay stitch around the armholes, front and back, and the collar front and back to keep the shape intact and prevent stretching.
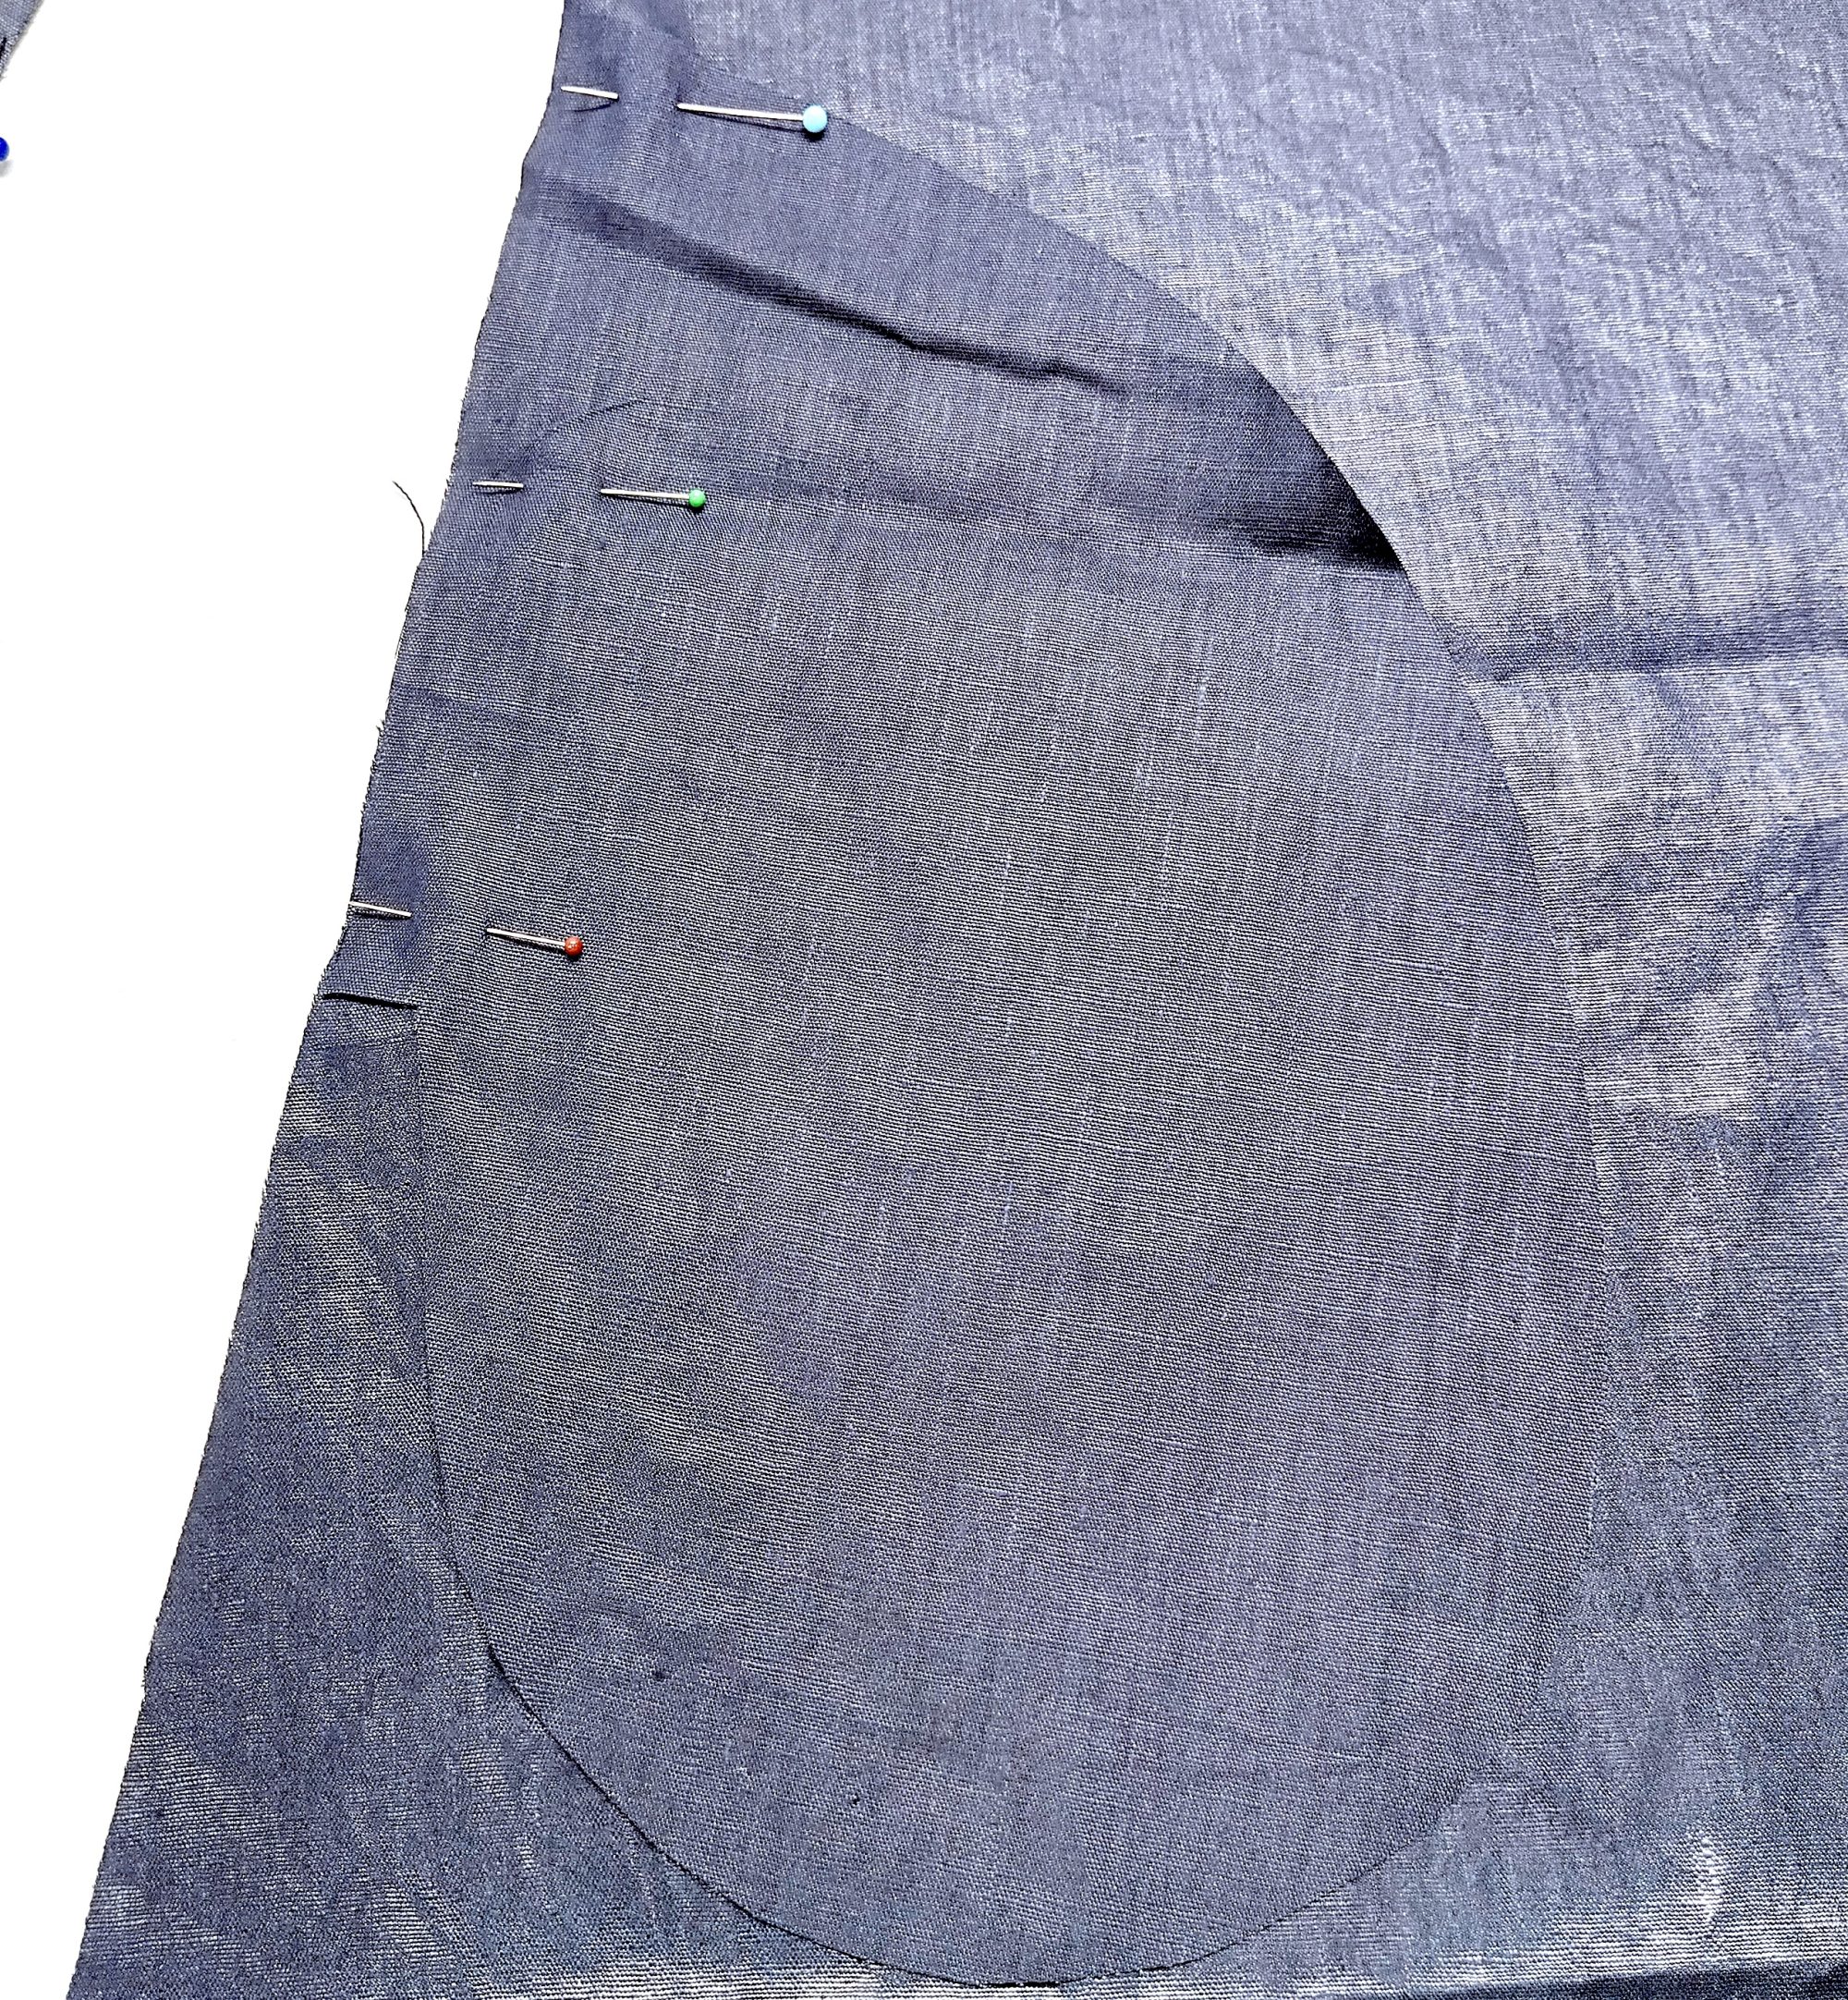
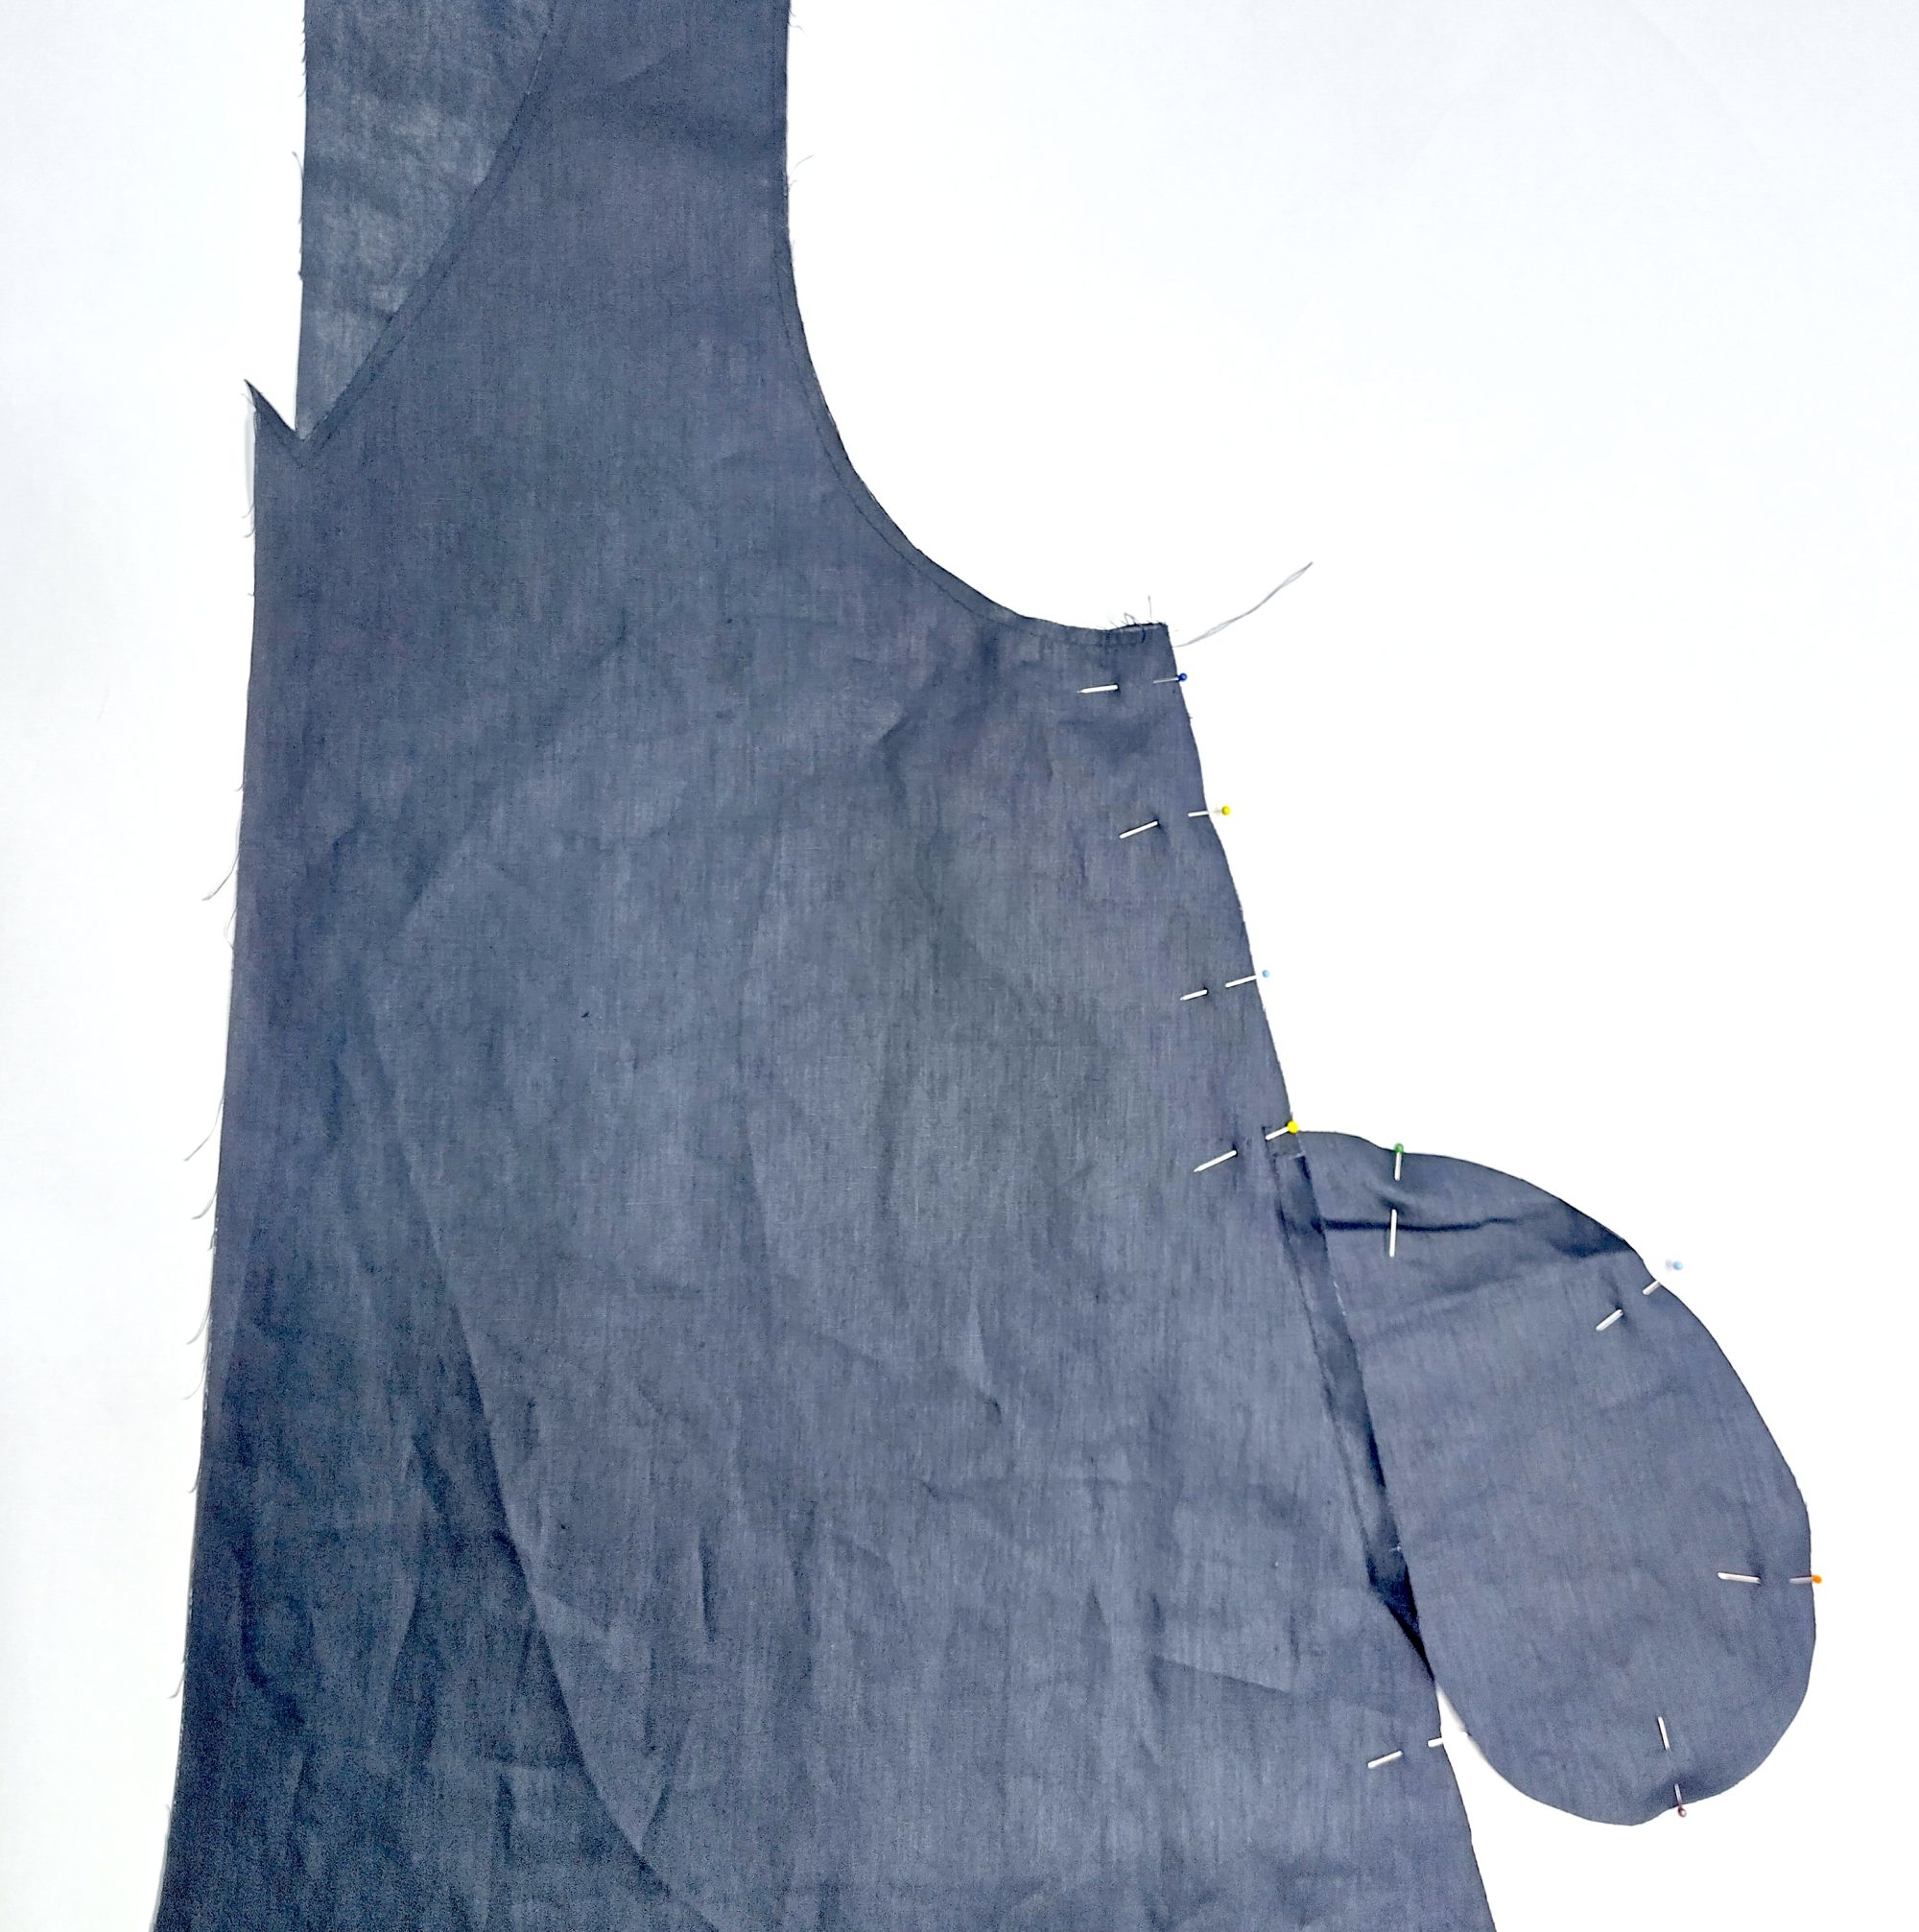
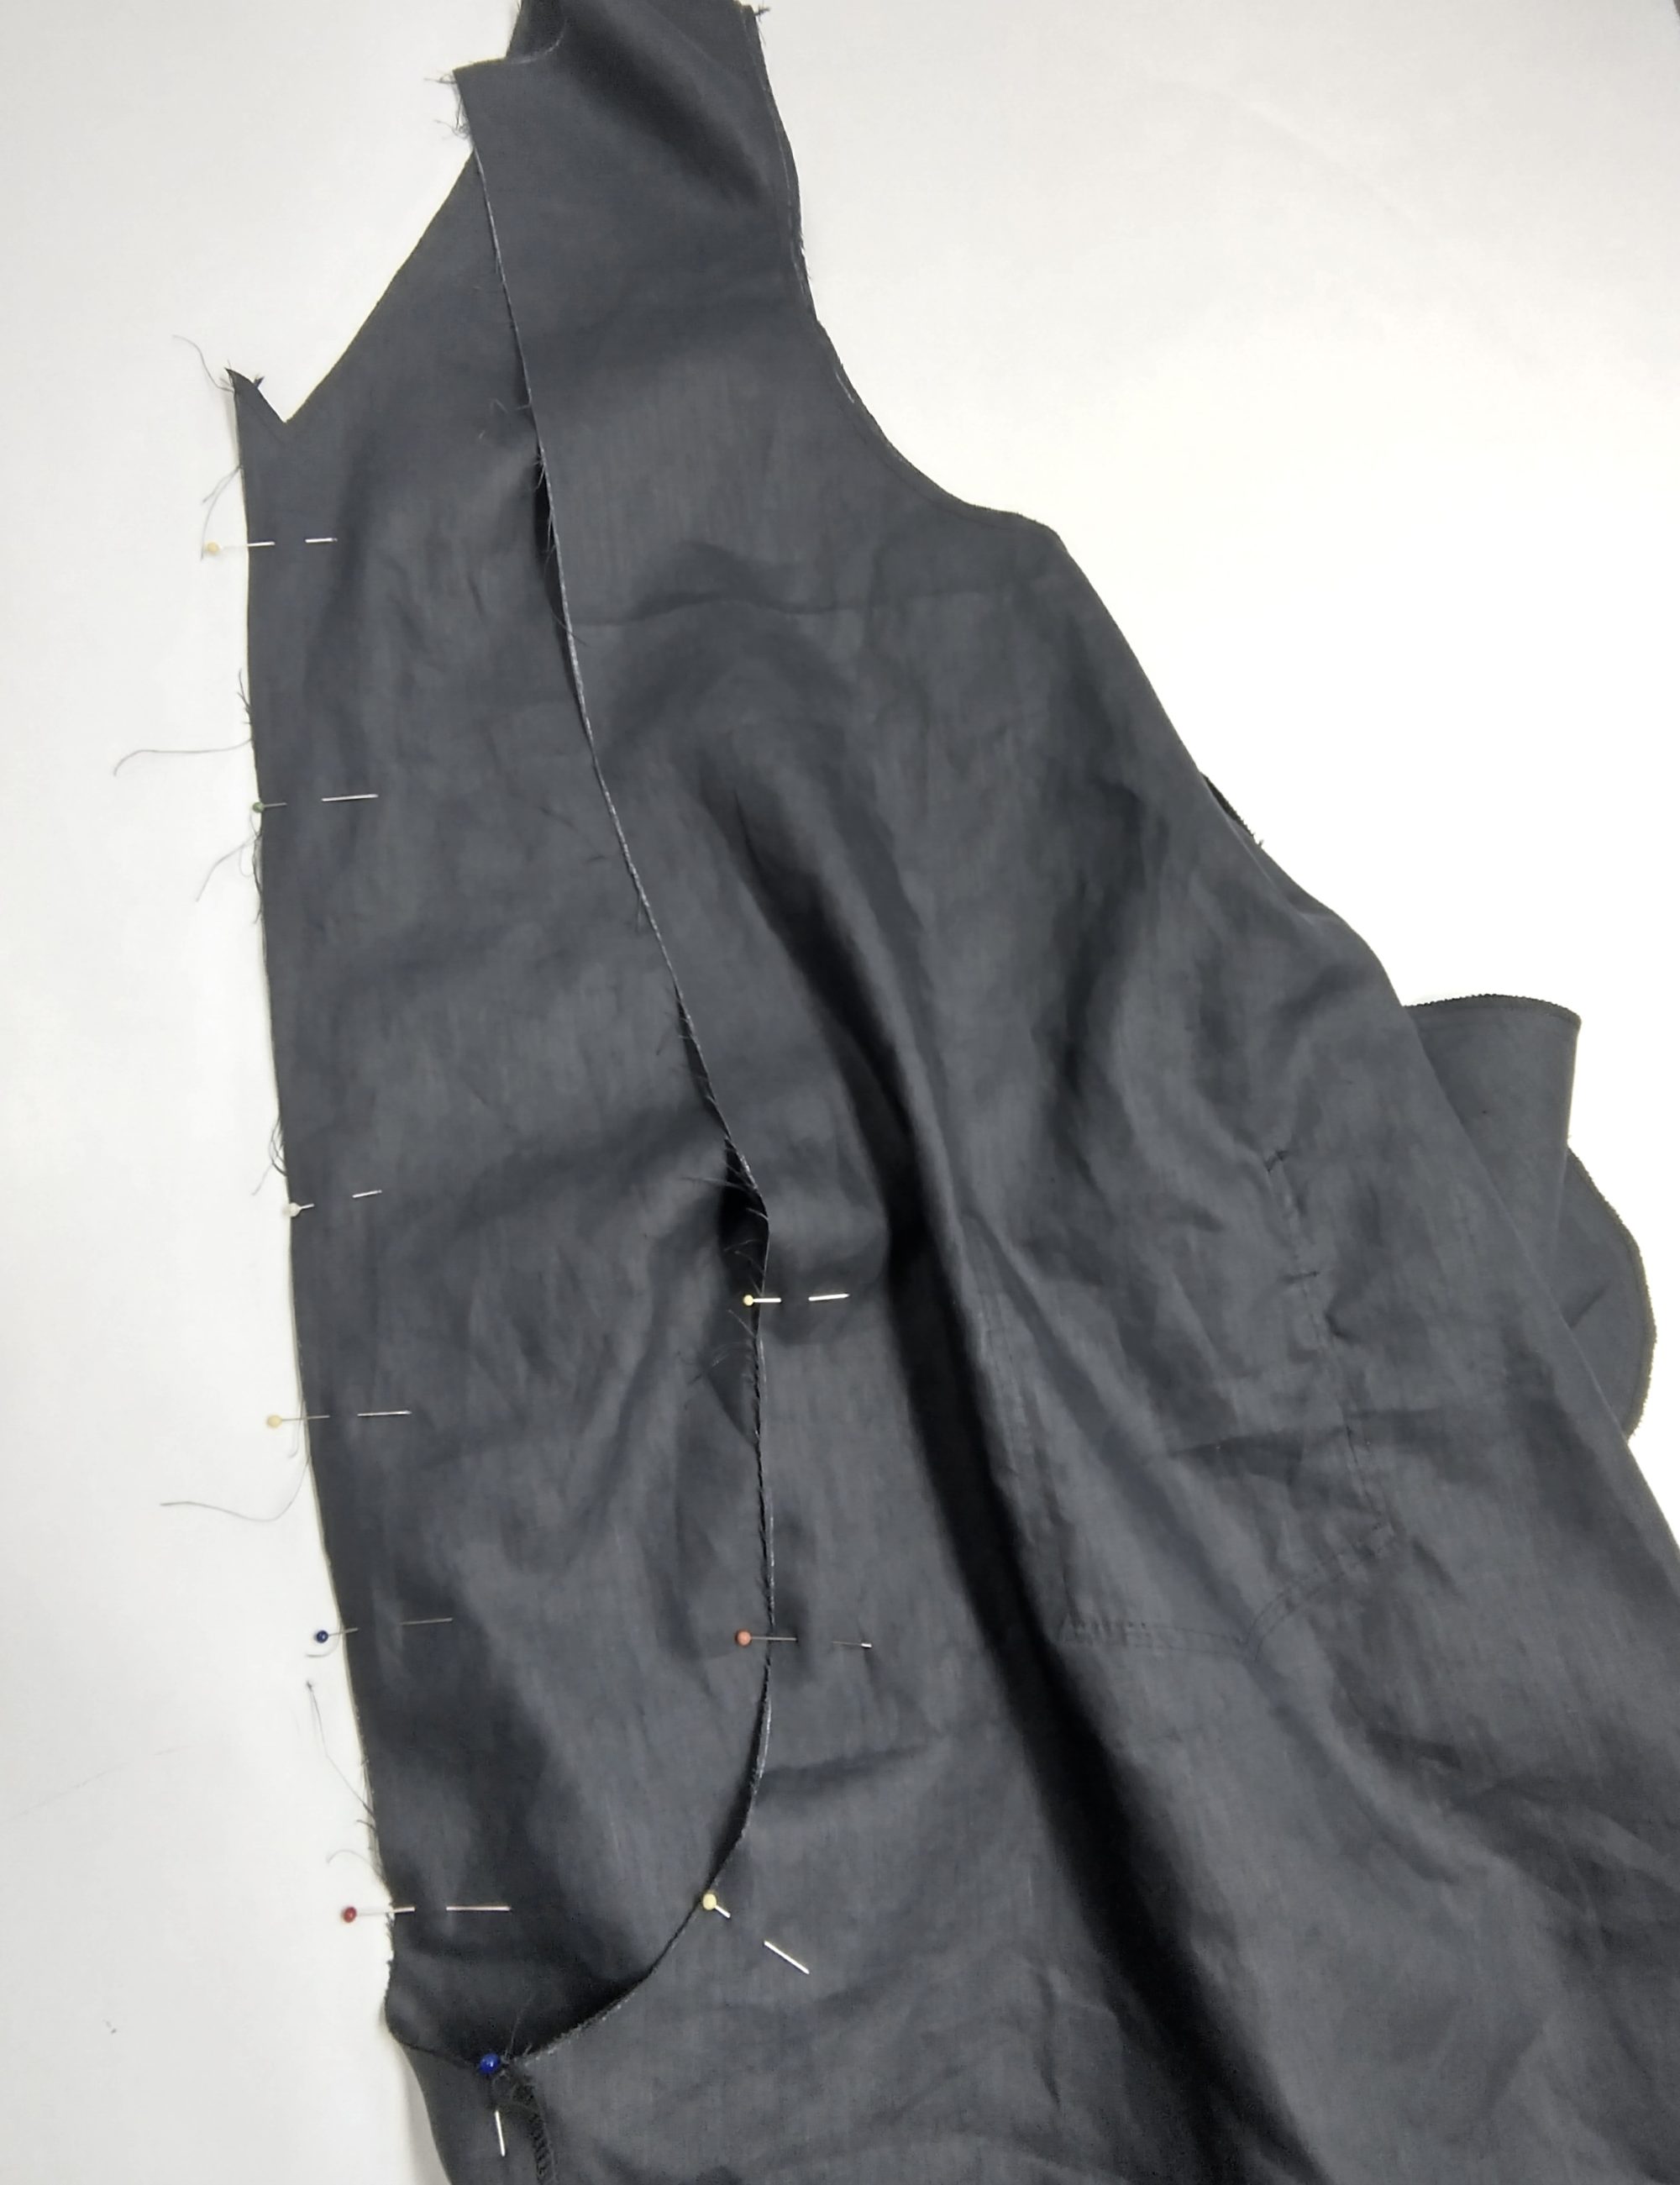
2. POCKETS
Pin pocket bags to the side seams, at the pocket position indicated by the notches. Stitch down using a 1cm seam allowance.
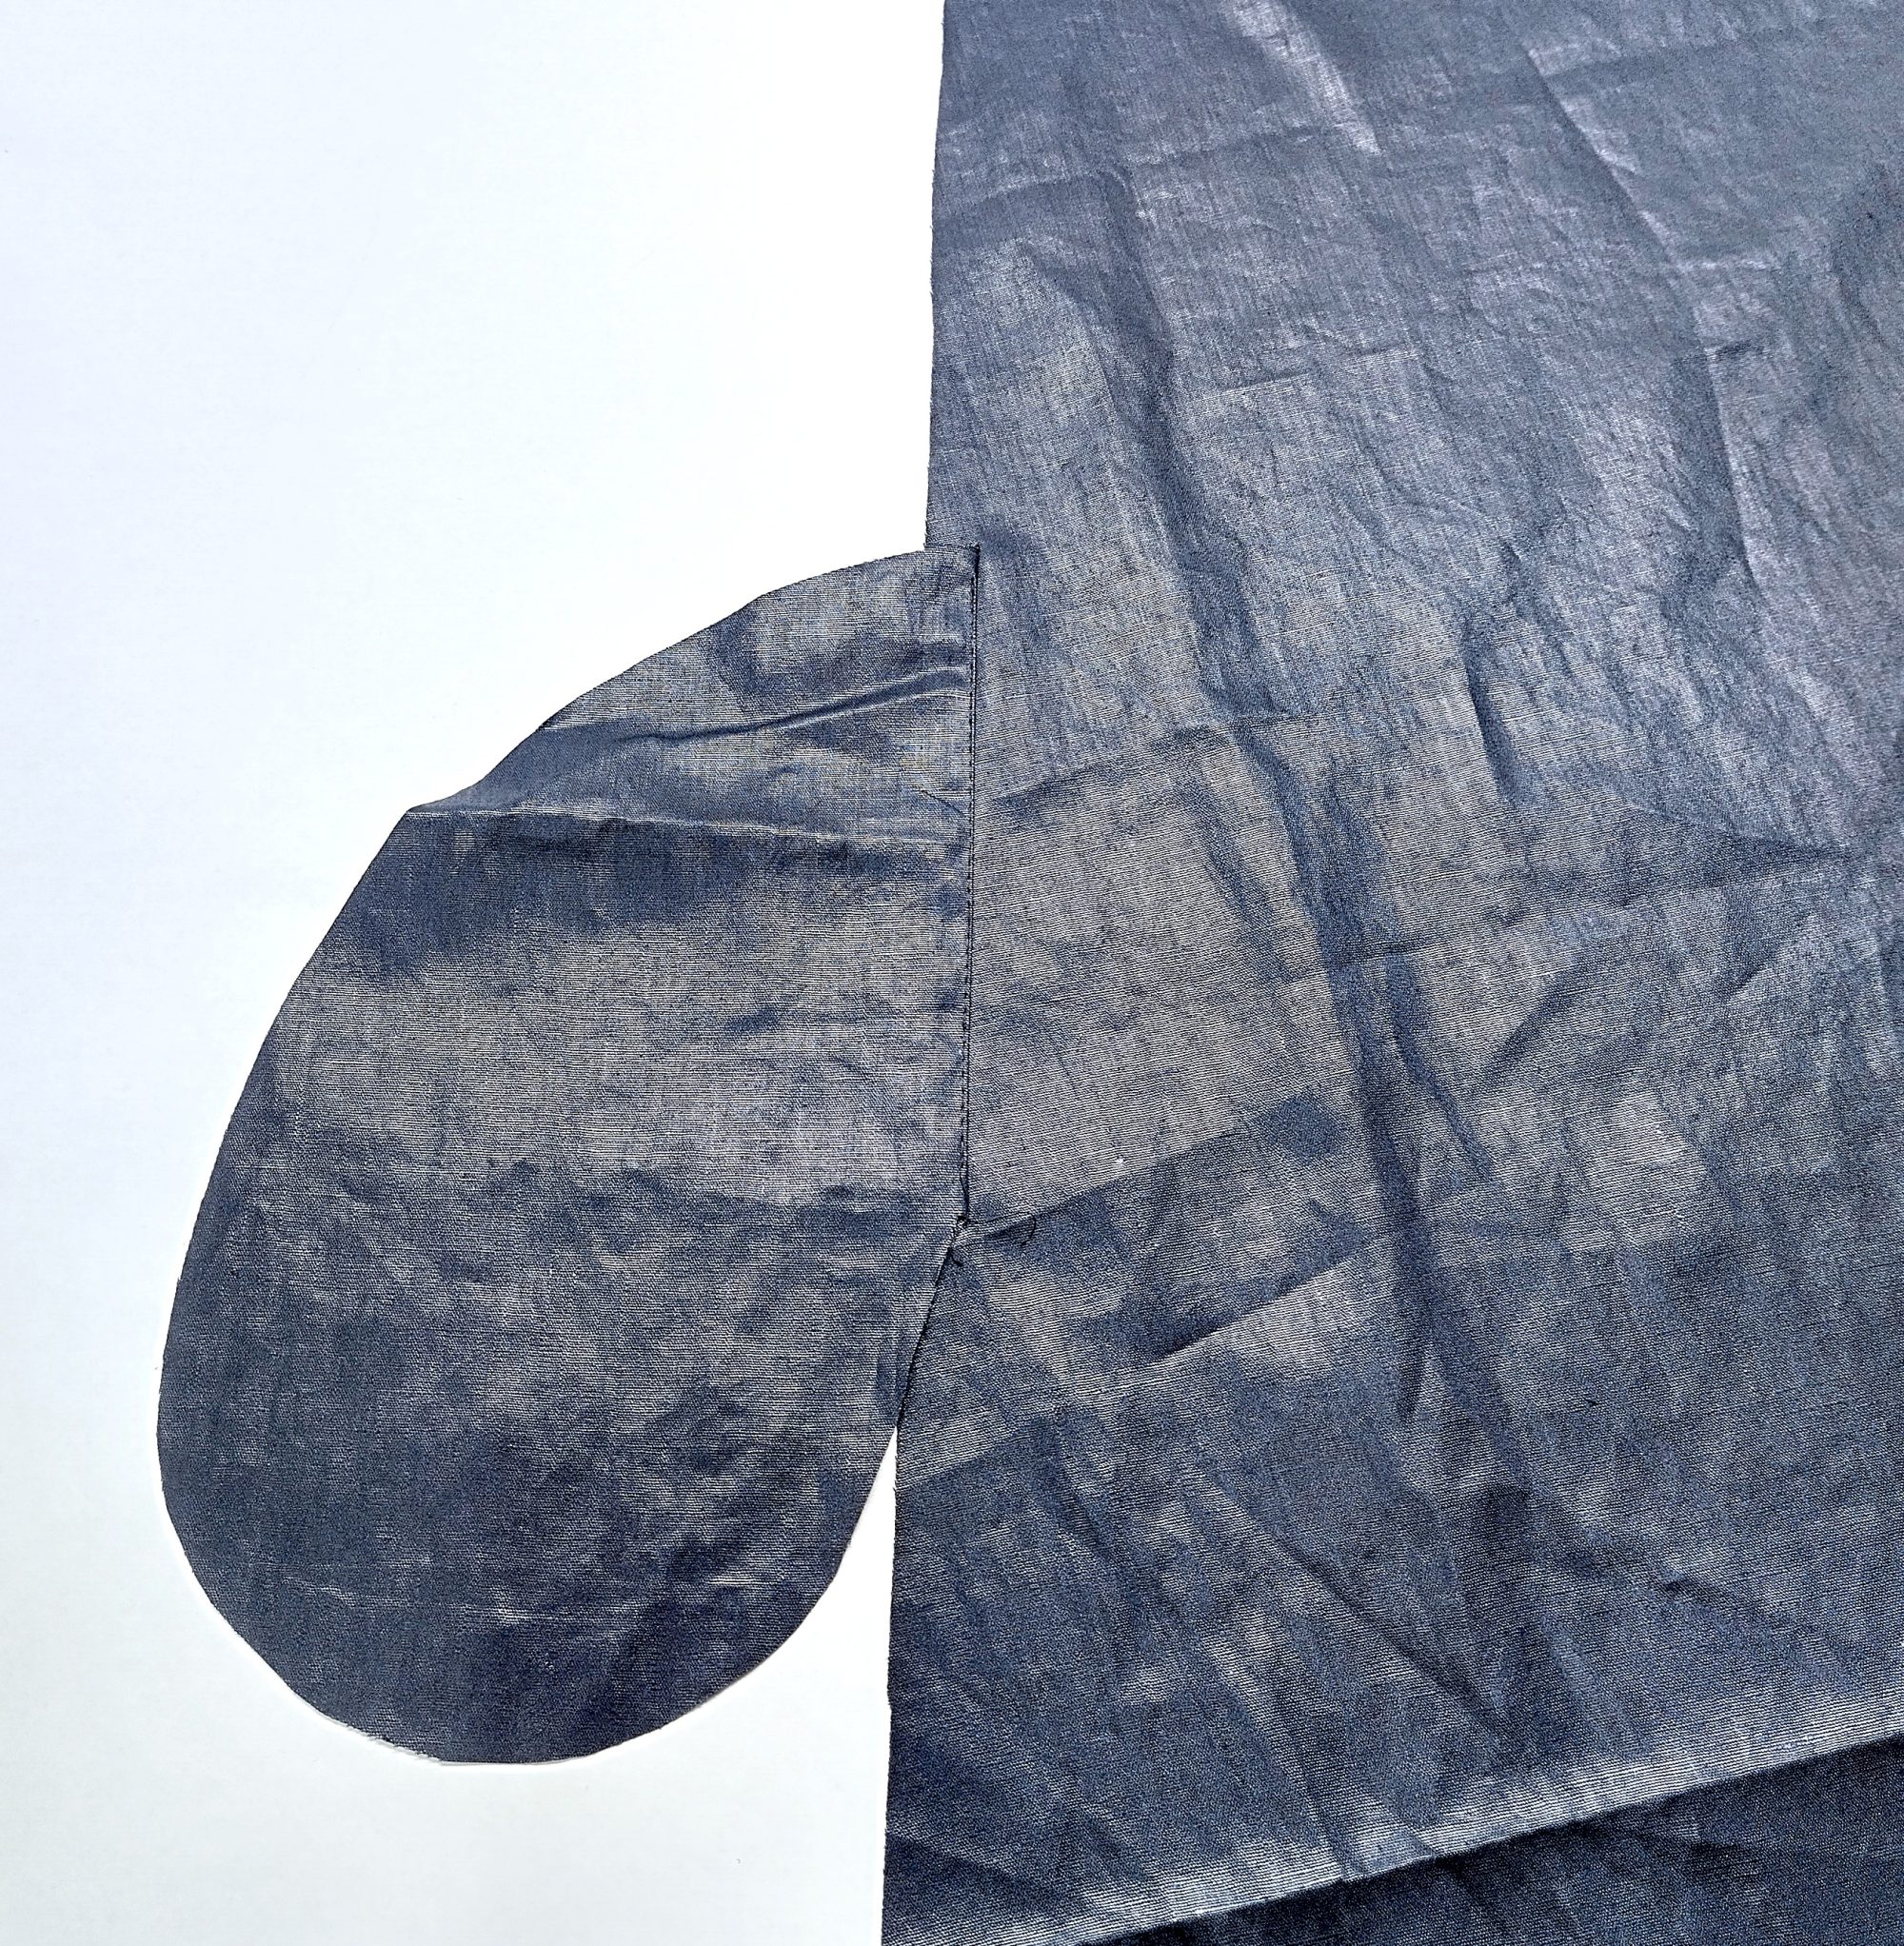
Press seam towards pocket and pinstitch towards seam.
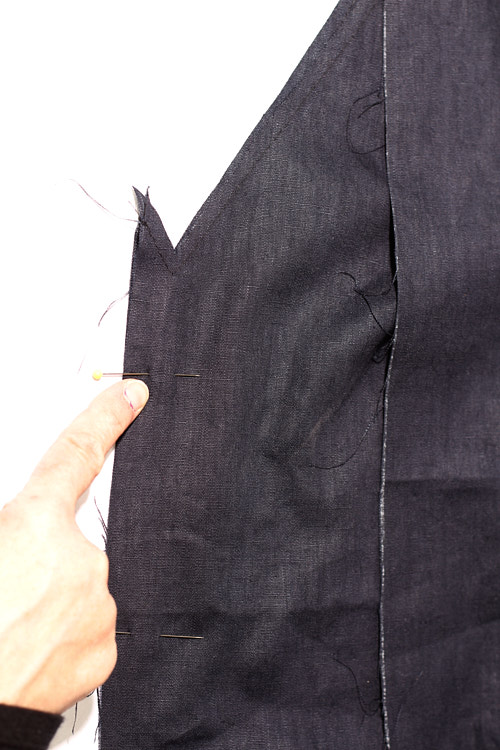
3. SIDE SEAMS
Pin front and back together at the sides and shoulders. Stitch leaving open between notches.
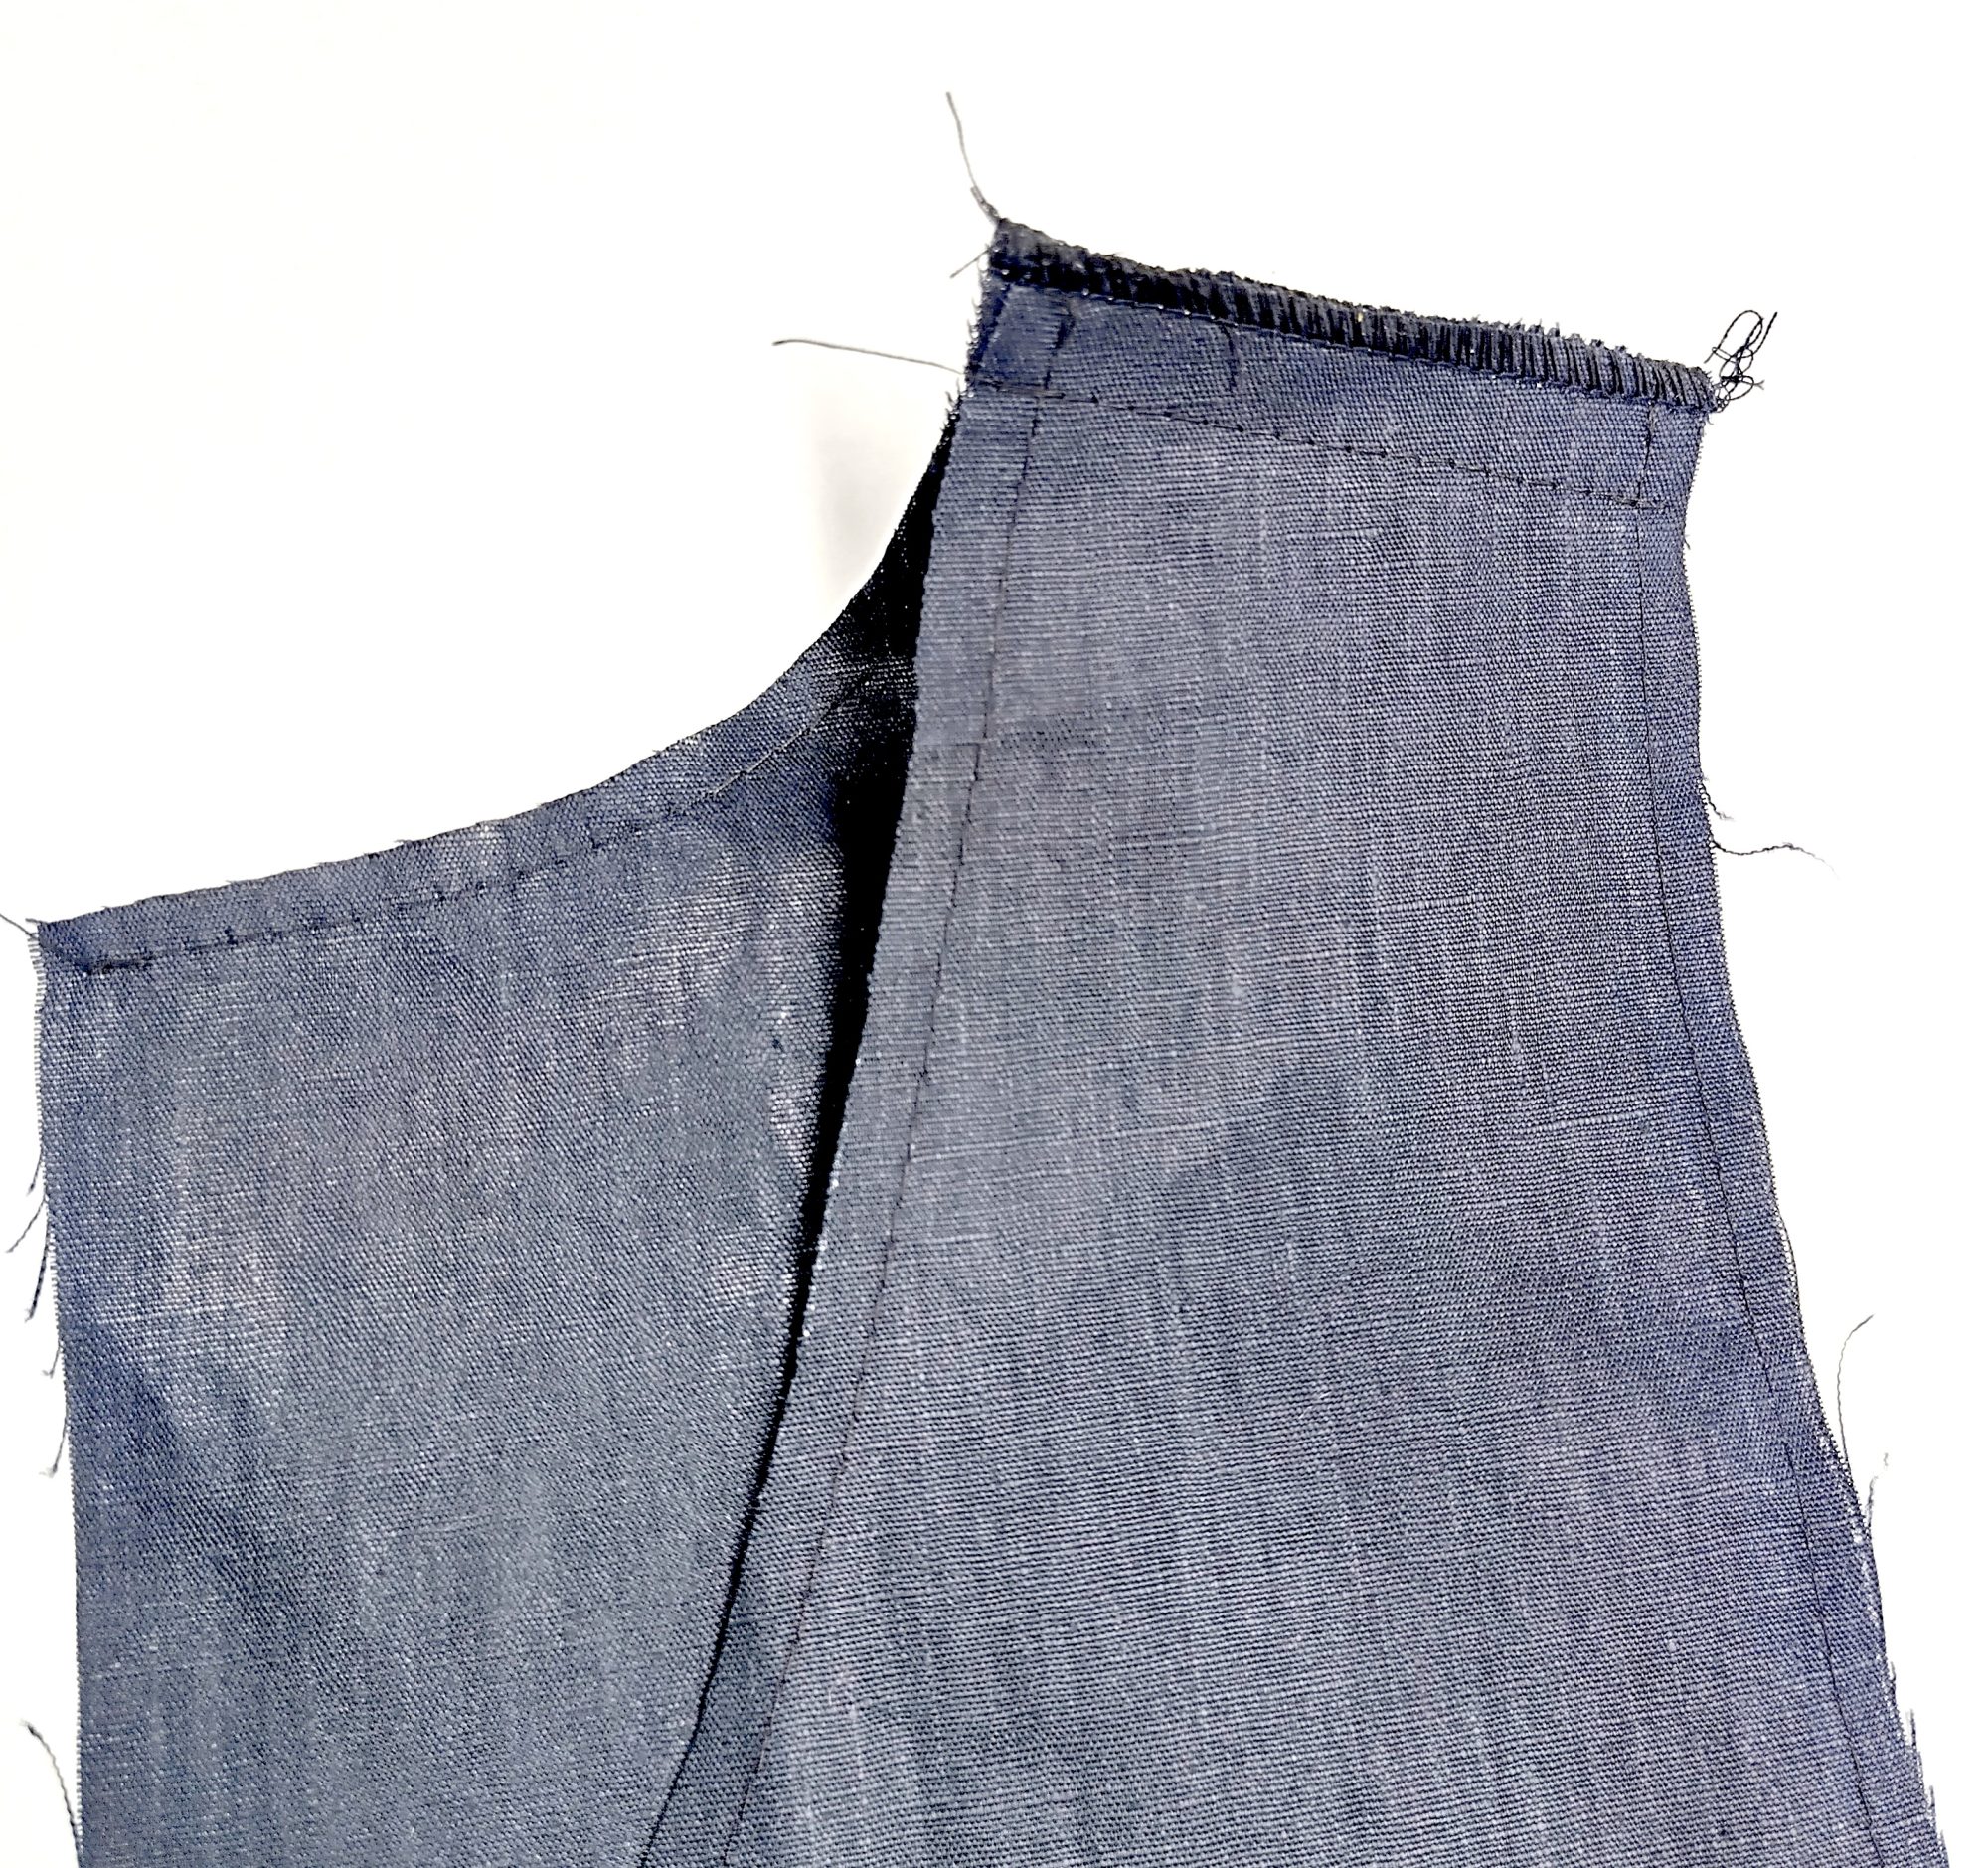
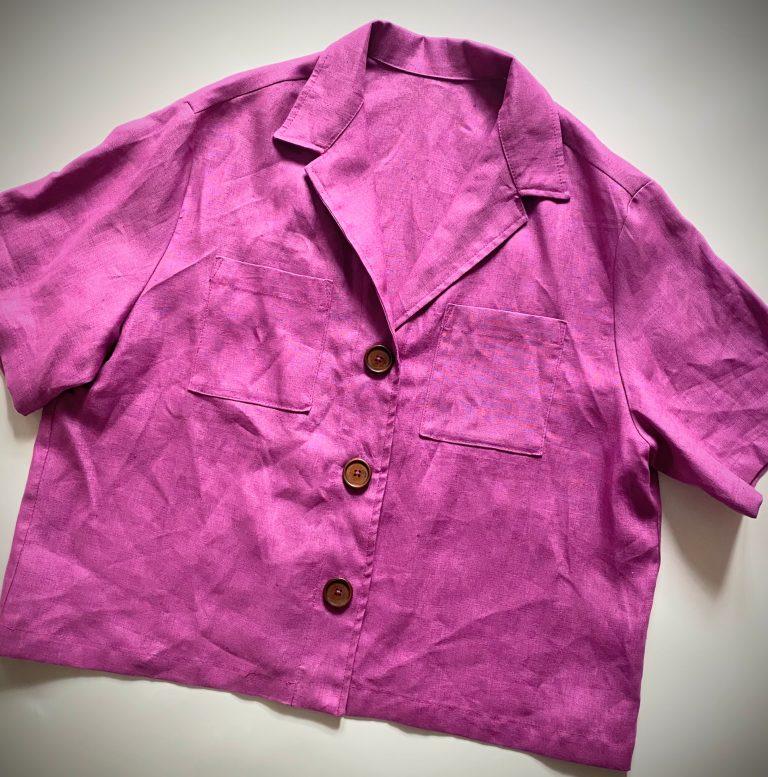
Shoulder seams and side seams can be overlocked together or open, depending on how thick the fabric is. We have used a lightweight mercerised linen and we have chosen to overlock together.
4. OVERLOCKING
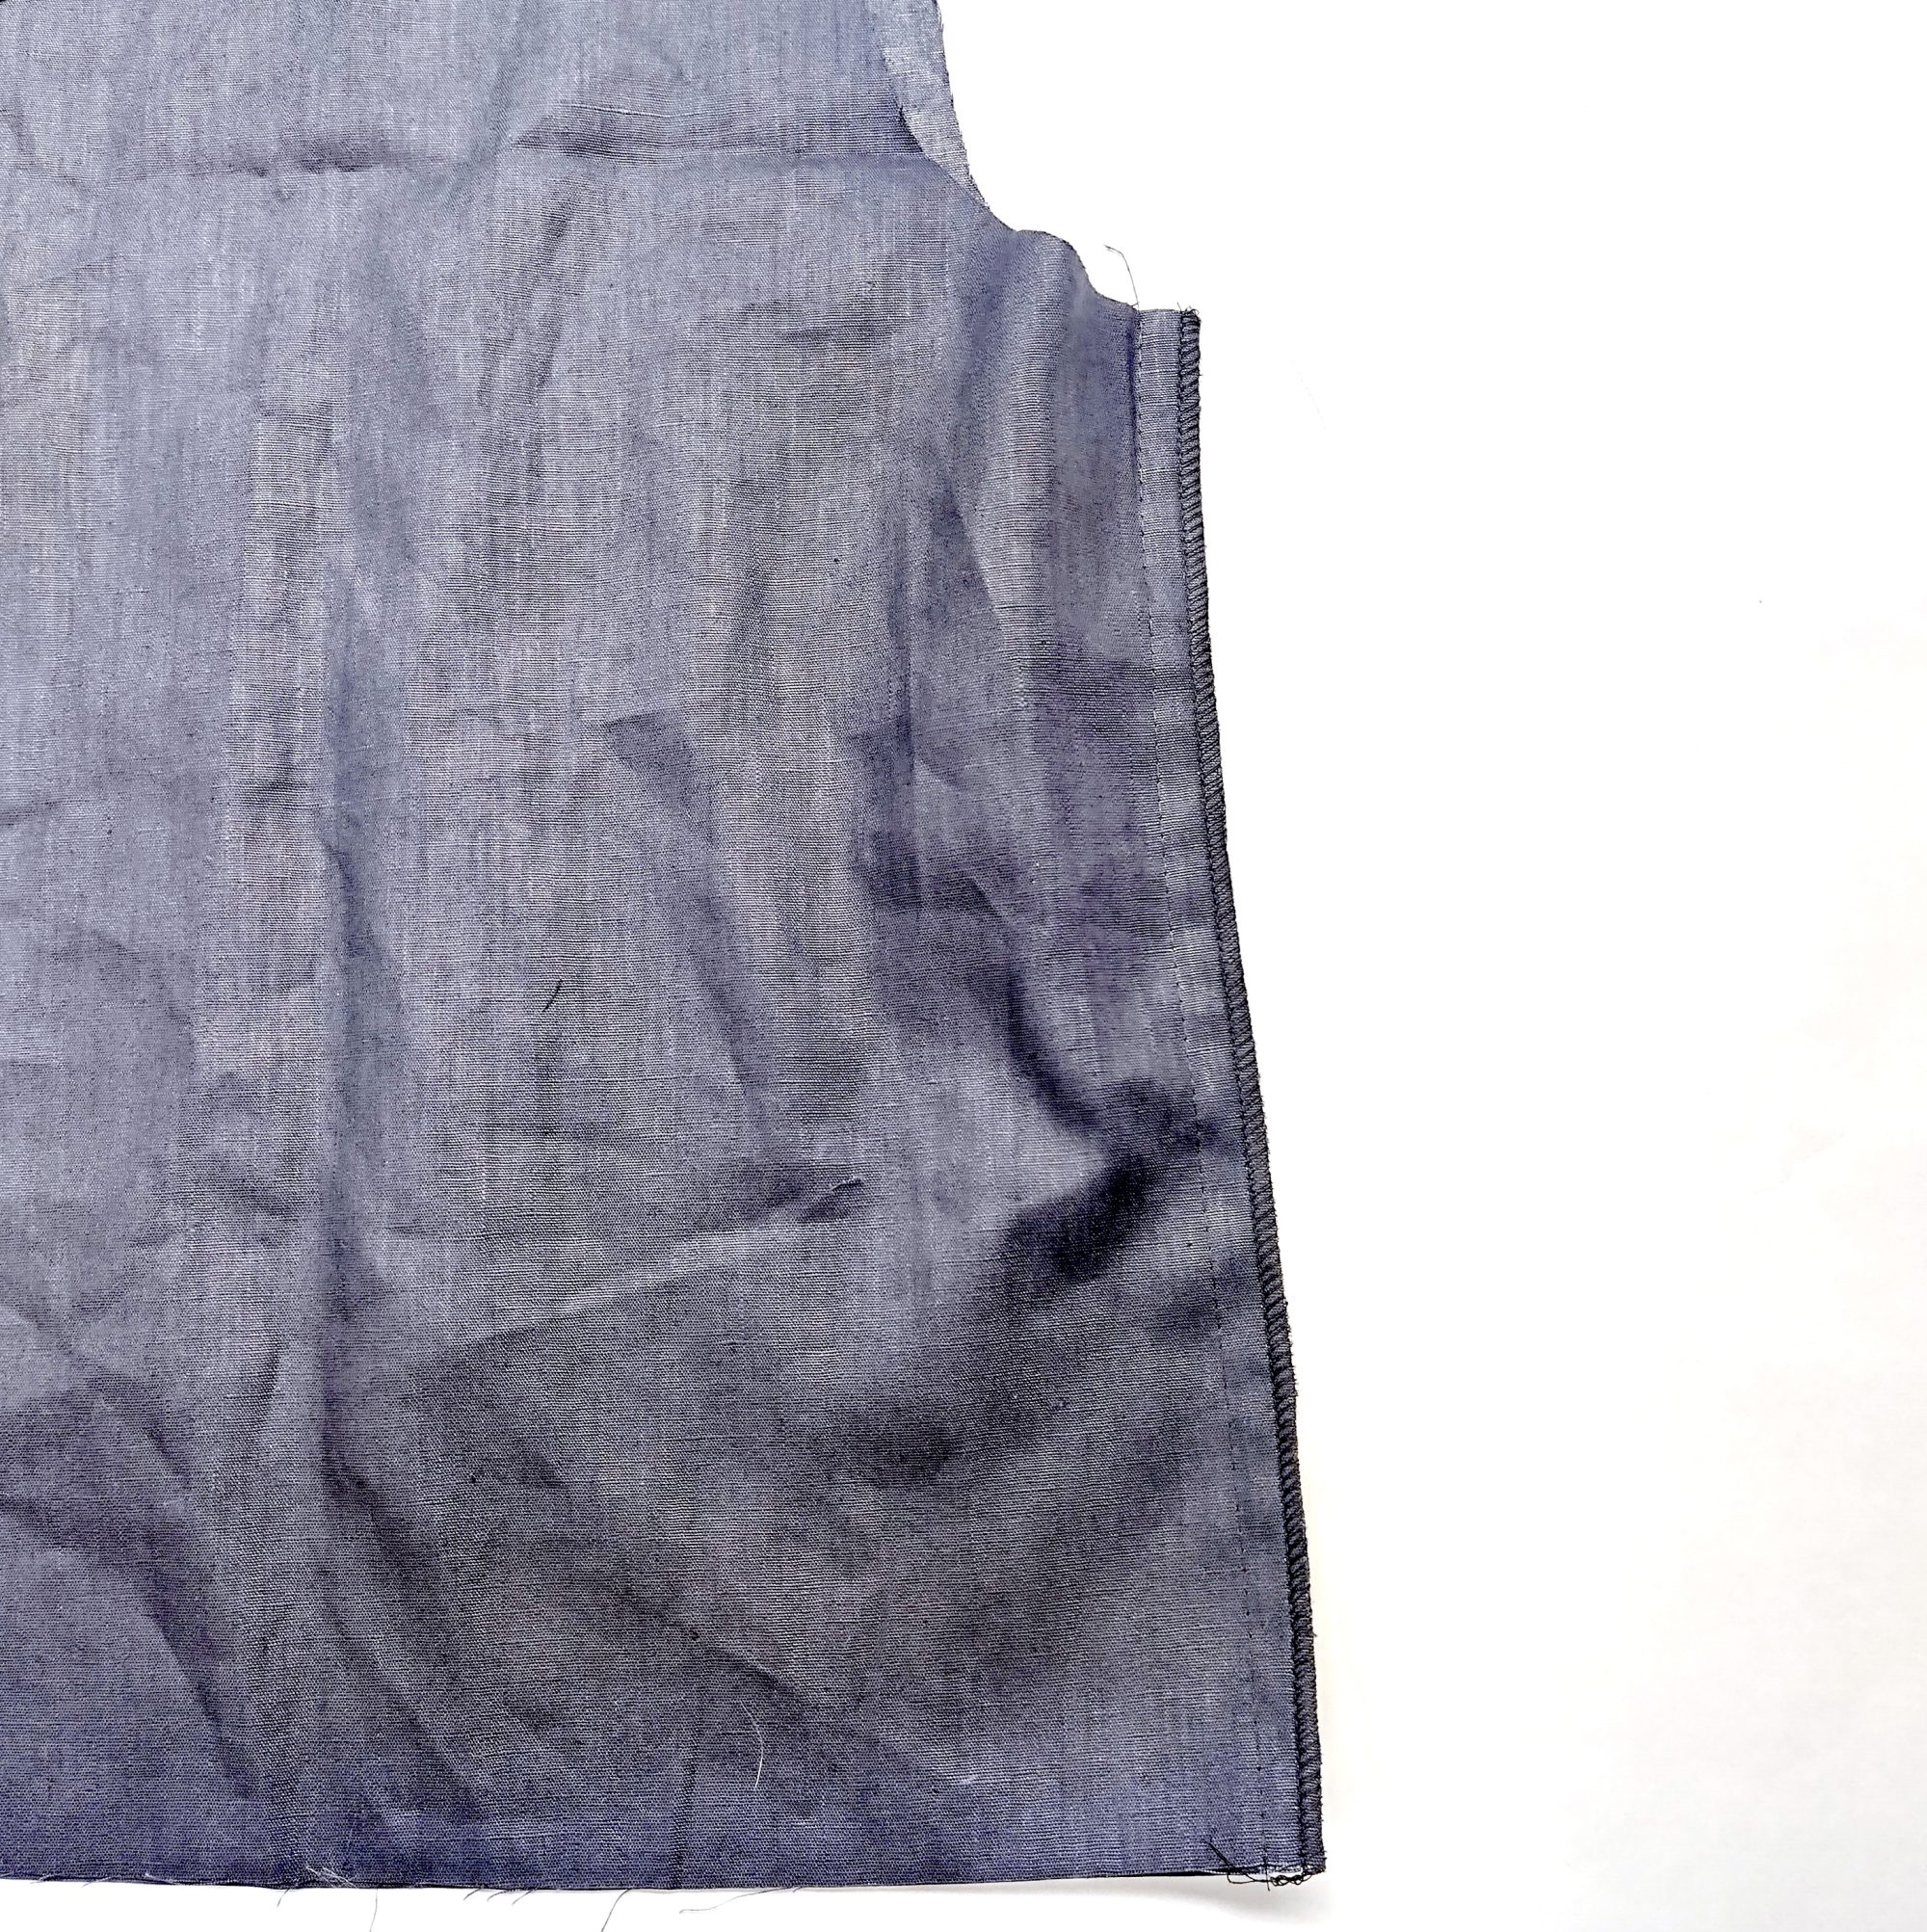
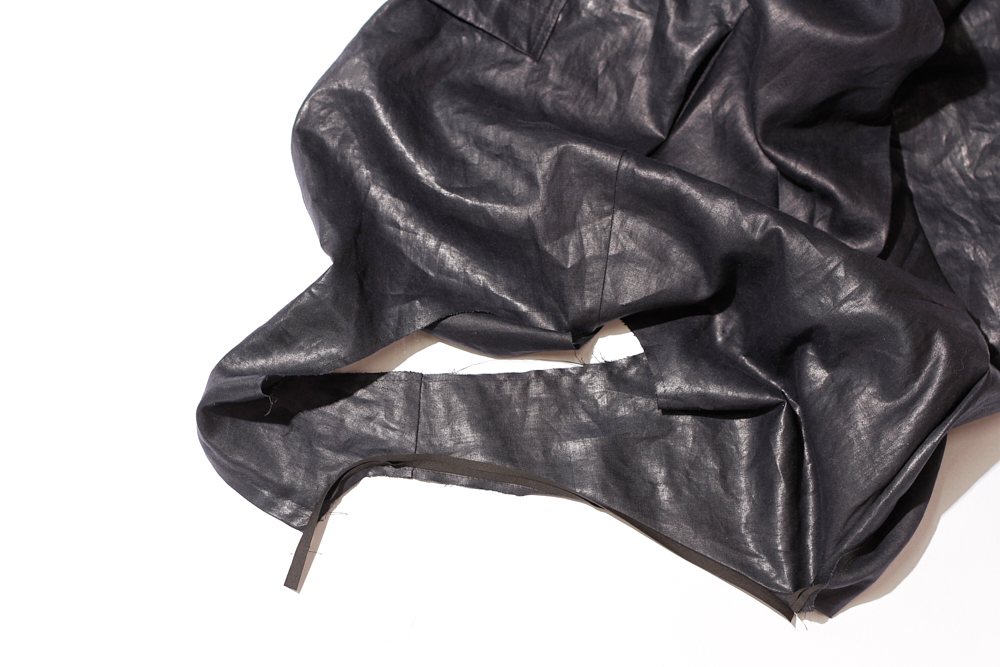
Sew inner leg seams at 1.5cm seam allowance. Our instructions say to press open but in this example we have overlocked ours together.
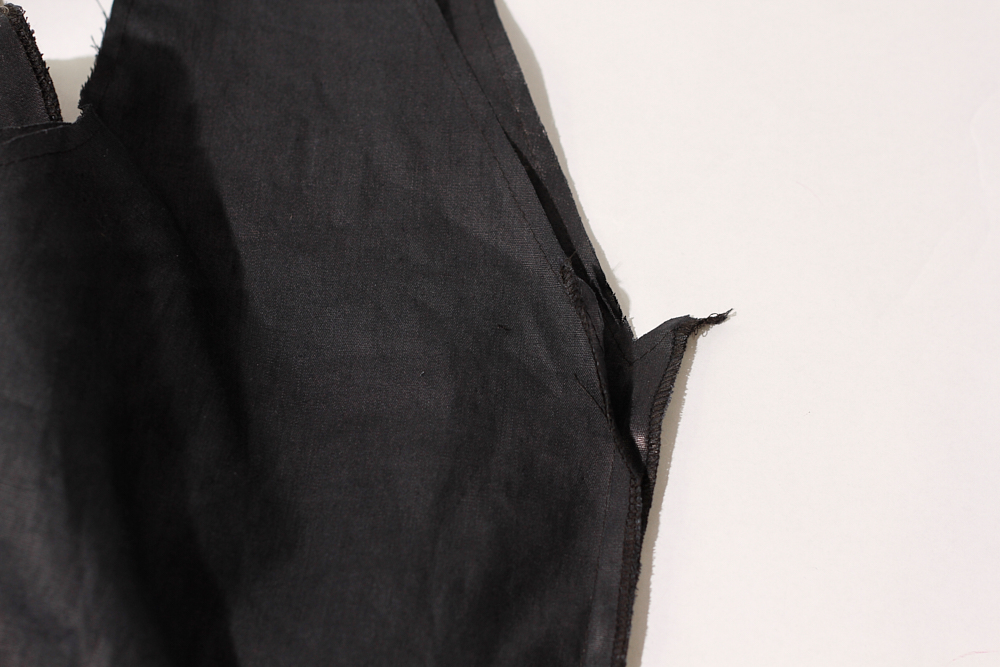
5. CROTCH SEAM
Turn one leg out to the right side and insert it into the other one. Pin in place. Stitch the crotch seam from below the back zipper to about 4-5cm below the front neck using a 1.5cm seam allowance.
Start sewing 4-5 cm below neckline. Stop just below zipper end.
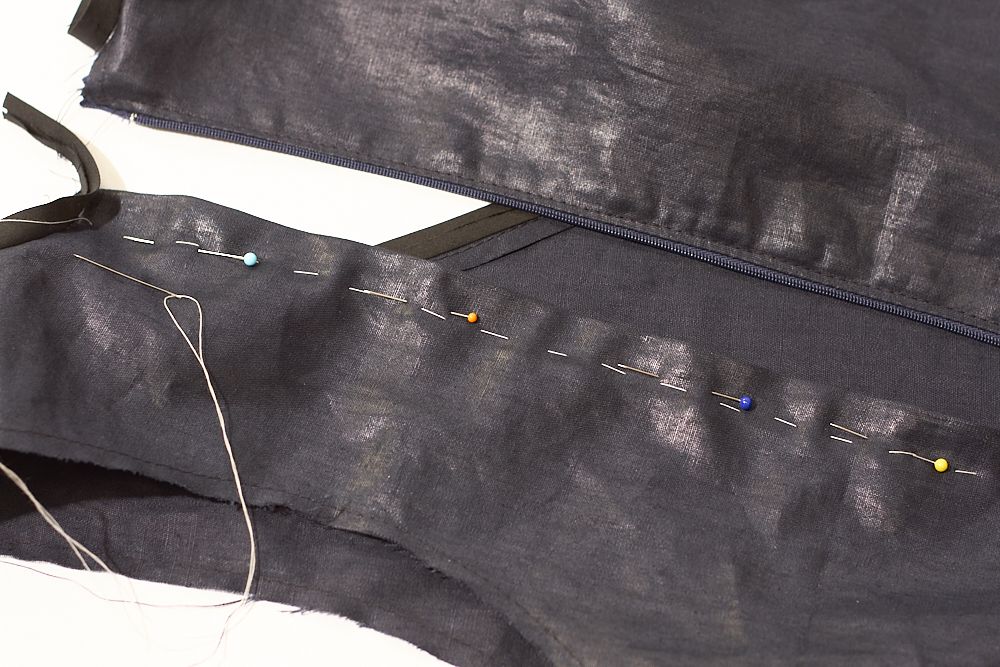
6. ZIPPER
Using a zipper foot, insert the zipper by sewing both sides of the zipper to the edges of the centre back fabric. Pinstitch the right side of the zipper to the right side of the fabric. Create a folded lap by folding left side and pressing it into shape. Pin and tack down. Detailed instructions on how to insert a lapped zipper are available here.
Picture shows topstitching on lapped zipper. I went ahead and started sewing the bias bind on the neckline but this step should be taken after inserting the zipper.
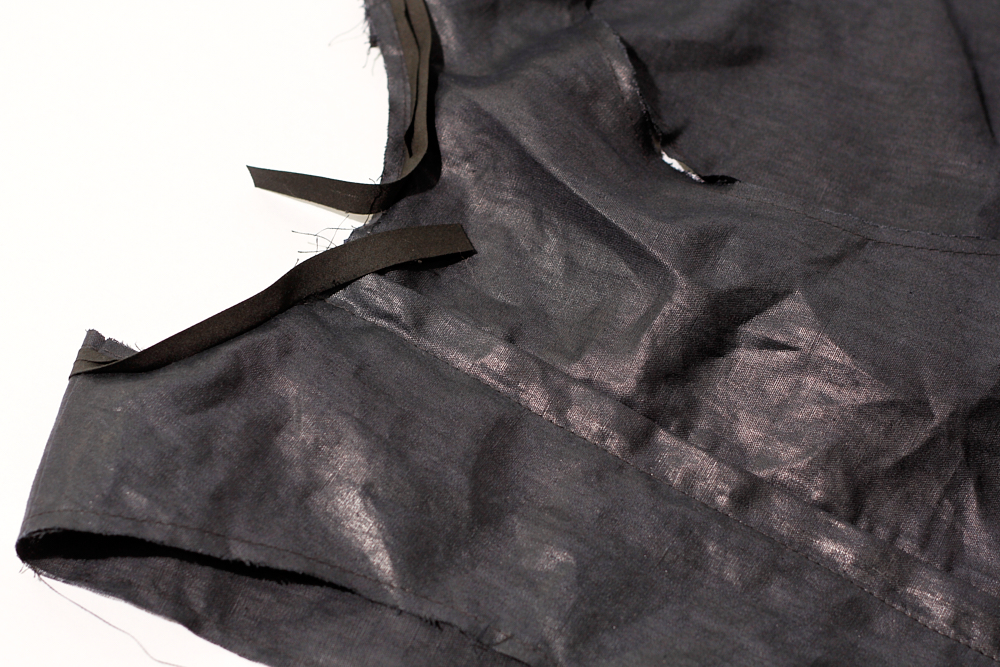
7. BINDING THE NECKLINE.
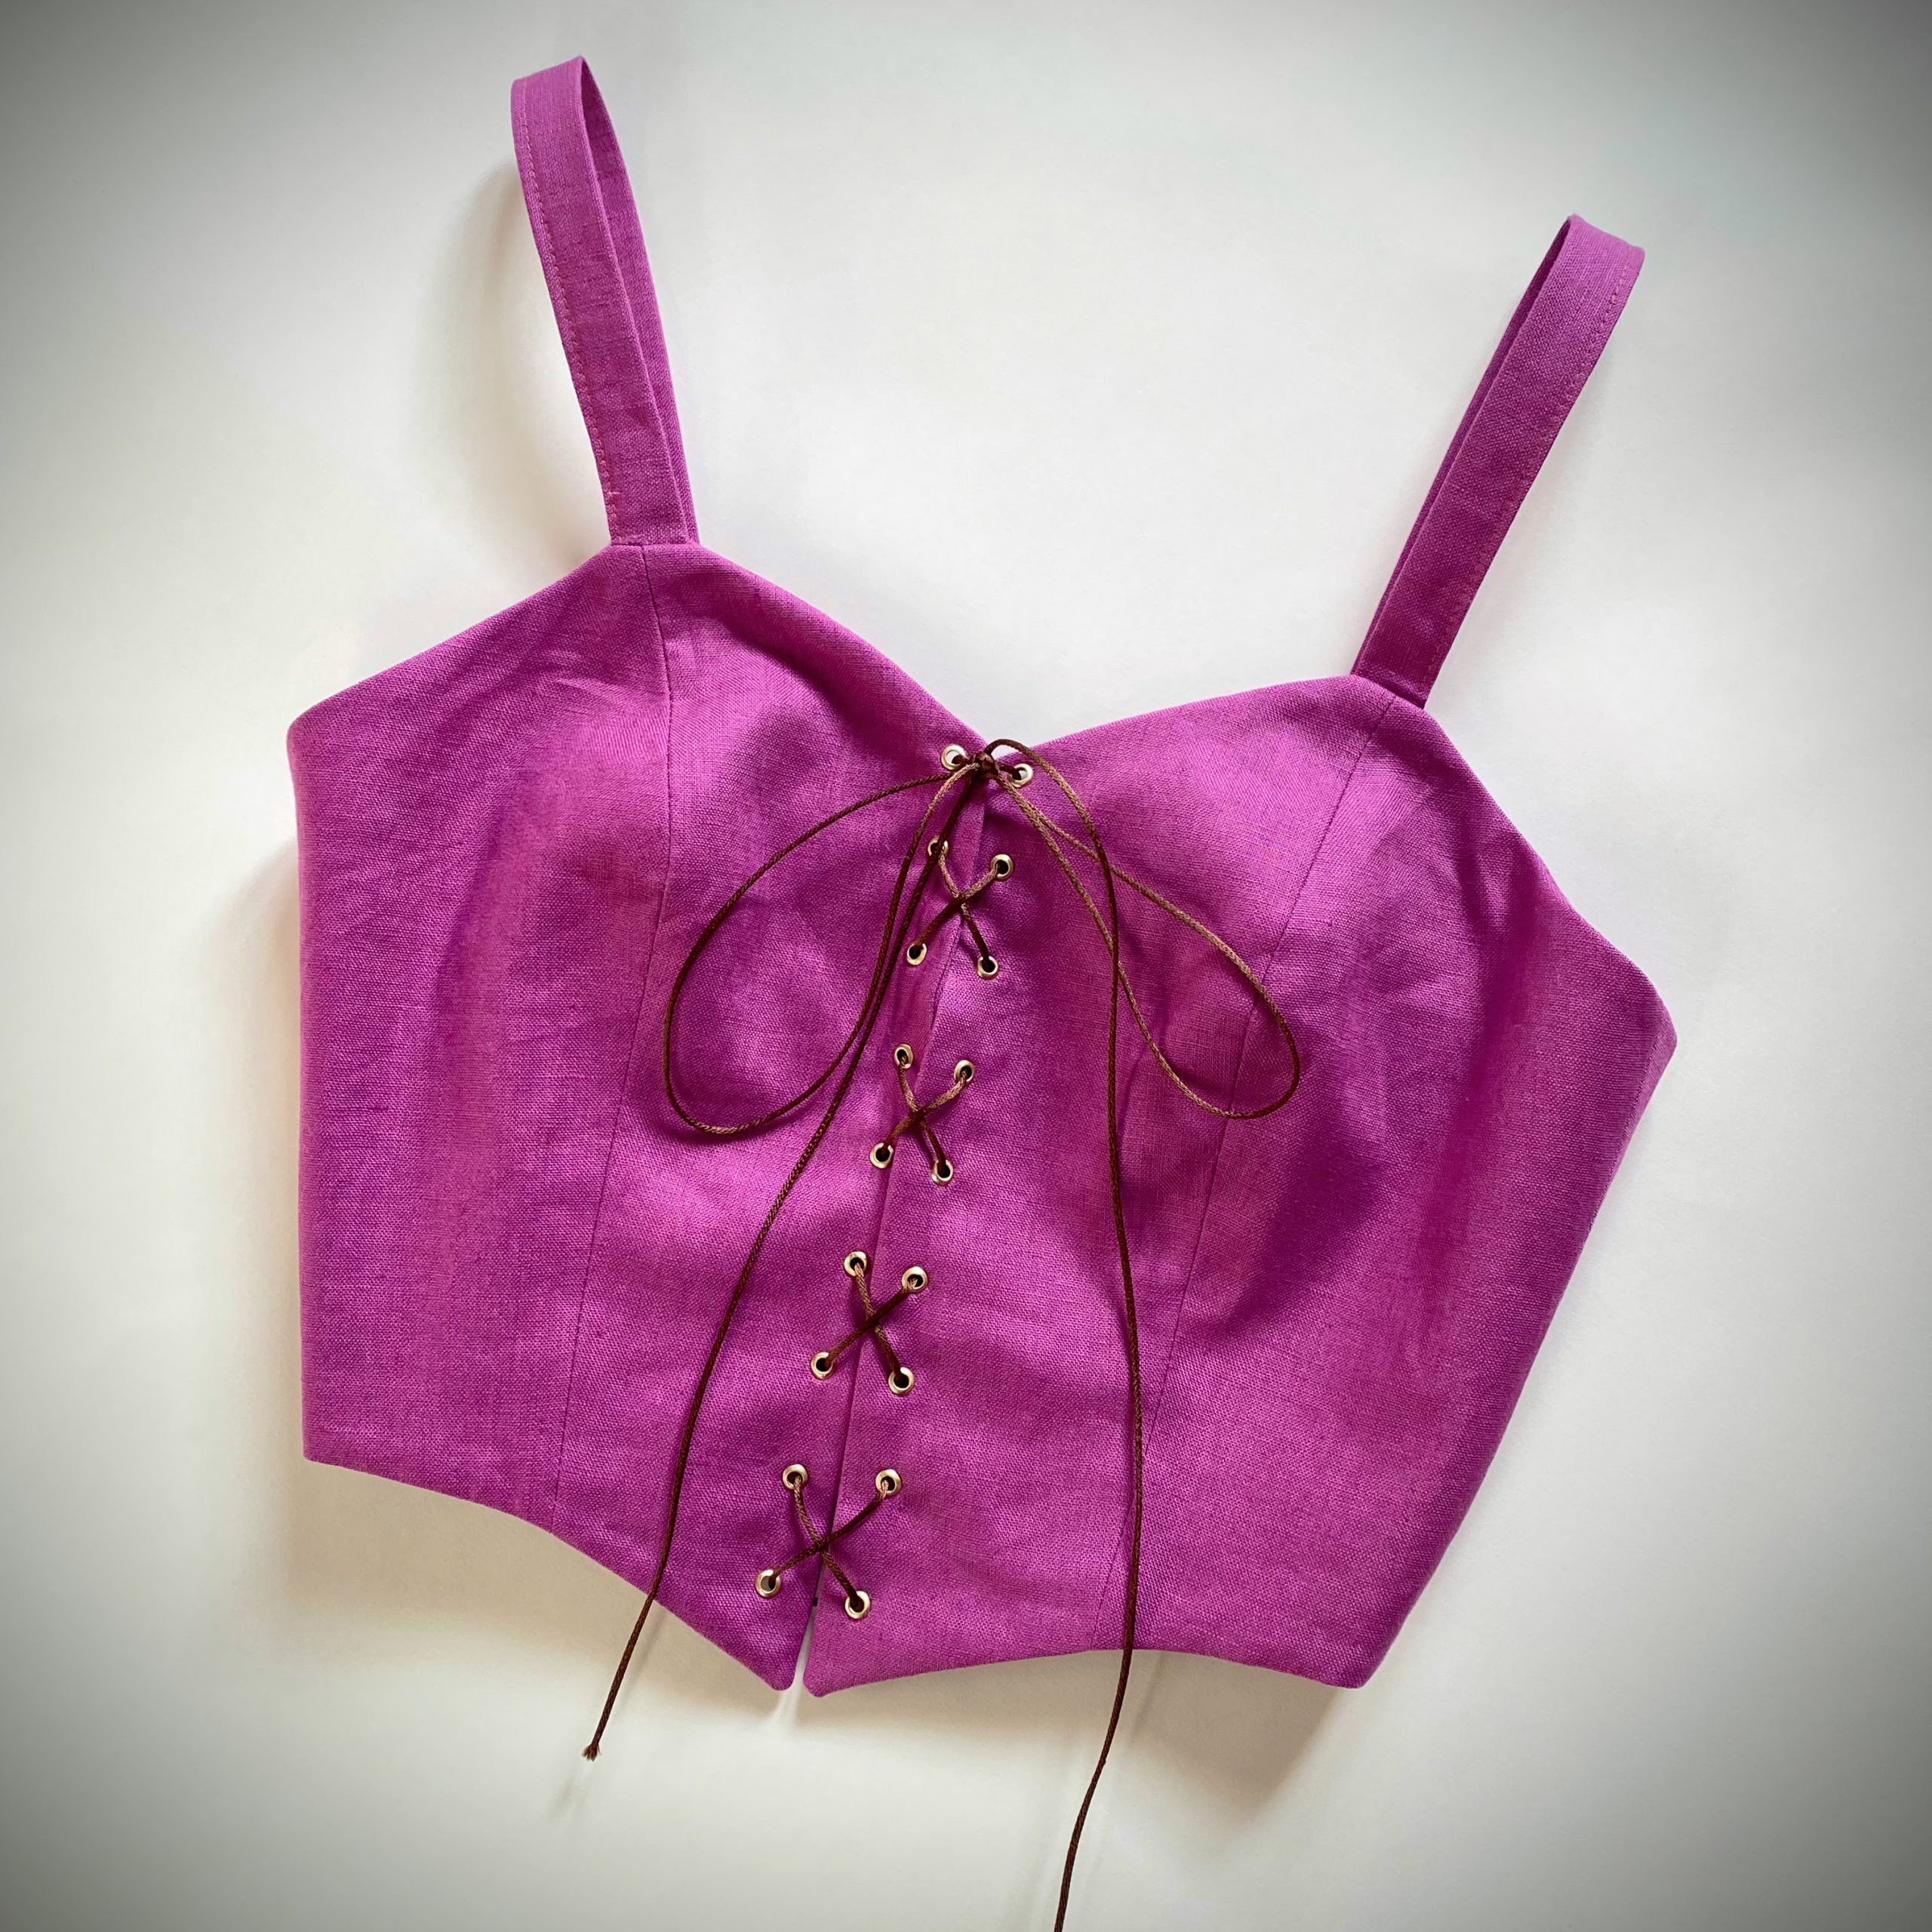
Sew the bias bind onto the two neckline pieces. Close the centre front seam by putting right sides together and sewing the last 4-5 cms of the centre front seam so as to create a sharp V neckline. Detailed bias binding tutorial here.
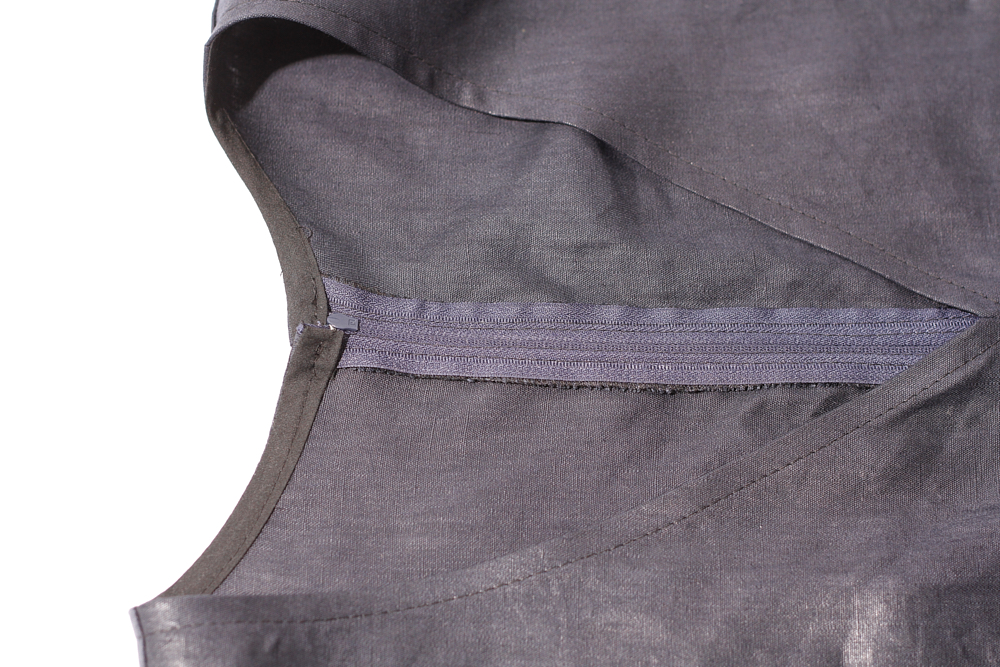
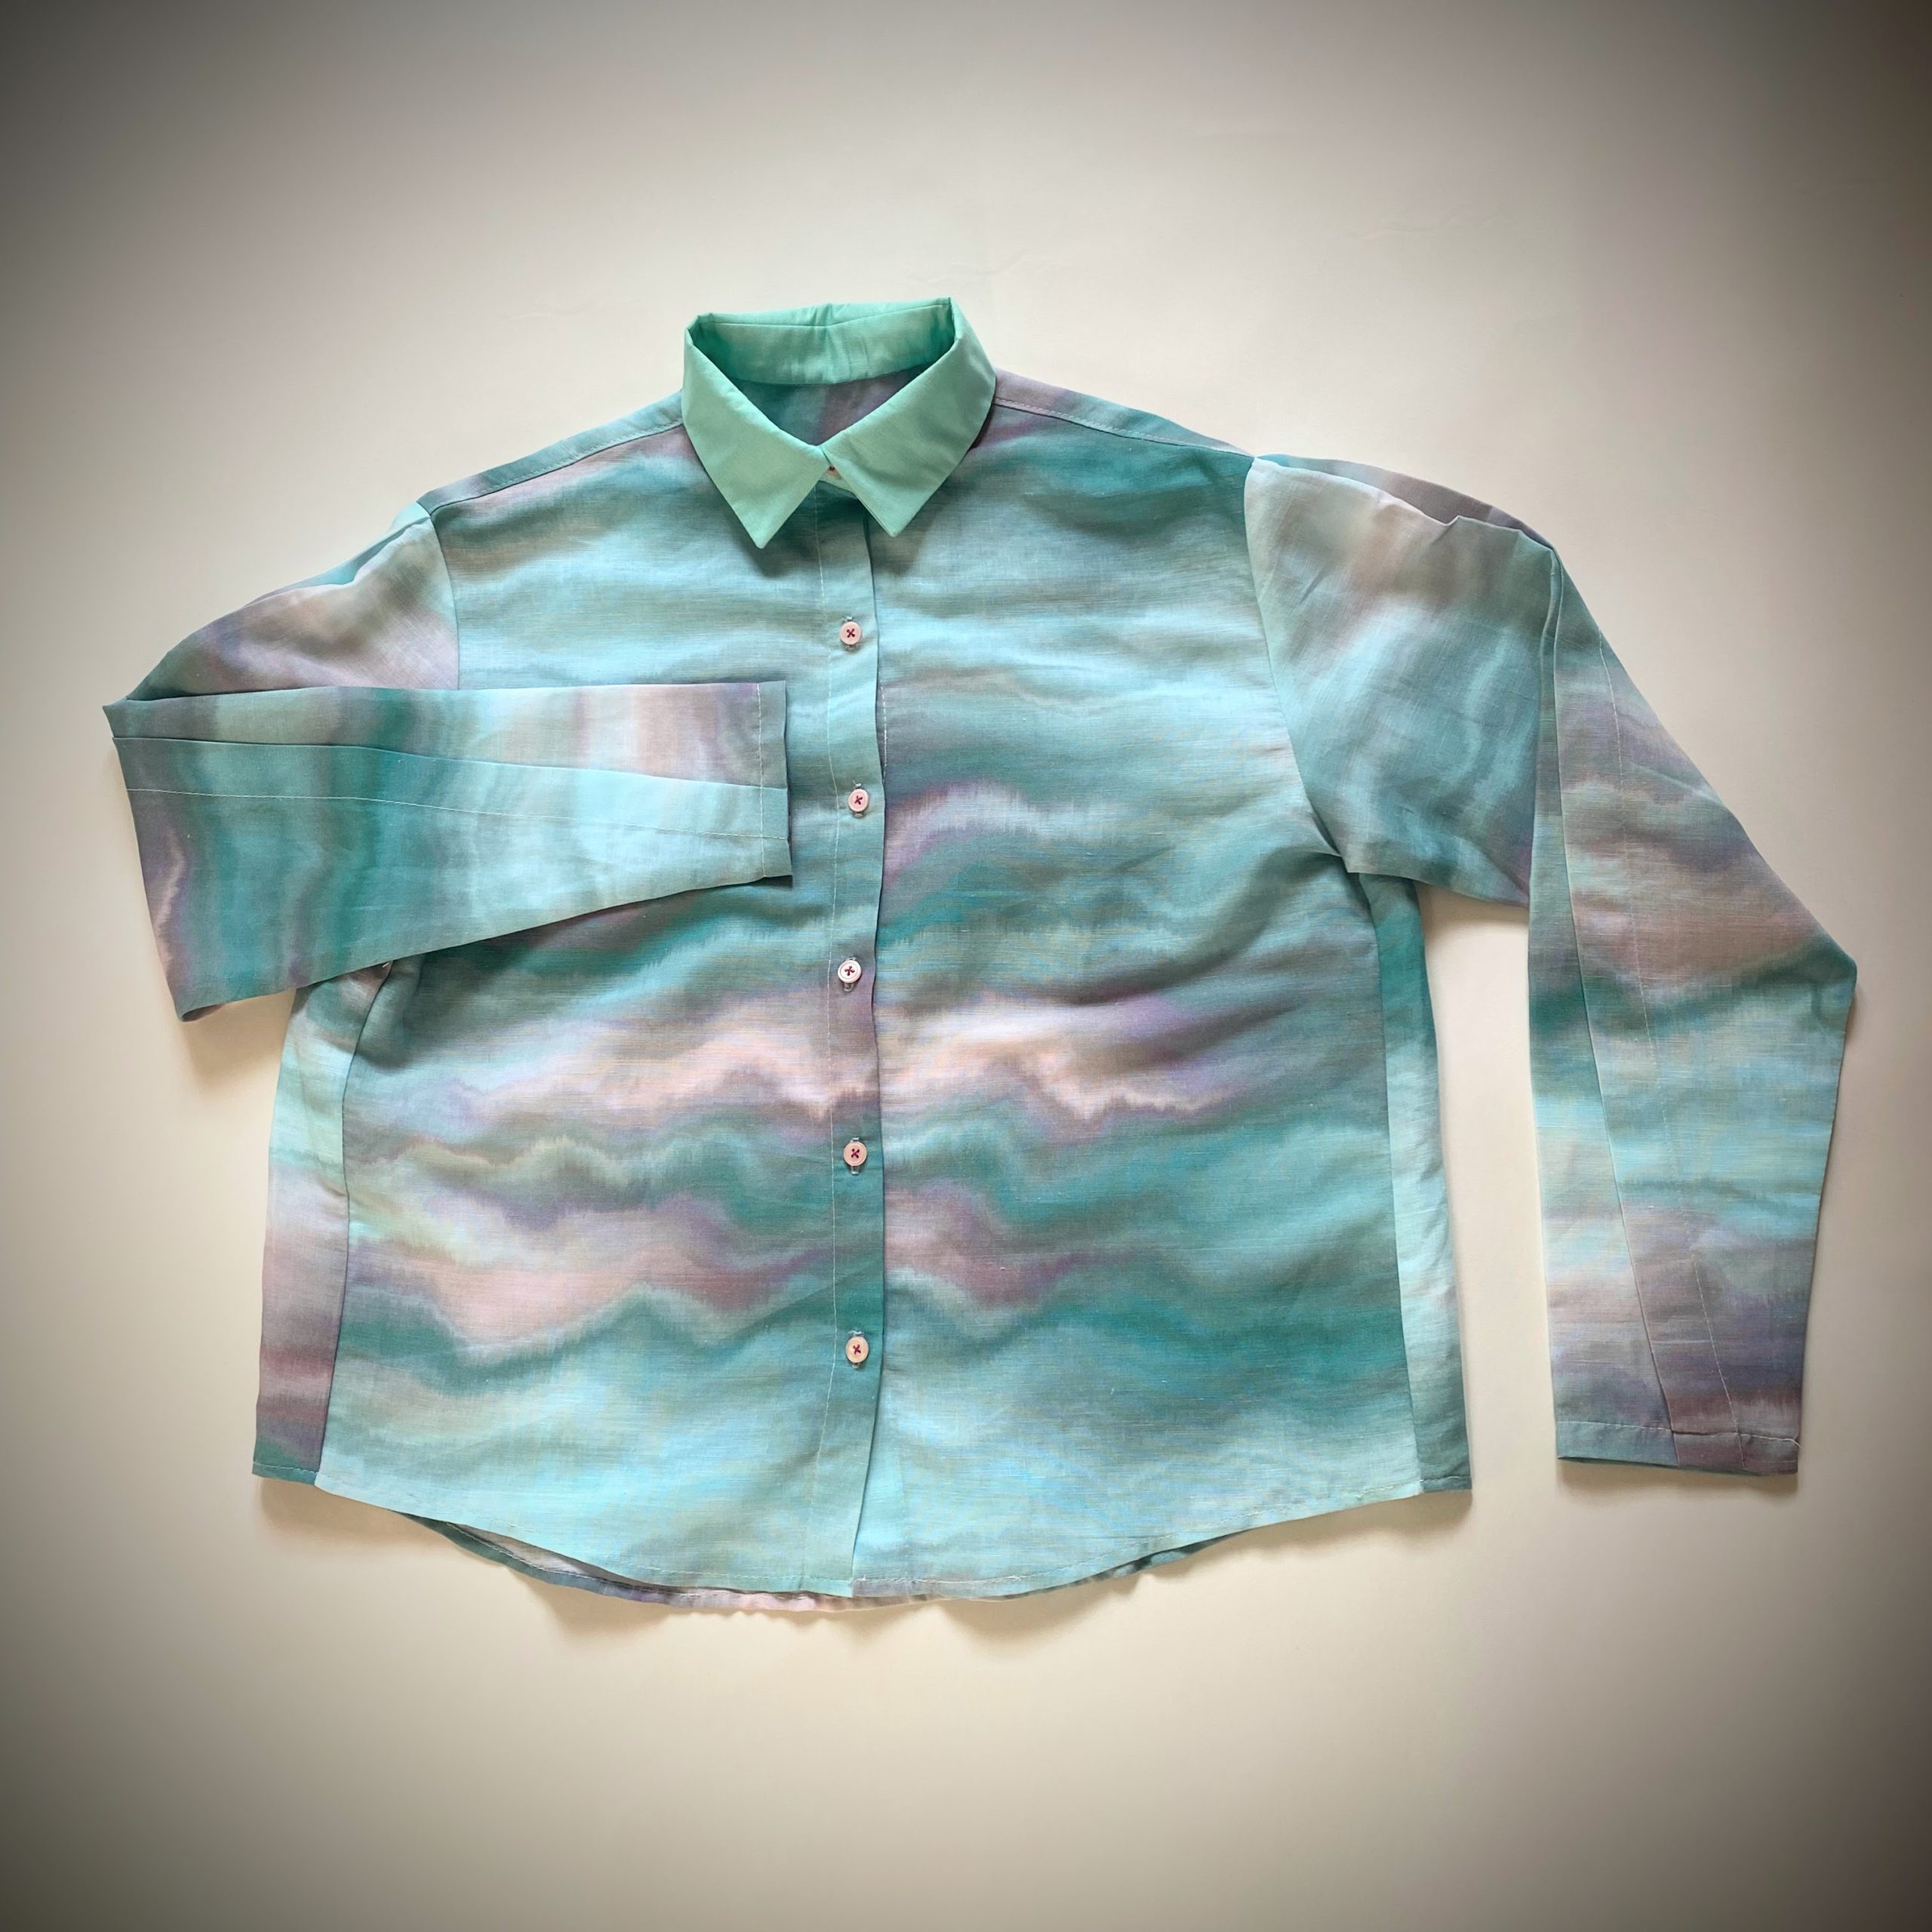
Finish sewing the bias bind by either topstitching as shown in the photo or handstitching using a slip stitch. This will create a smooth, invisible finish on the outer garment. Tuck the edges of the bias binding at the centre back.
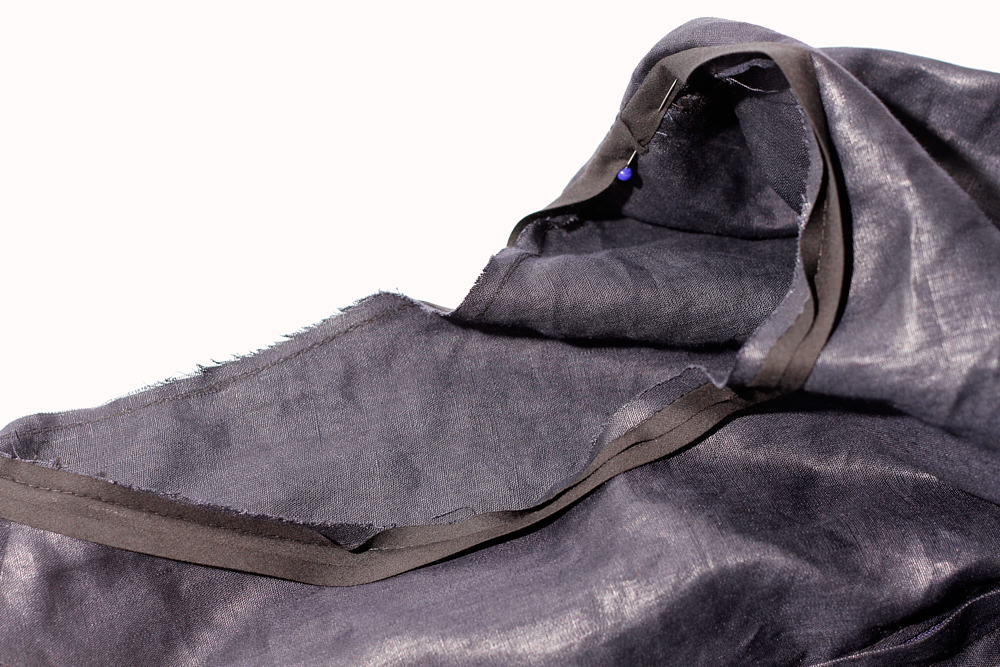
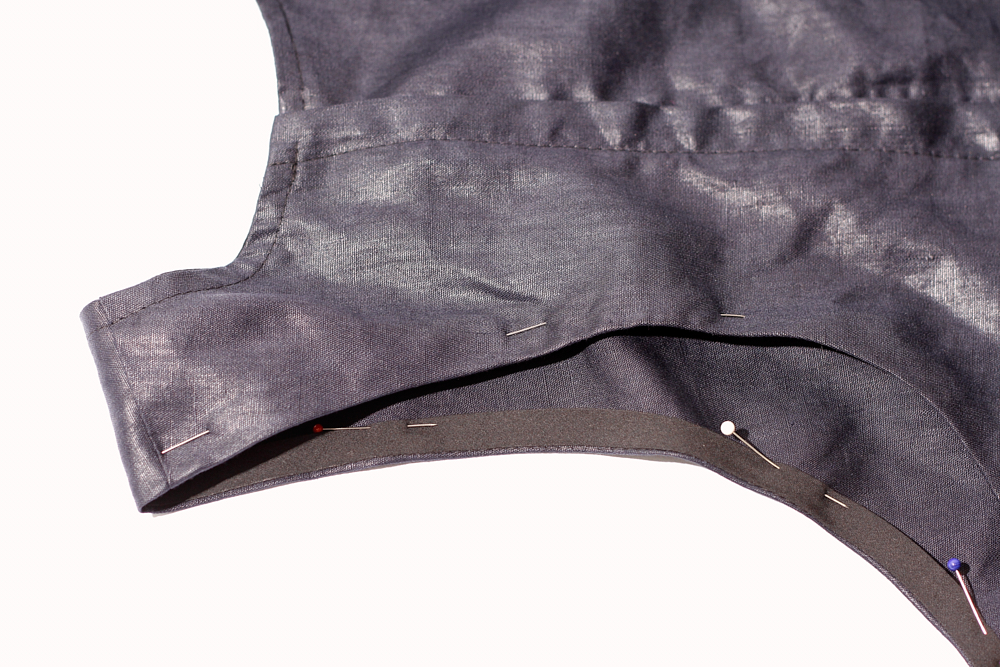
8. BINDING THE ARMHOLE.
Sew the bias binding onto the armholes following the same technique as completed on the neckline.
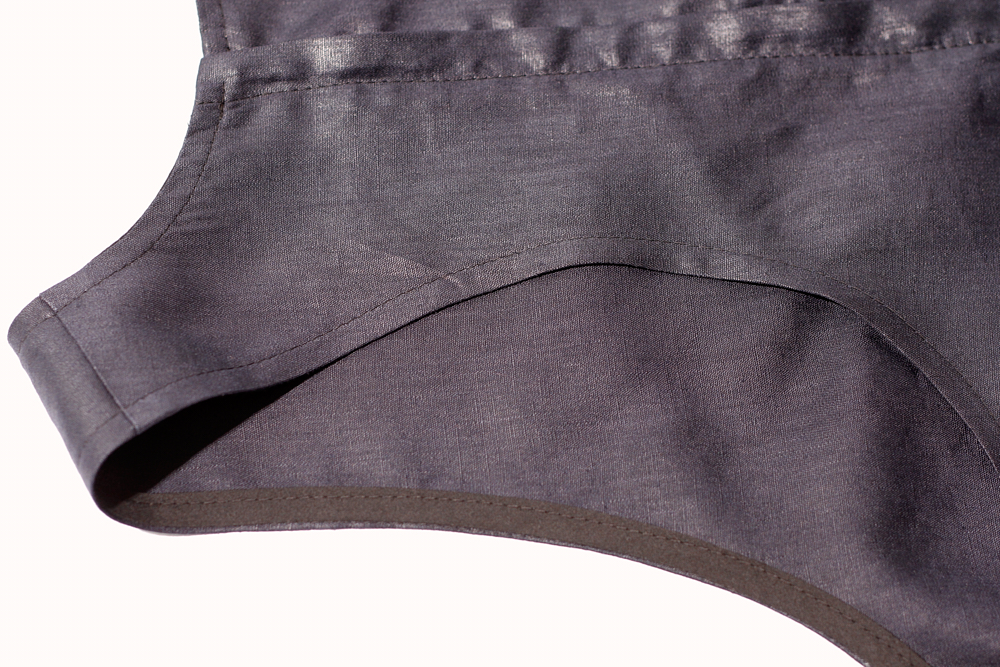
The finished armhole.
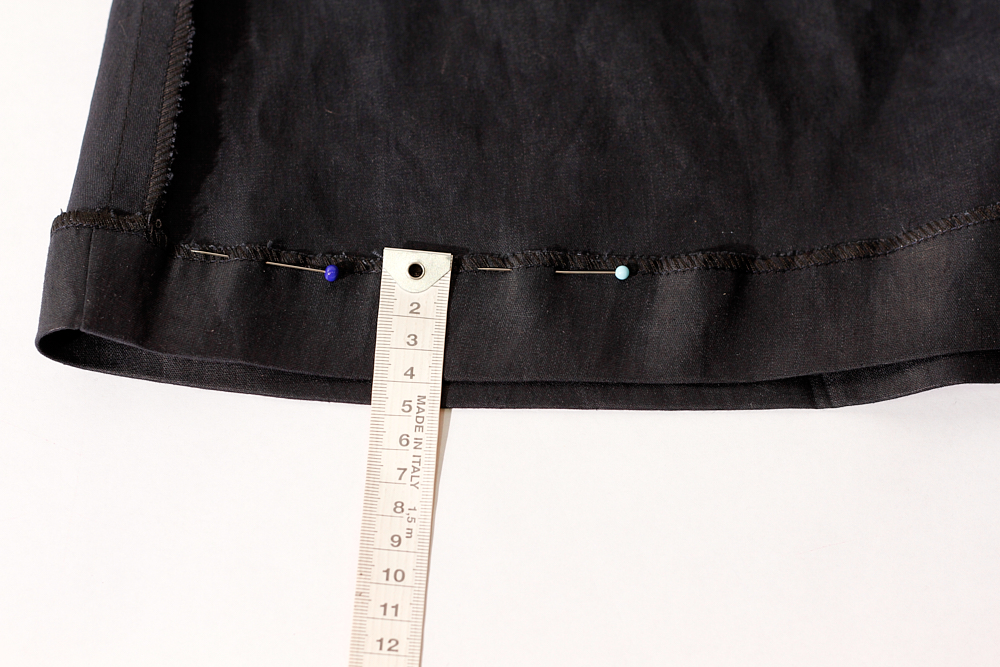
9. HEM
Overlock leg hems and turn up 4cm. Press to keep in position. Stitch down close to the edge for a visible topstitched finish or handstitch in place using a slip stitch for an invisible finish.