Our Location
Redfern, Sydney, NSW
Australia

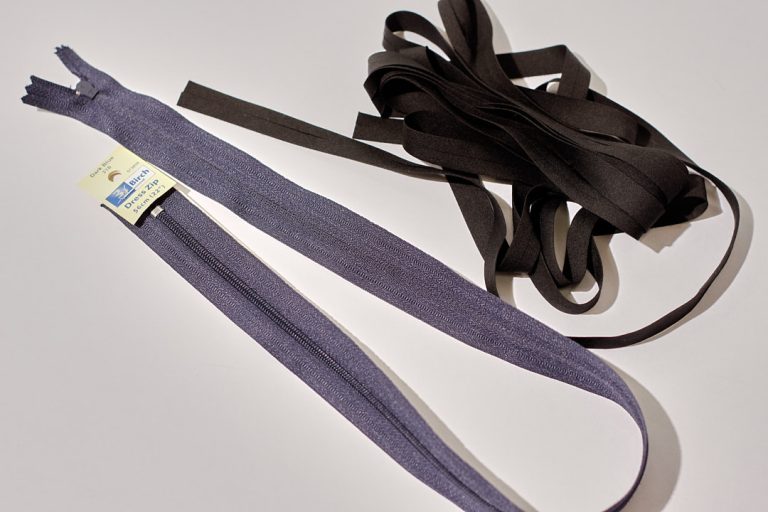
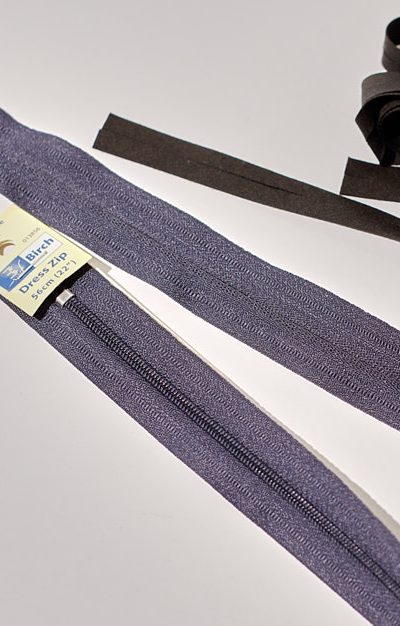
In this short tutorial, we will go through the most common ways to use bias binding. Whether it be store-bought or custom-made, the finish is always stylish.
Open the bias binding and place it on the right side of the fabric. Right sides together. Fold over the beginning of the bias bind. You should put the binding join in an inconspicuous place along the seam, such as the underarm seam.
Start stitching along the crease of the bias bind closest to the edge of the fabric. The fold at the beginning of the bias should be caught by the stitching.
Continue sewing all around the edge of the bias binding, using the crease as a guide.
When you have reached the start of the bind, place the end part of the bind directly on top of the fold so that the crease of both ends lines up.
Stitch over the start of the bind using the crease as a guide.
Finish by back tacking a few stitches. The bind should look like this.
The photo shows what the join of the bind looks like at this point. Turn the bind over to the right side and turn again so that it is rolled over to the underside of the garment.
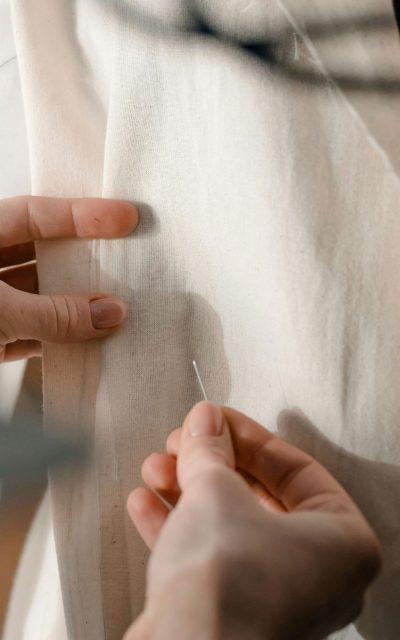
Press and pin in place if needed. At this point, if you prefer an invisible finish, it is advisable to hand-stitch the bias down. But if not, start stitching on top of the folded bind along the edge.
Continue stitching along the length of the bind, keeping the stitch straight as it will be visible from the front. I use the seam guide markings on the machine.
When you have reached the end, back tack to secure the stitching.
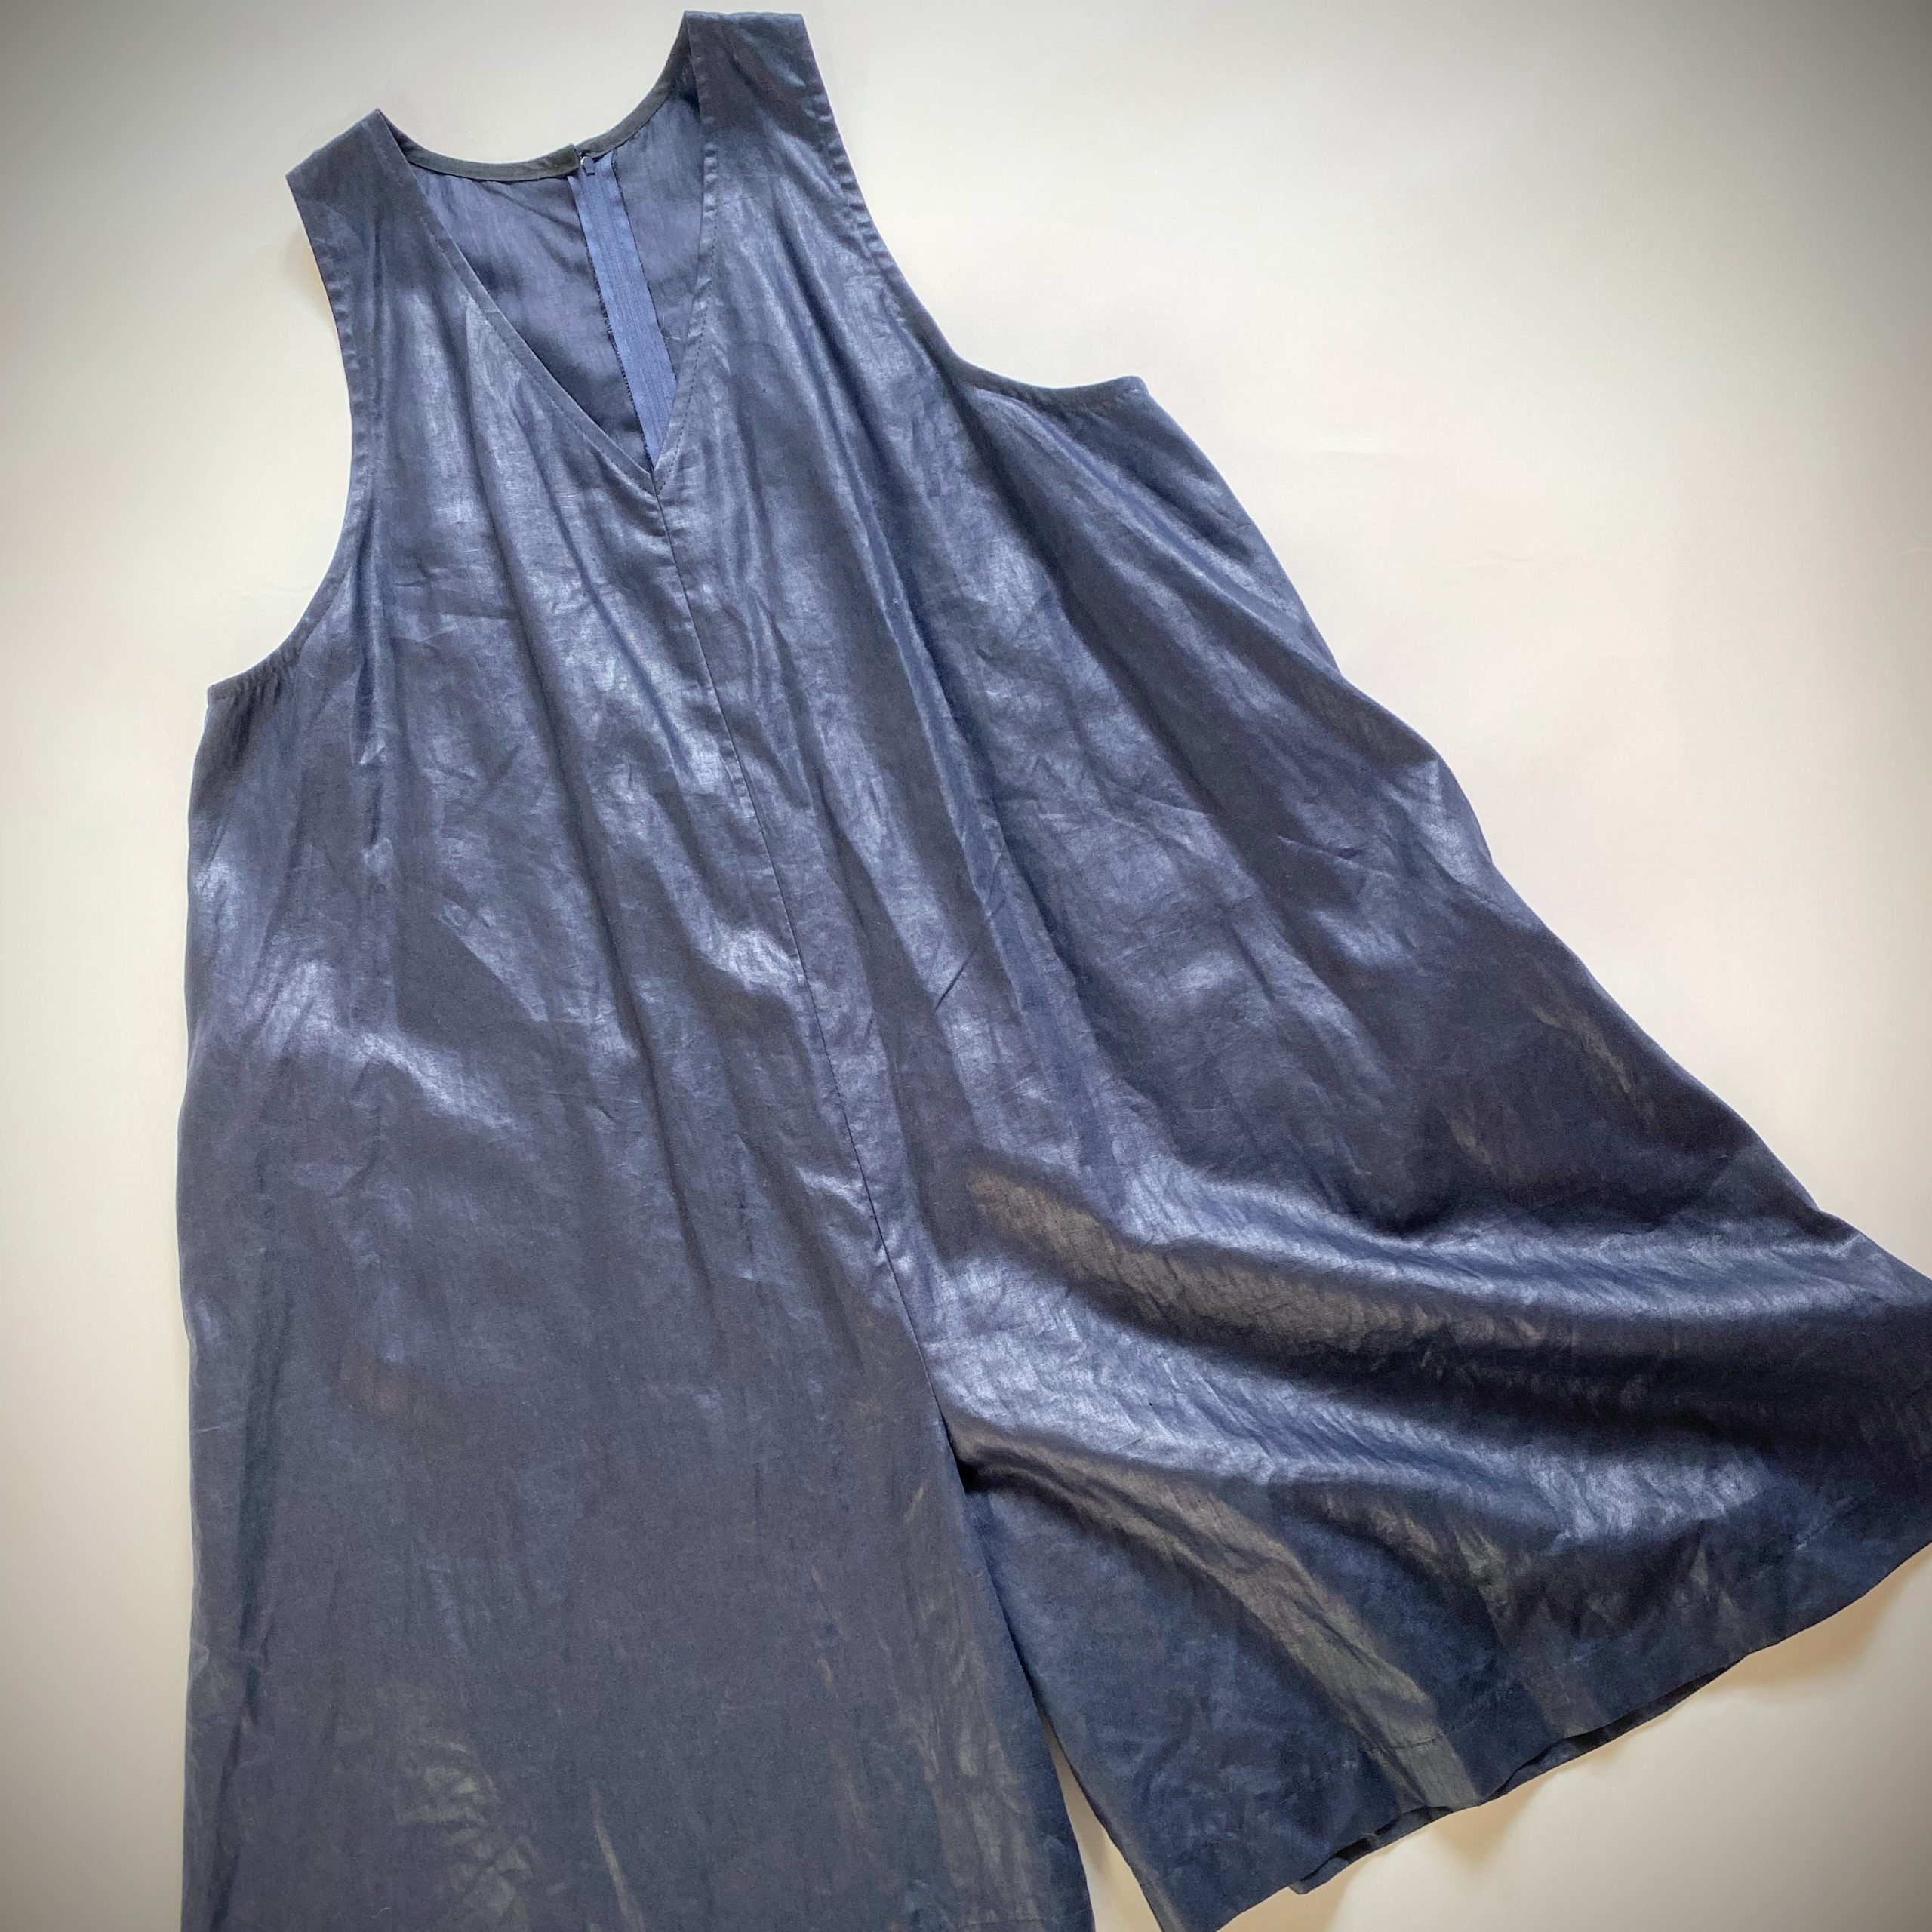
finished!
Press the finished edge and enjoy.