Our Location
Redfern, Sydney, NSW
Australia

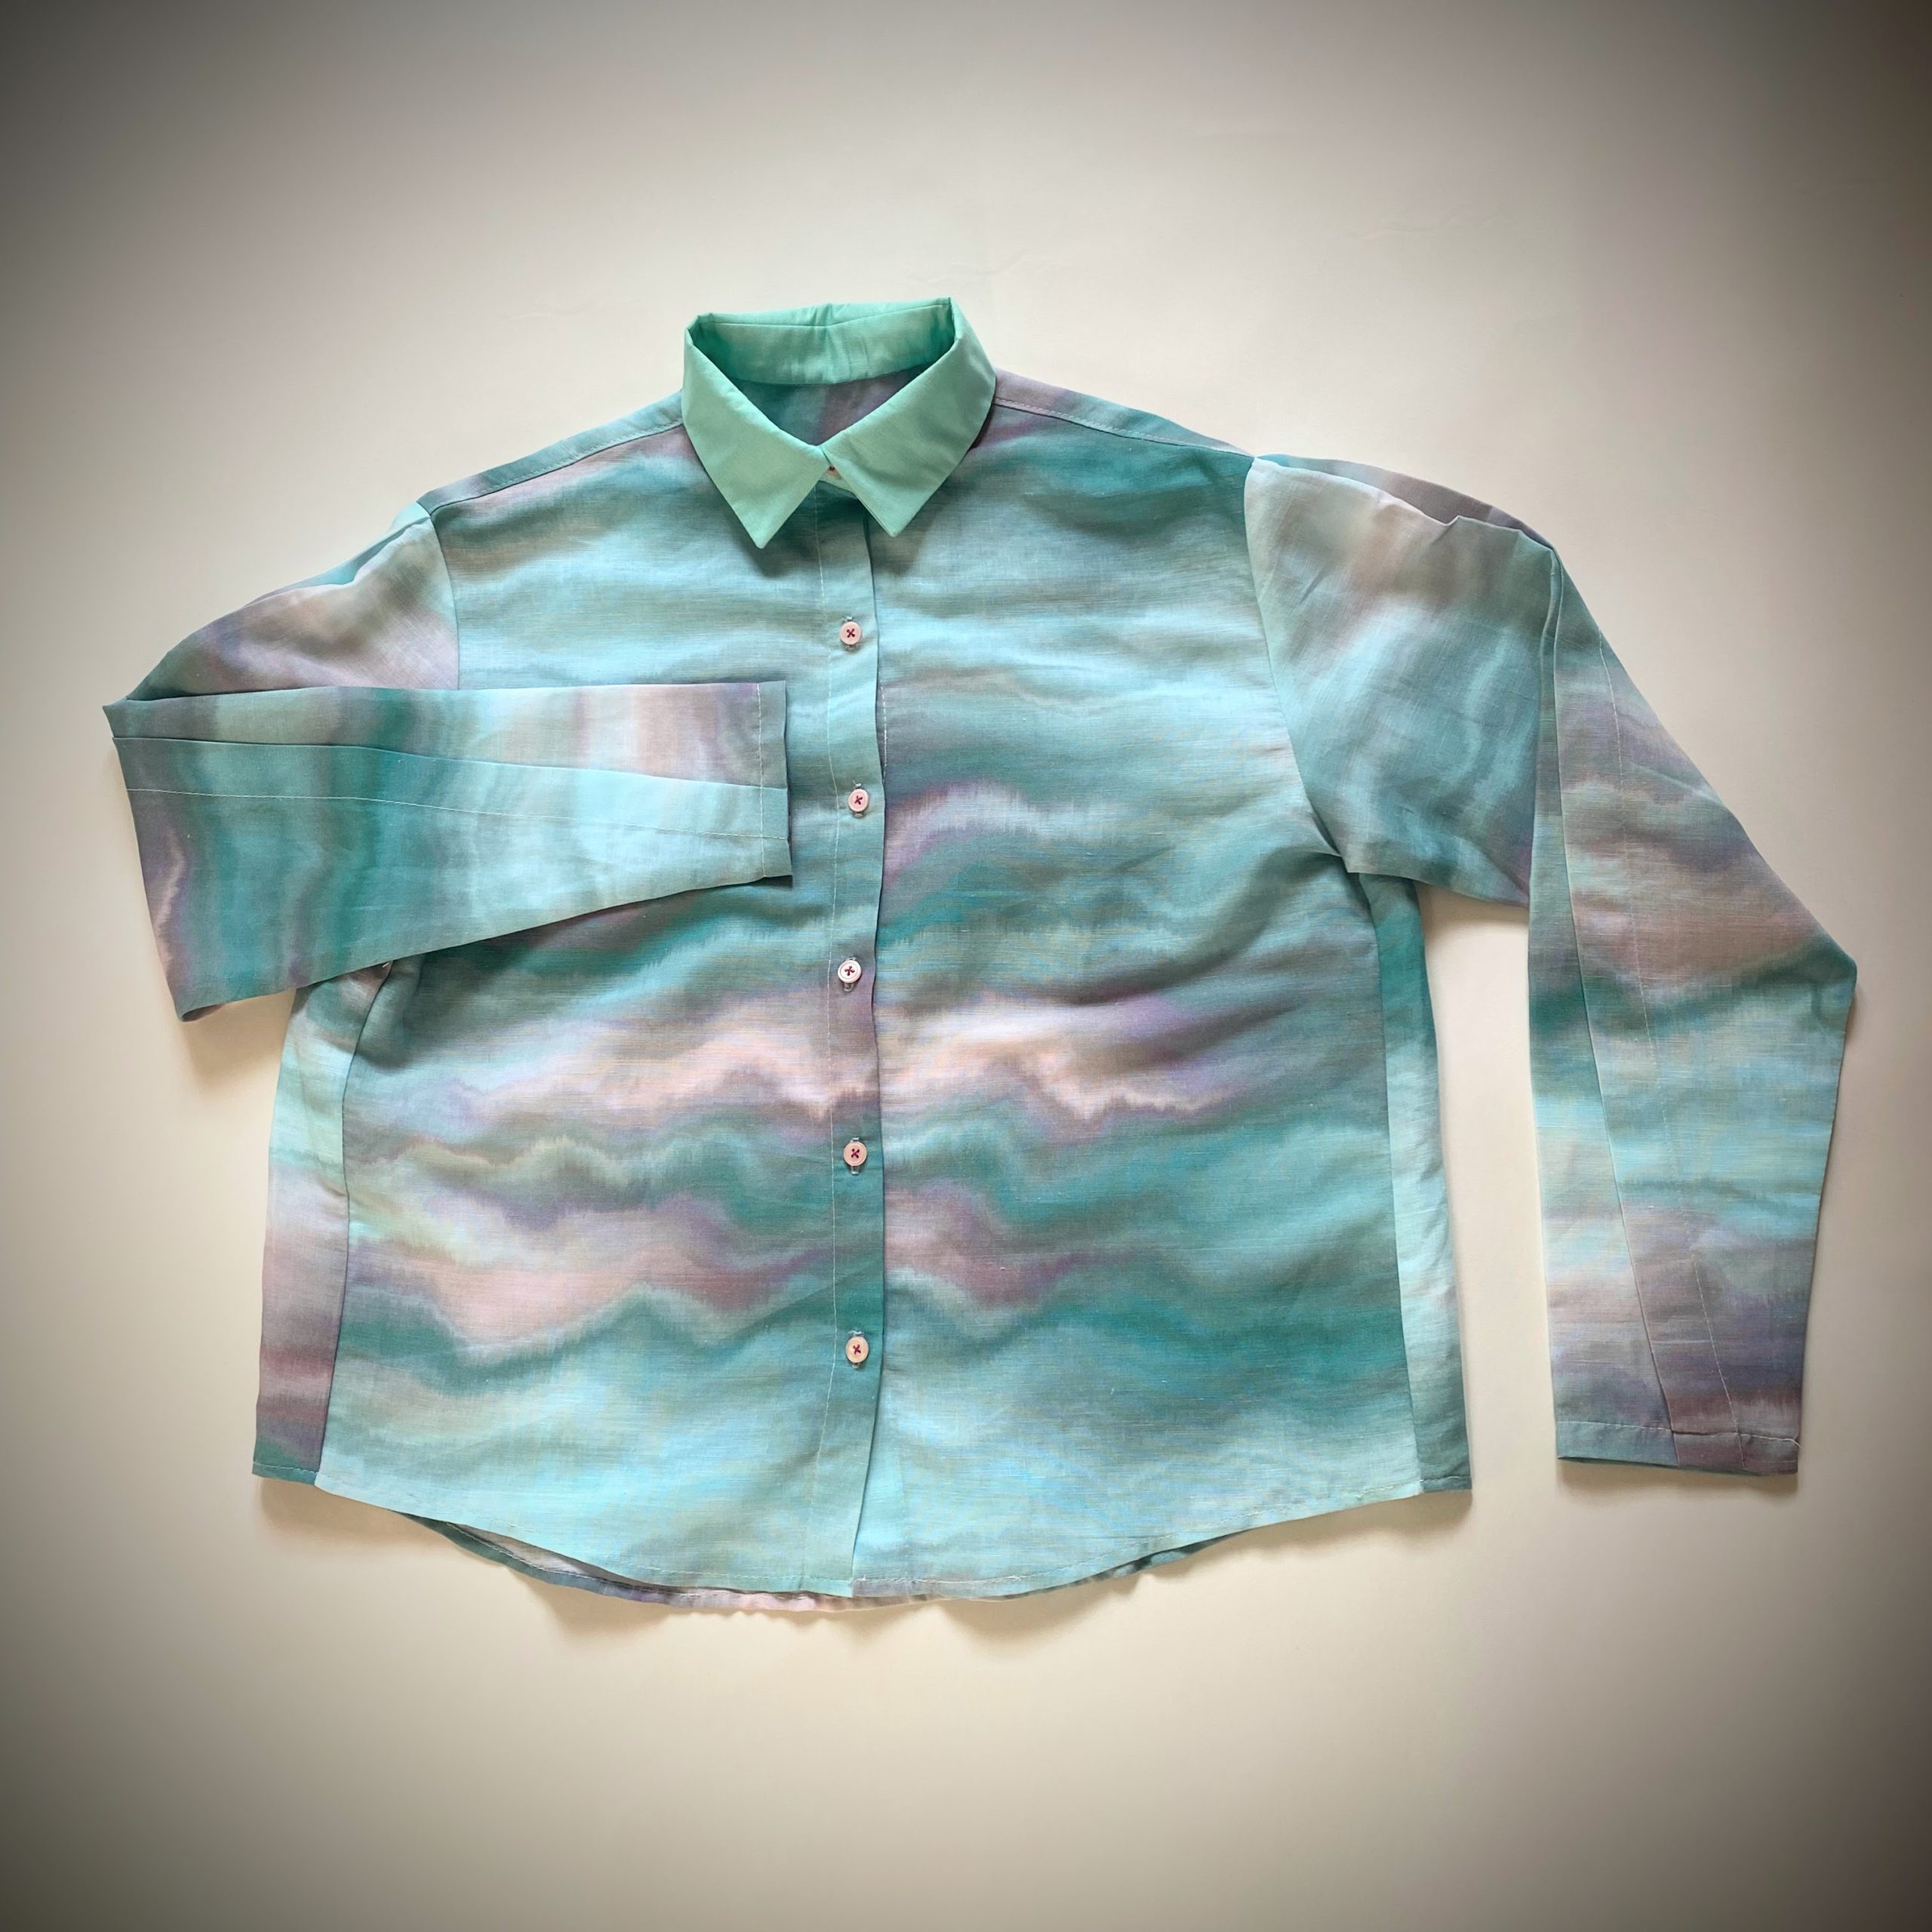
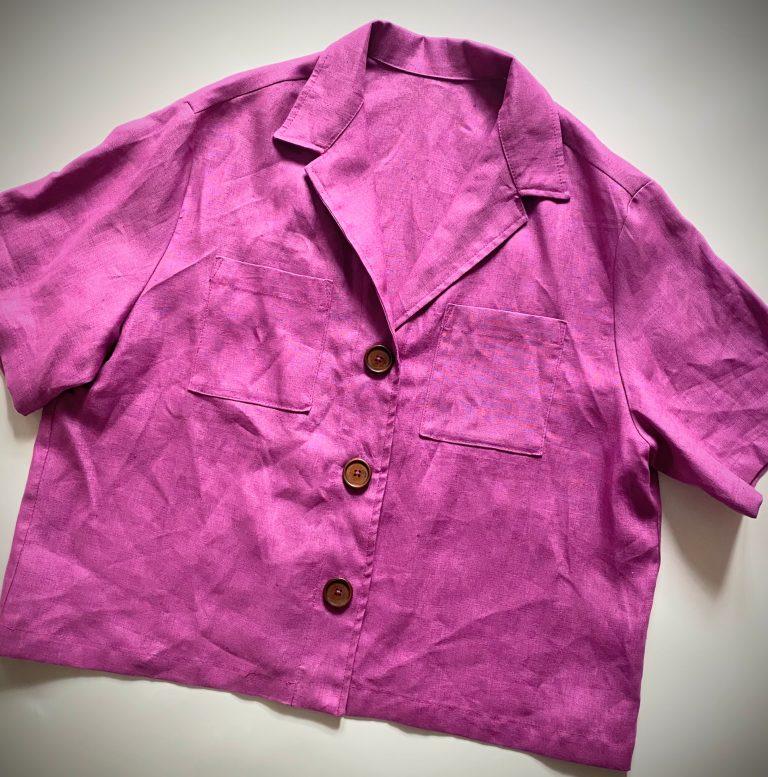
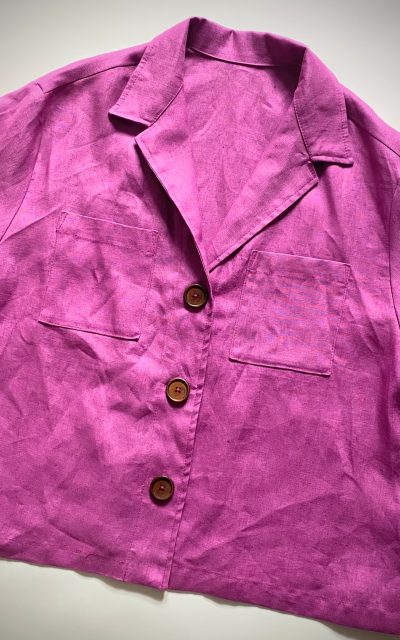
A classic style man’s shirt has been hijacked by a quirky pleat on the sleeve and no cuff. So, perhaps not exactly a classic man’s shirt. Can be made oversized or standard-sized.
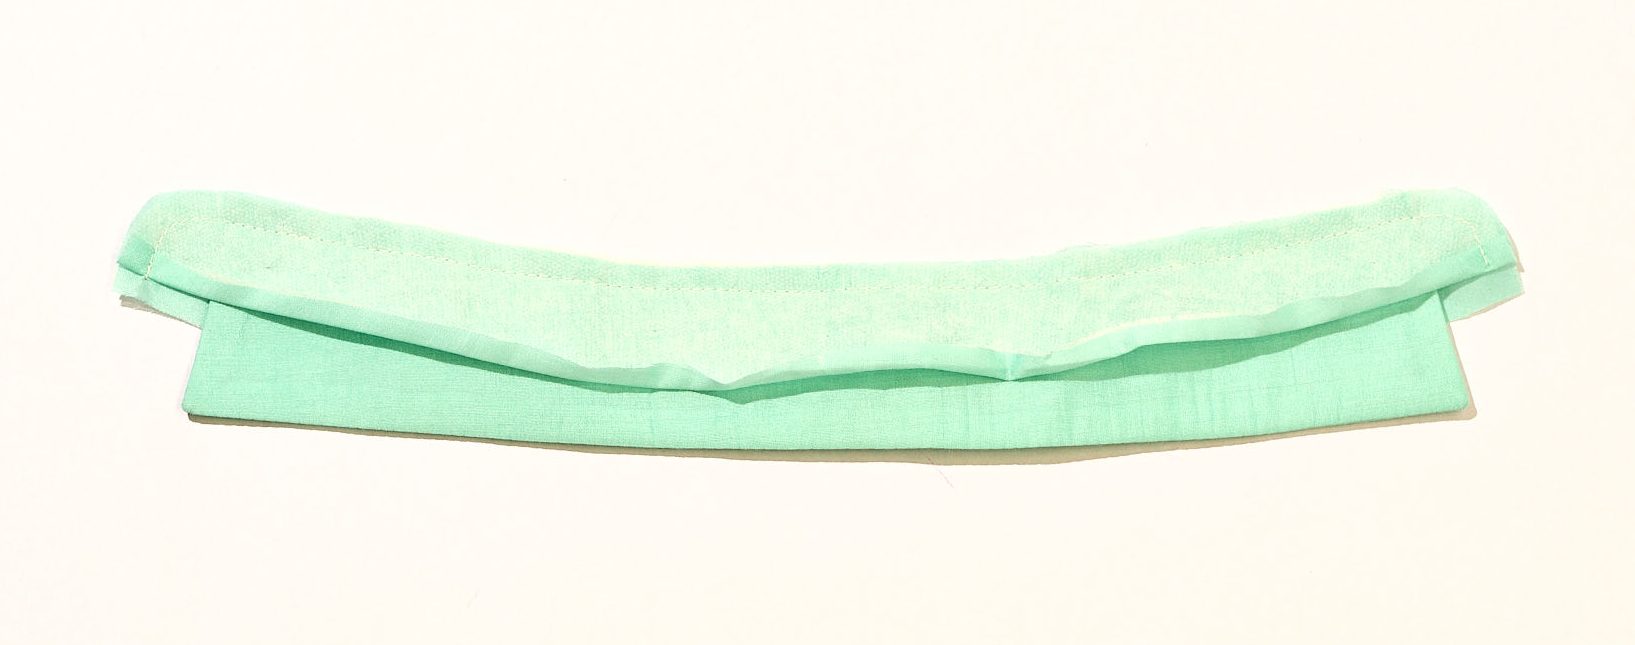
1. FRONT TAB
Cut two 3cm strips of fusing the length of the centre front and press along the edge of the tab. Fold the centre front edge 6mm and press.
Fold the centre front edge a second time 2.5cm and press.
Topstitch down along the edge of the front tab. Sewing along the wrong side will keep the stitches straight.
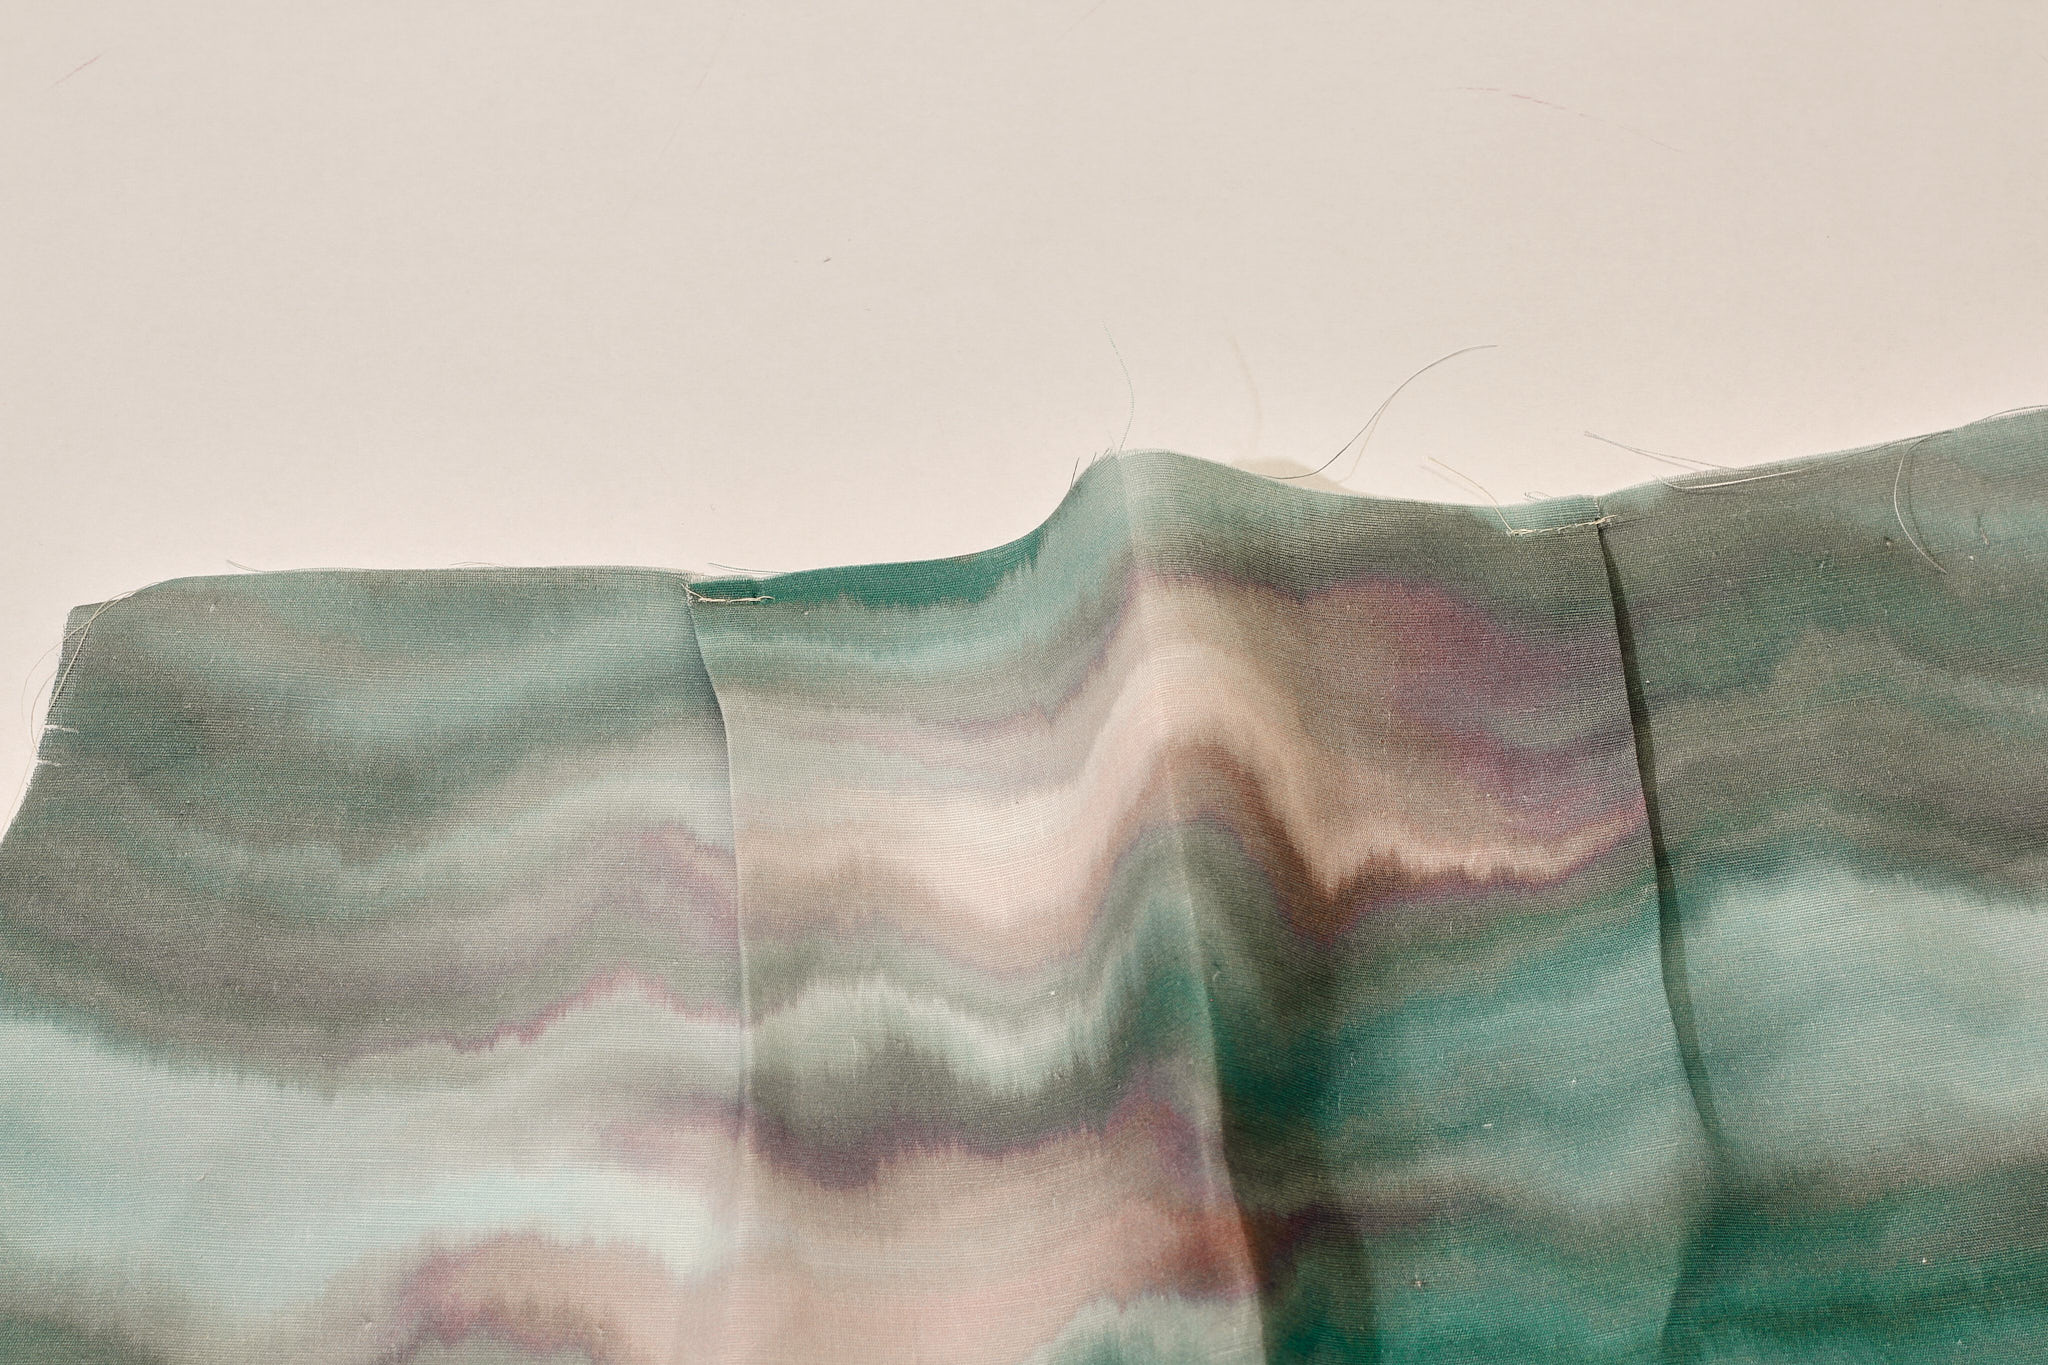
2. BACK PLEATS
Two notches indicate where the pleats at the back will be positioned. Place the notches together and align them so that they face outward from the centre back, as shown in the picture. Stitch in place.
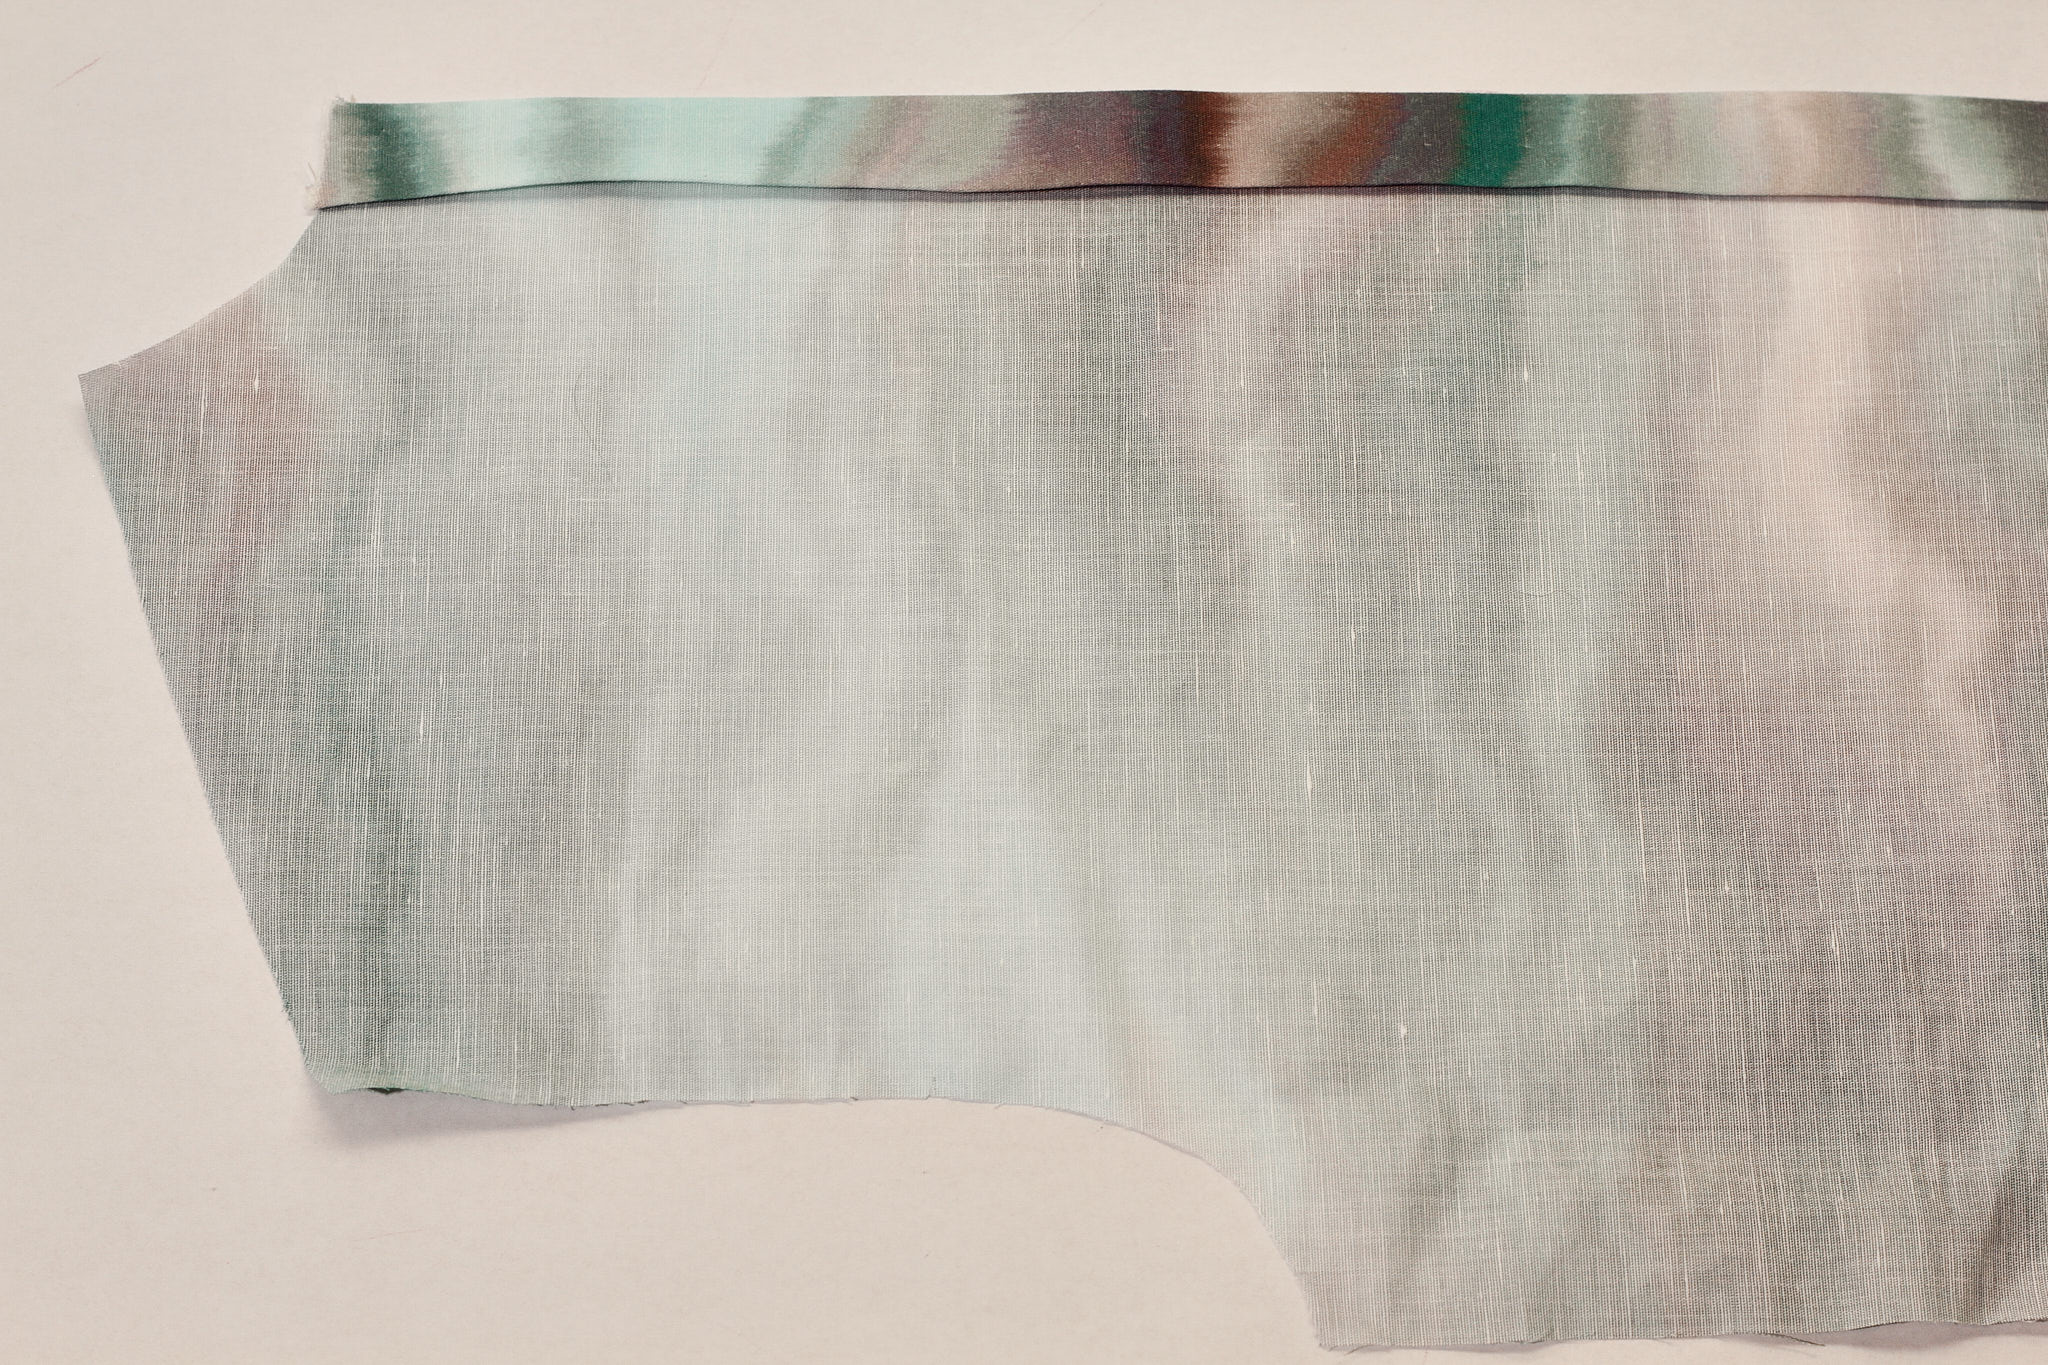
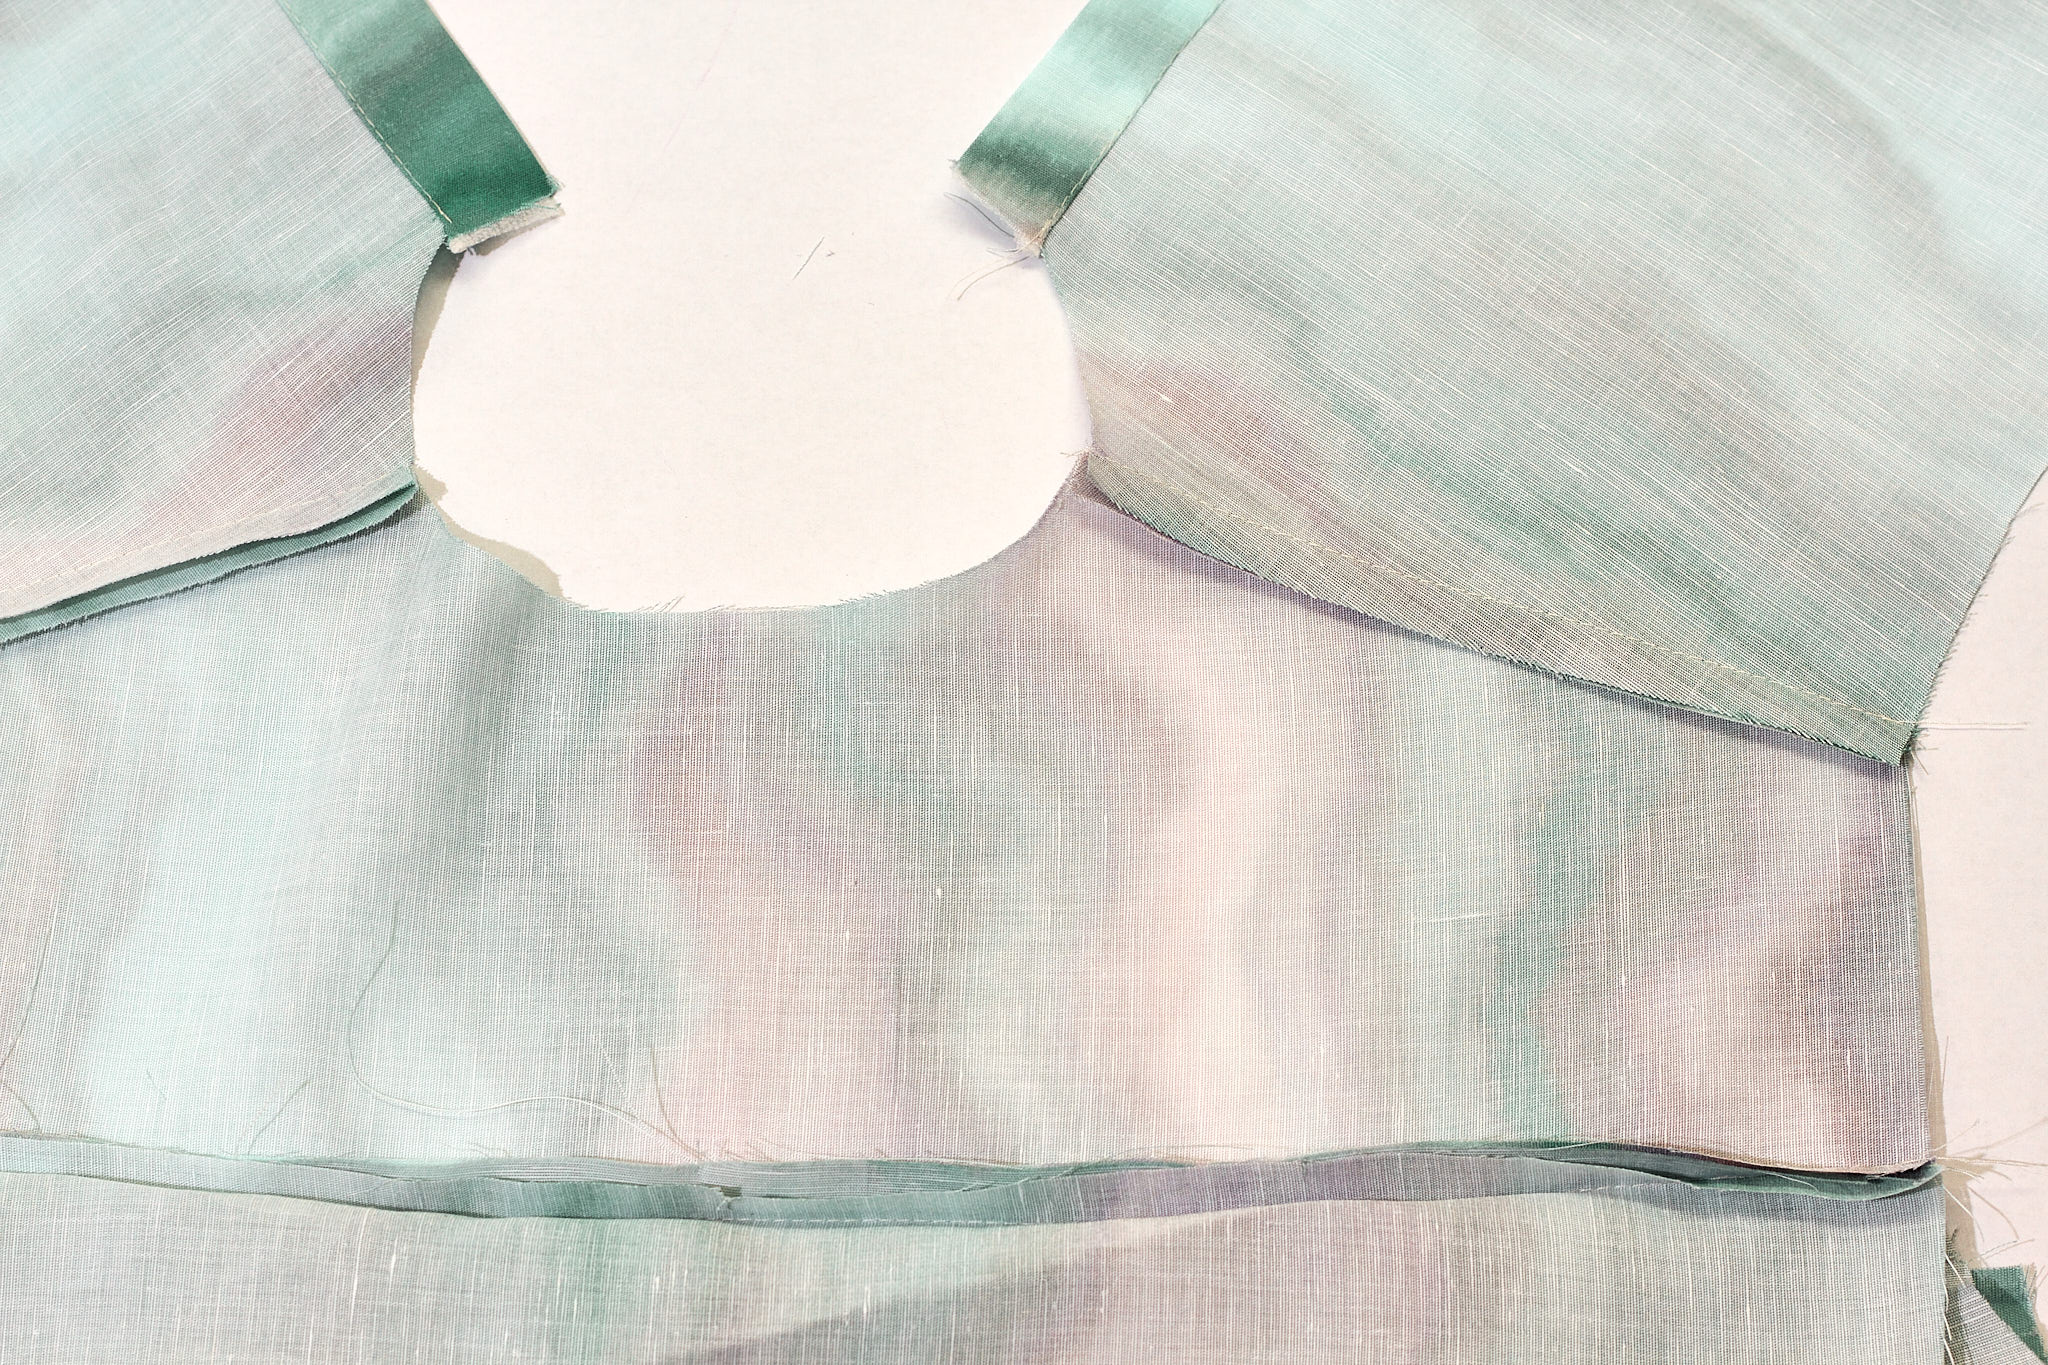
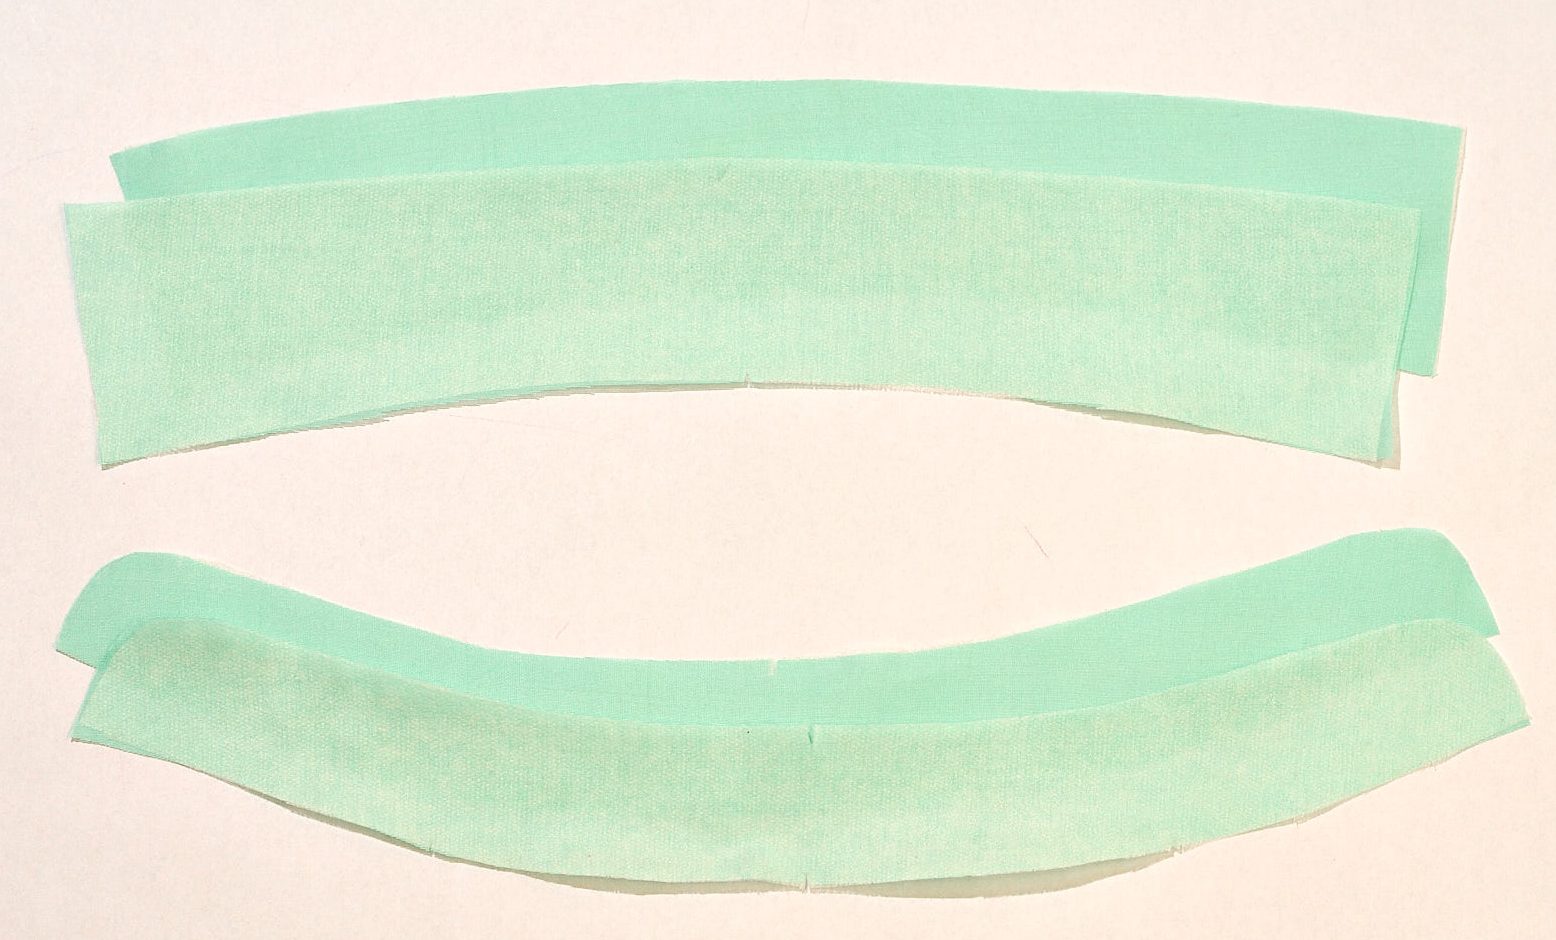
3. YOKE
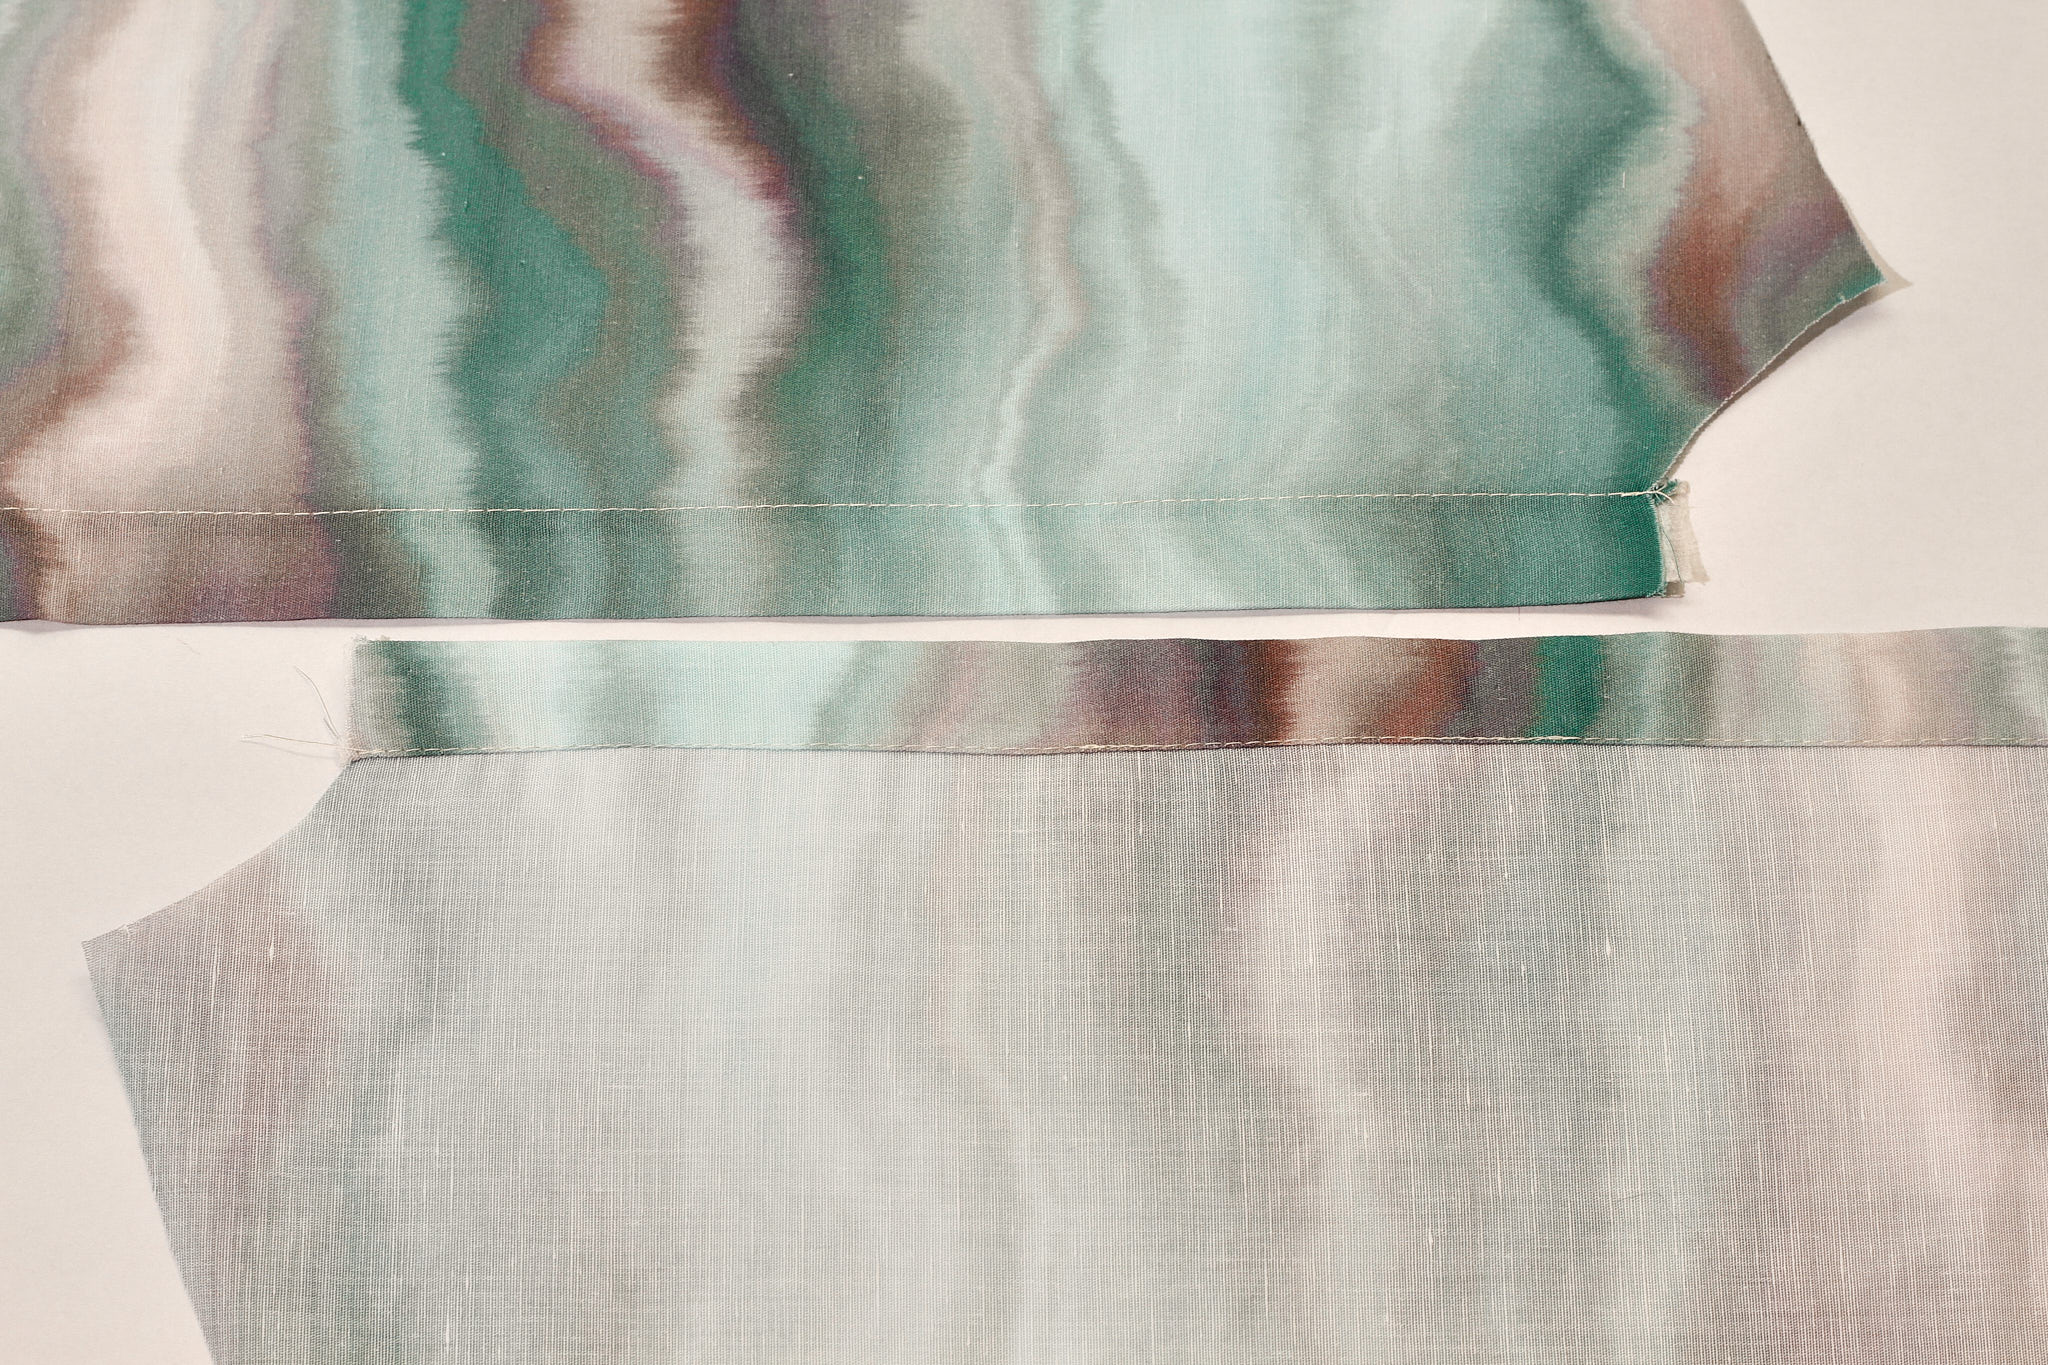
Place the yoke right sides together with the shirt back. Pin in place and stitch down.
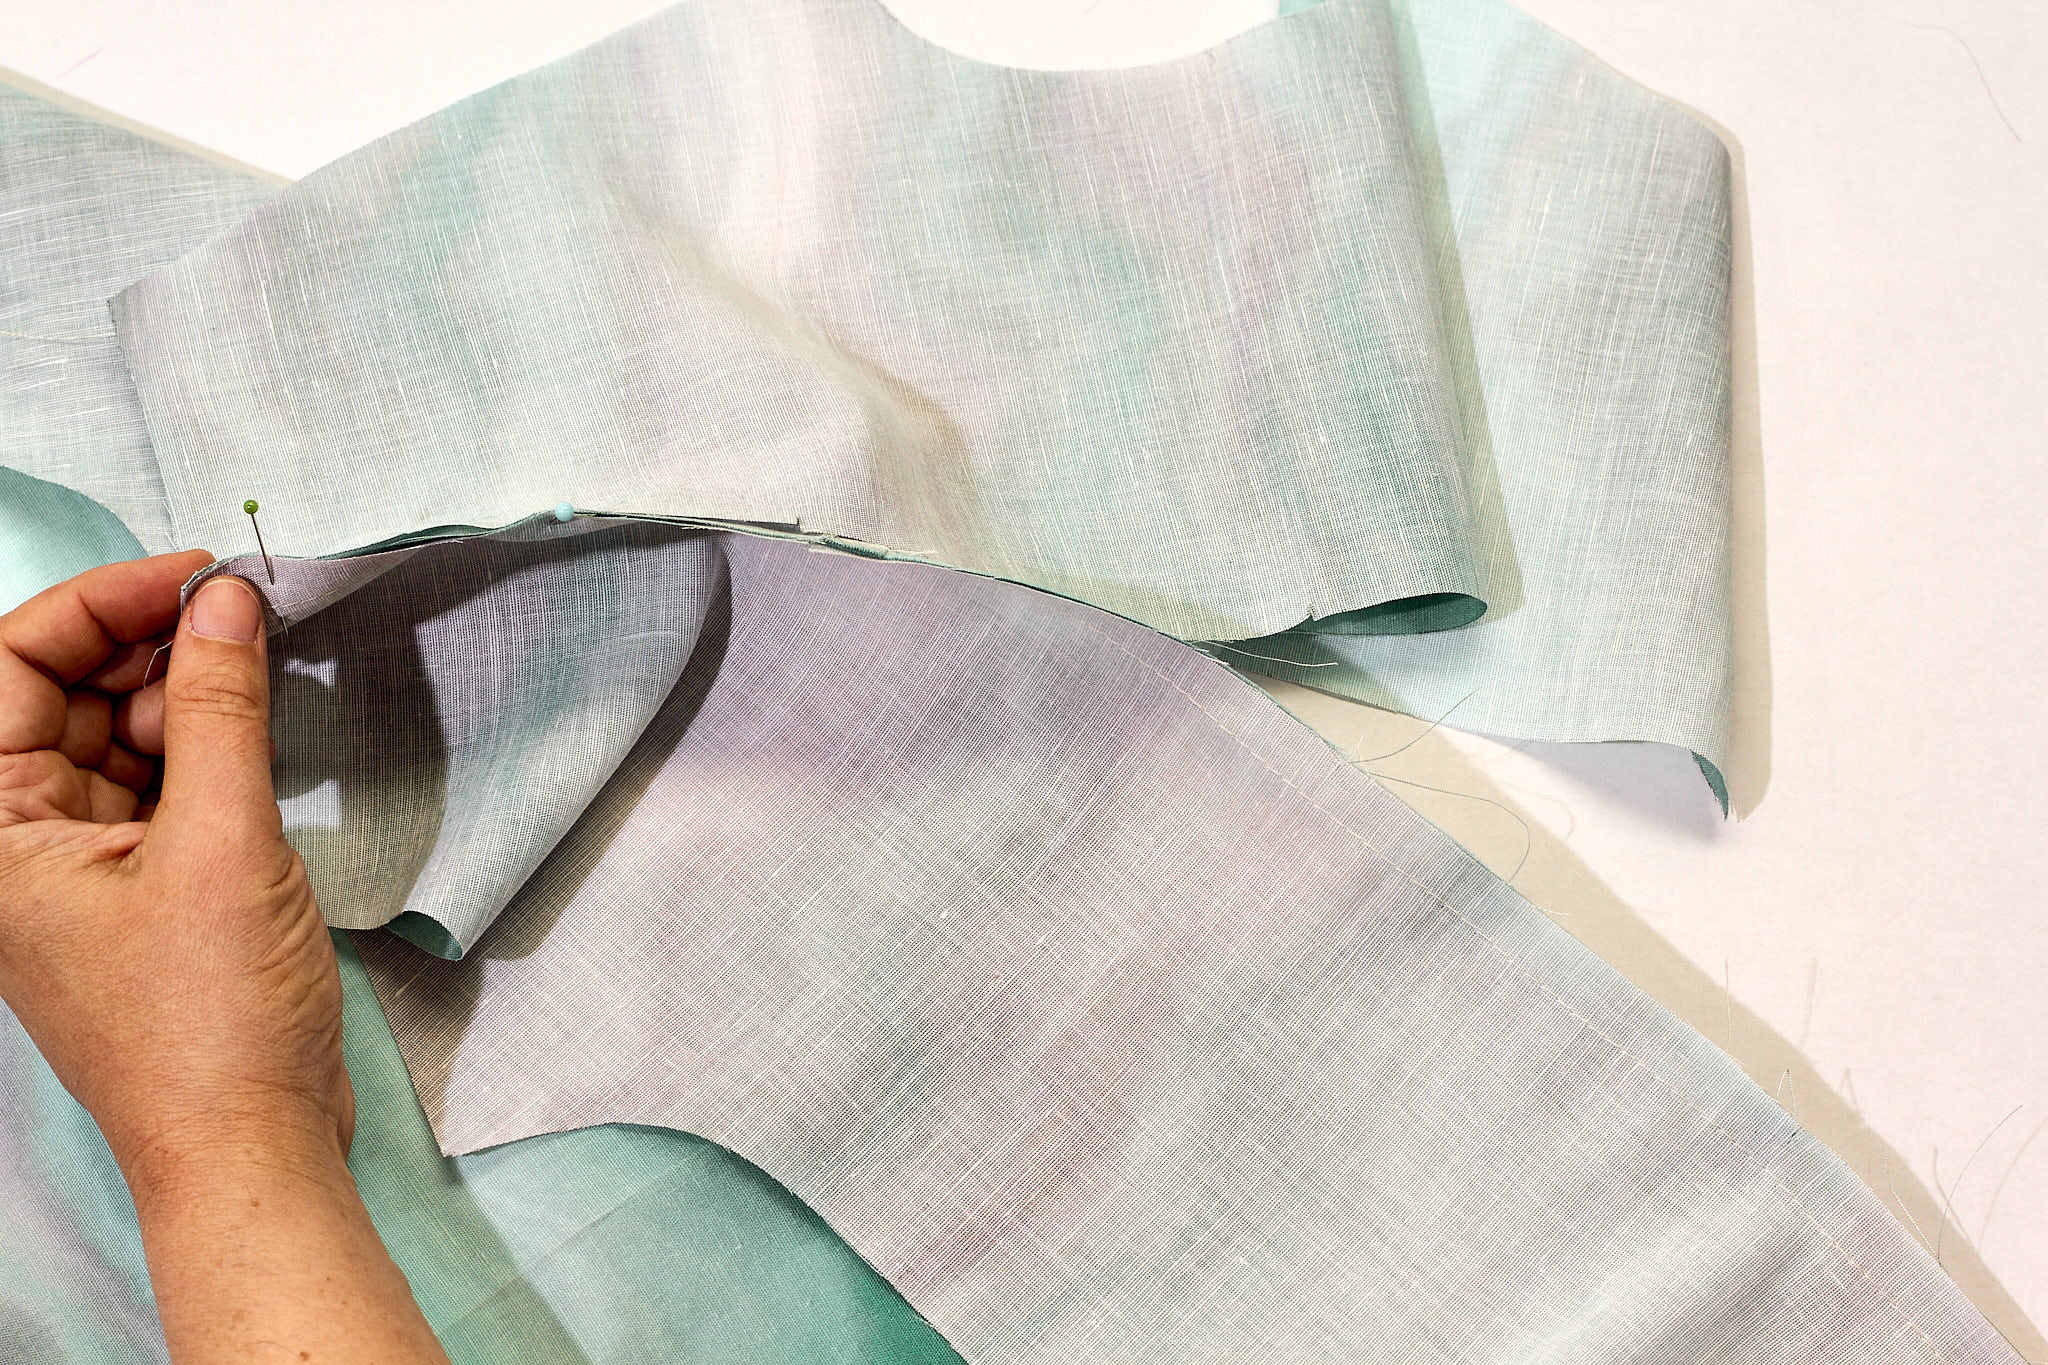
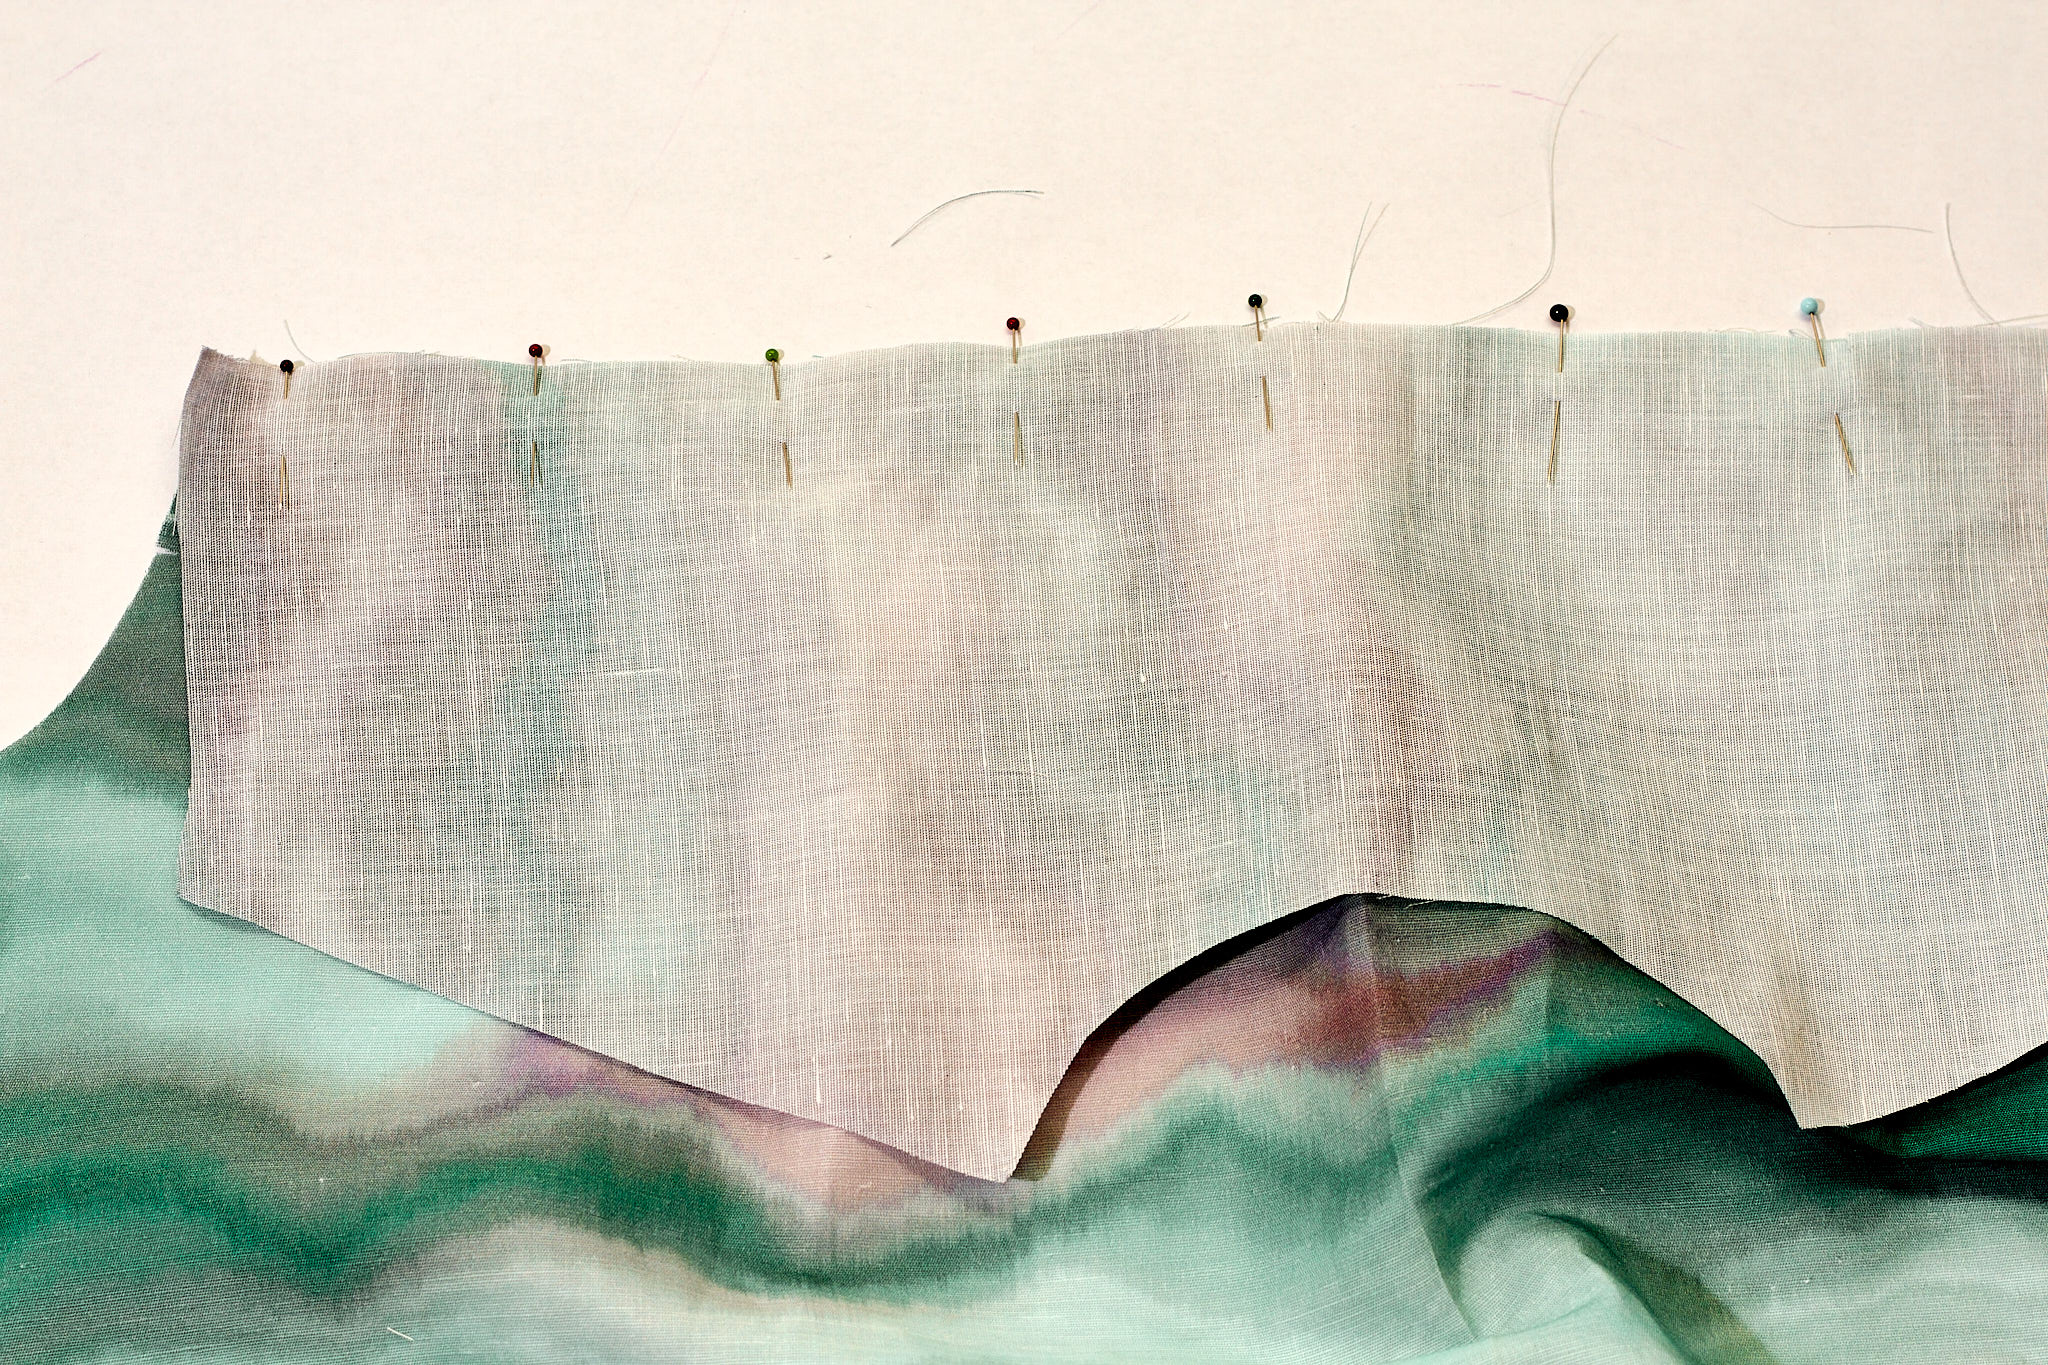
Place the yoke facing on the wrong side of the shirt back. Pin in place and stitch down.
Notches will indicate the pleat positions.
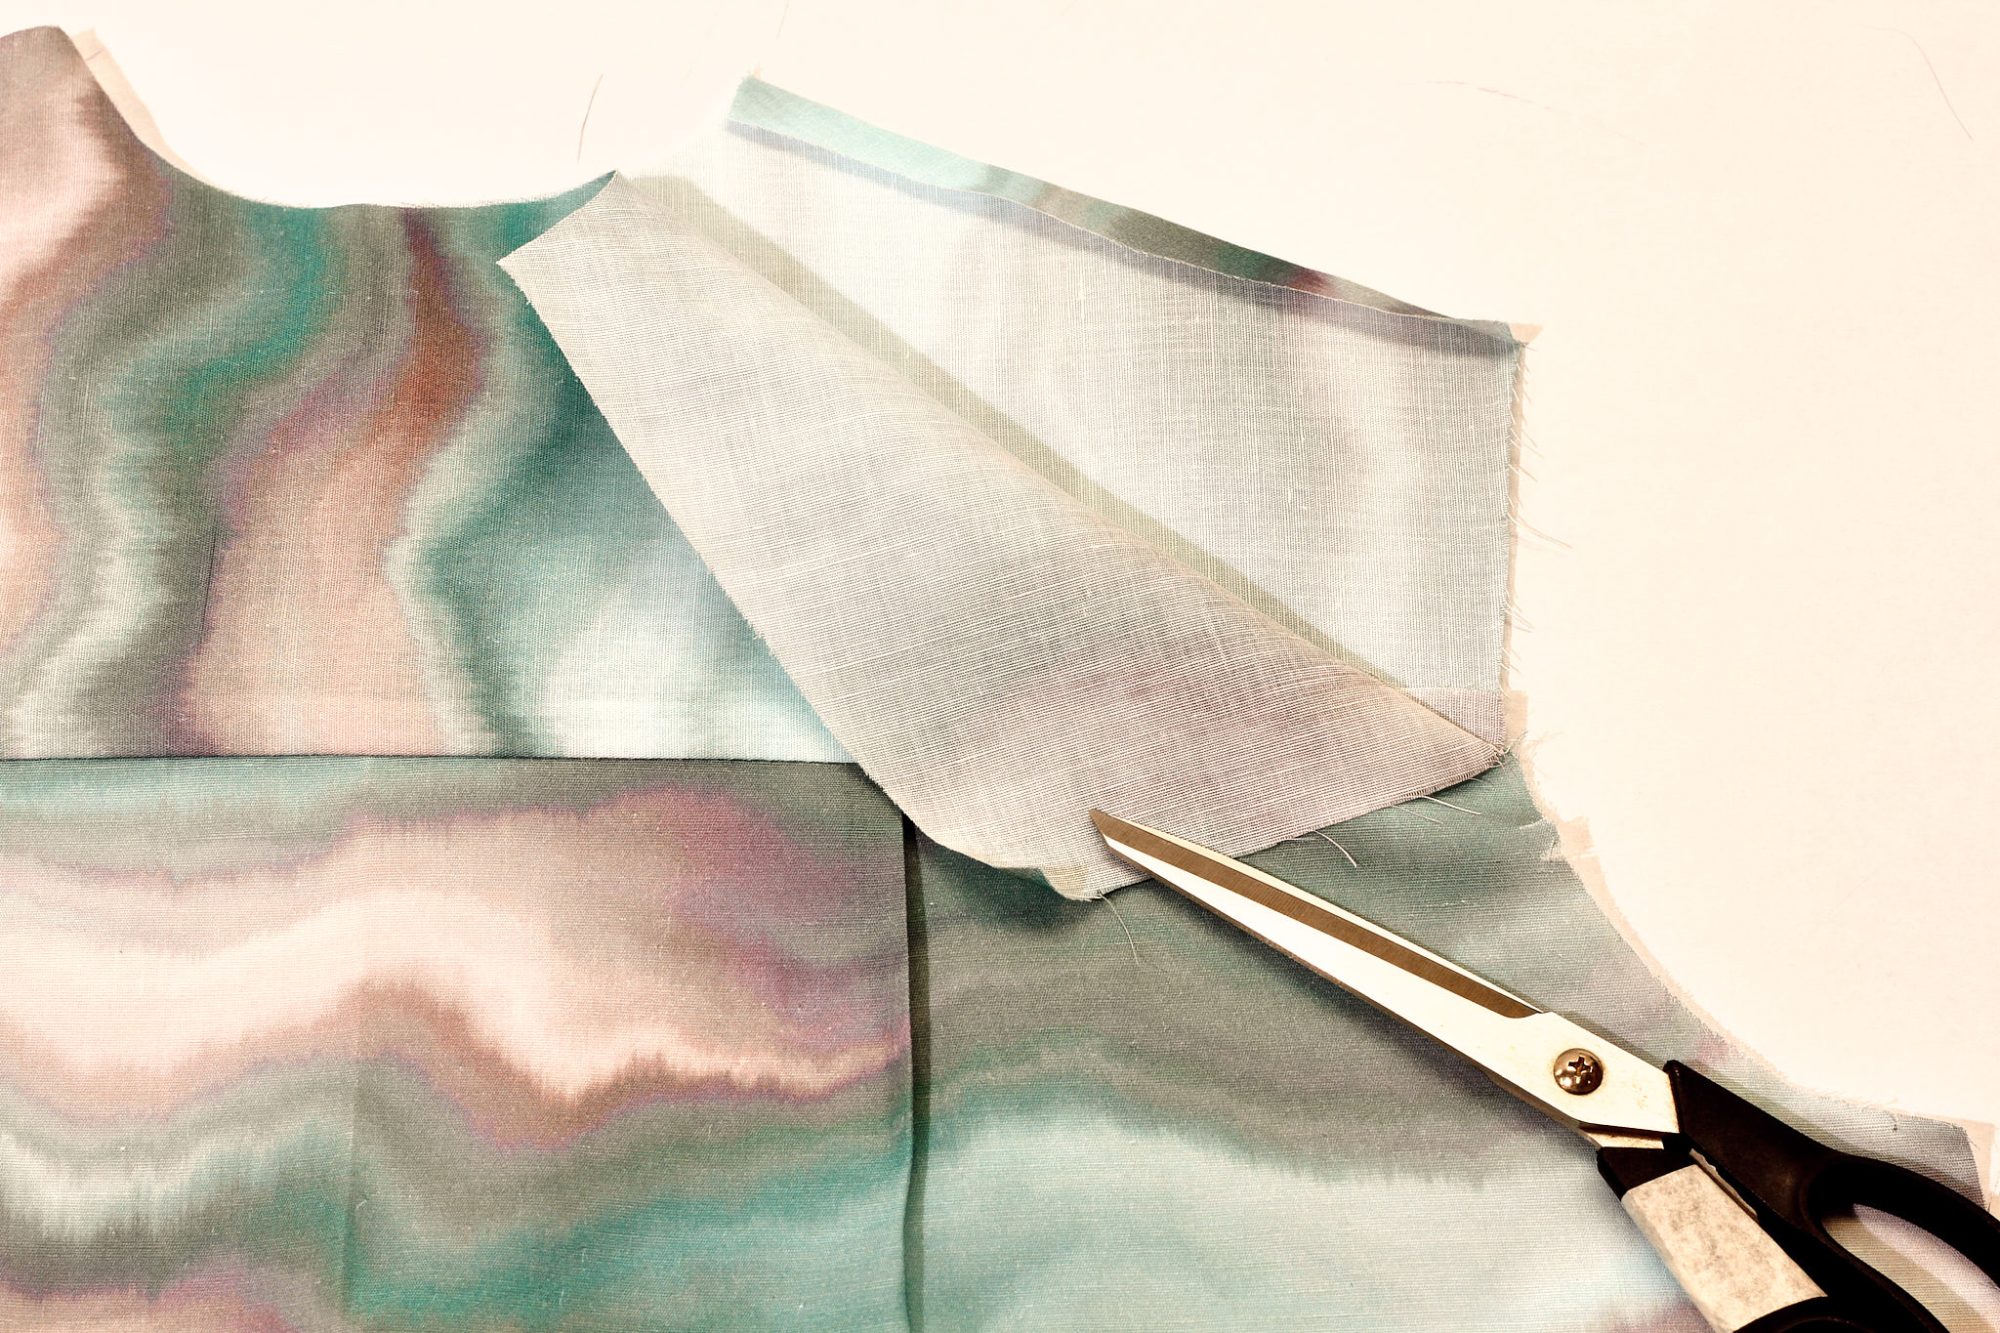
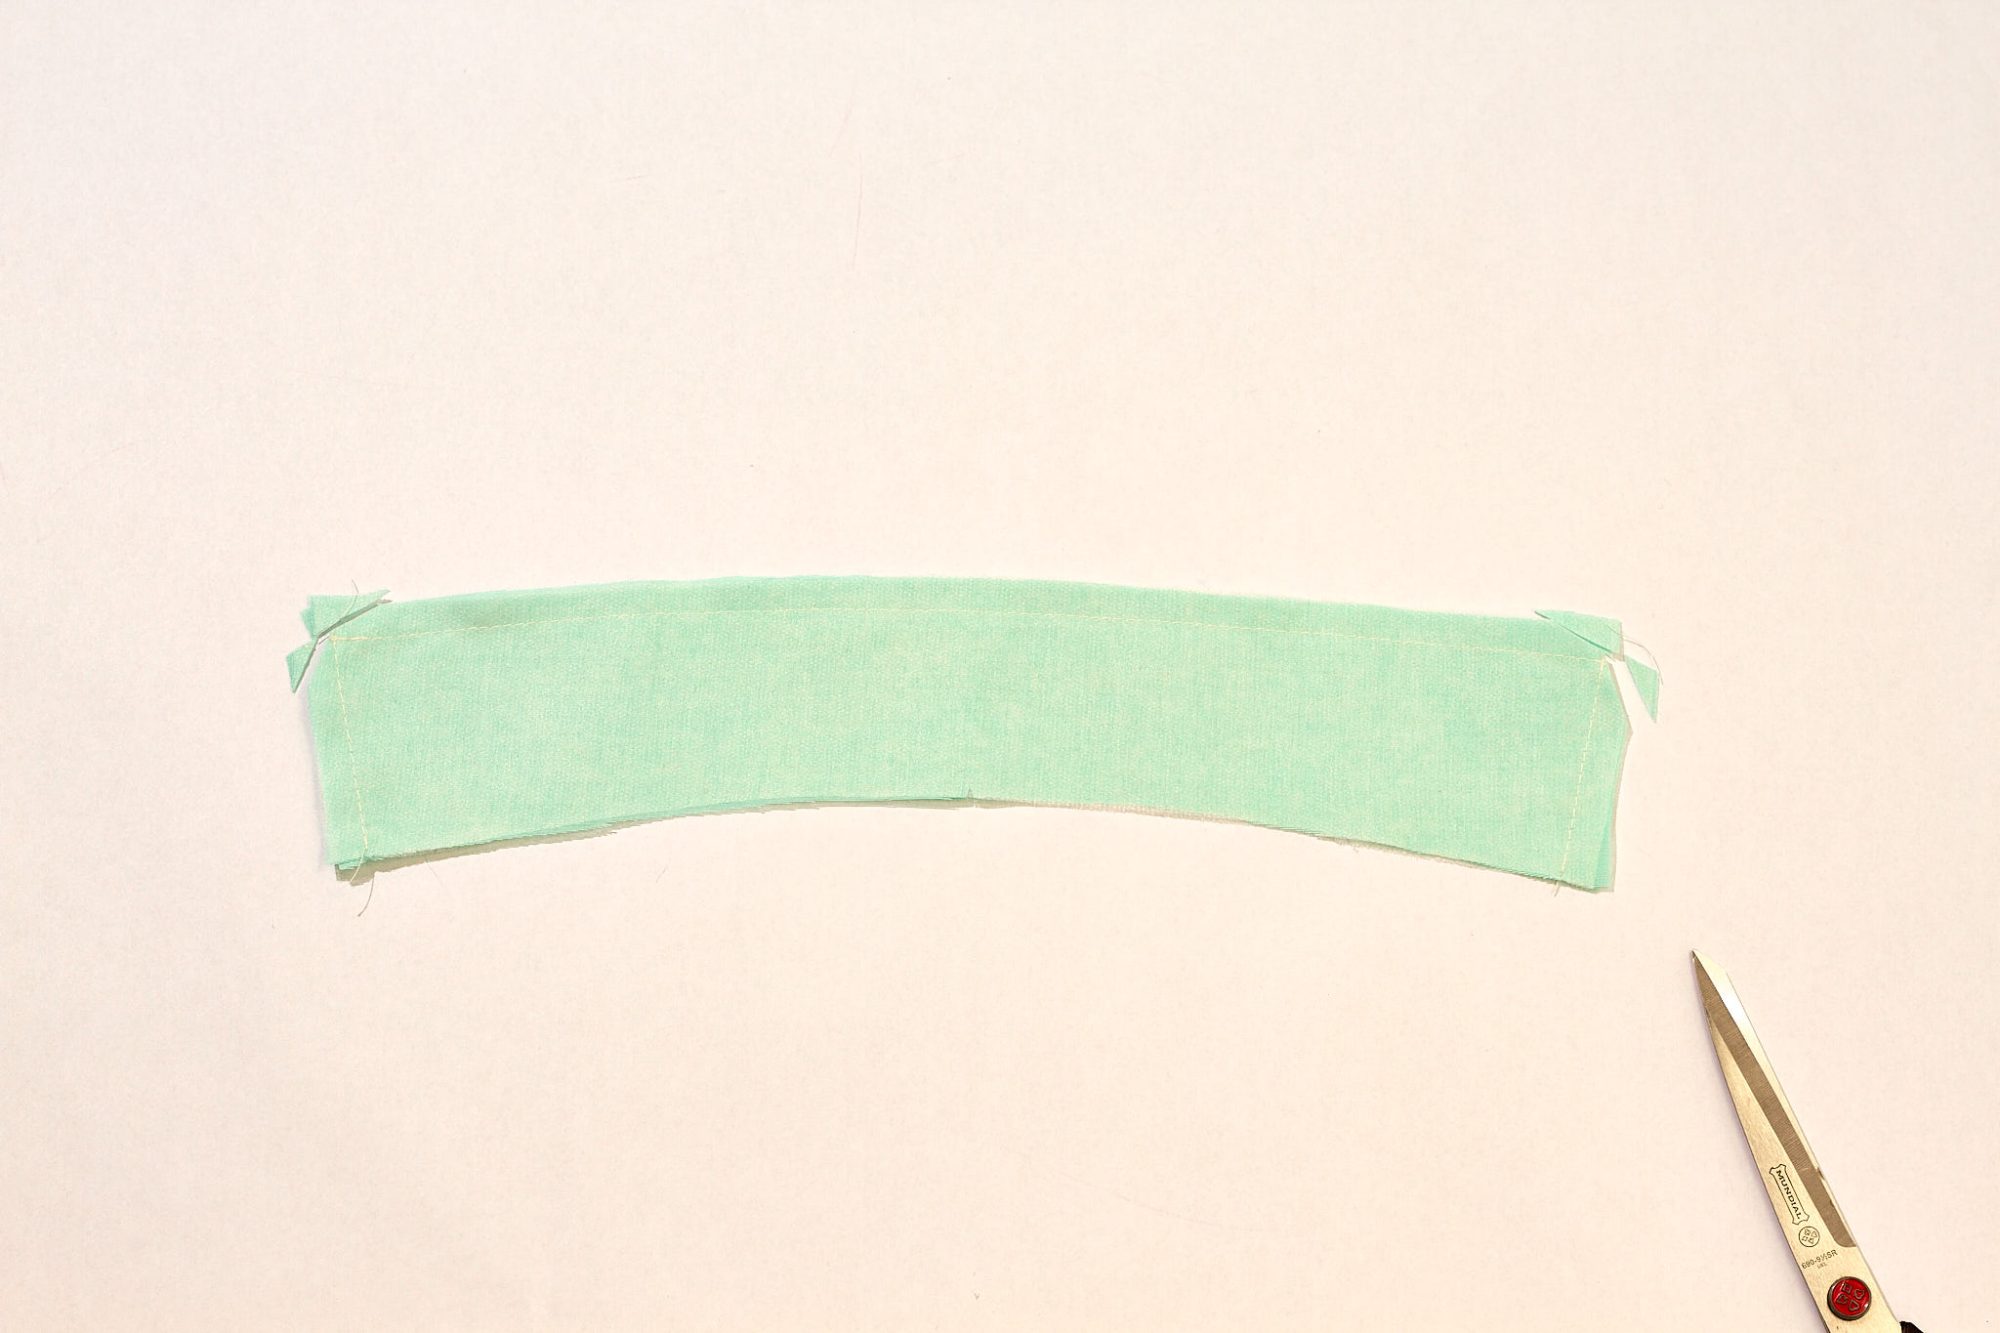
Fold and press a 1cm seam on the shoulder seam of the yoke facing, as pictured.
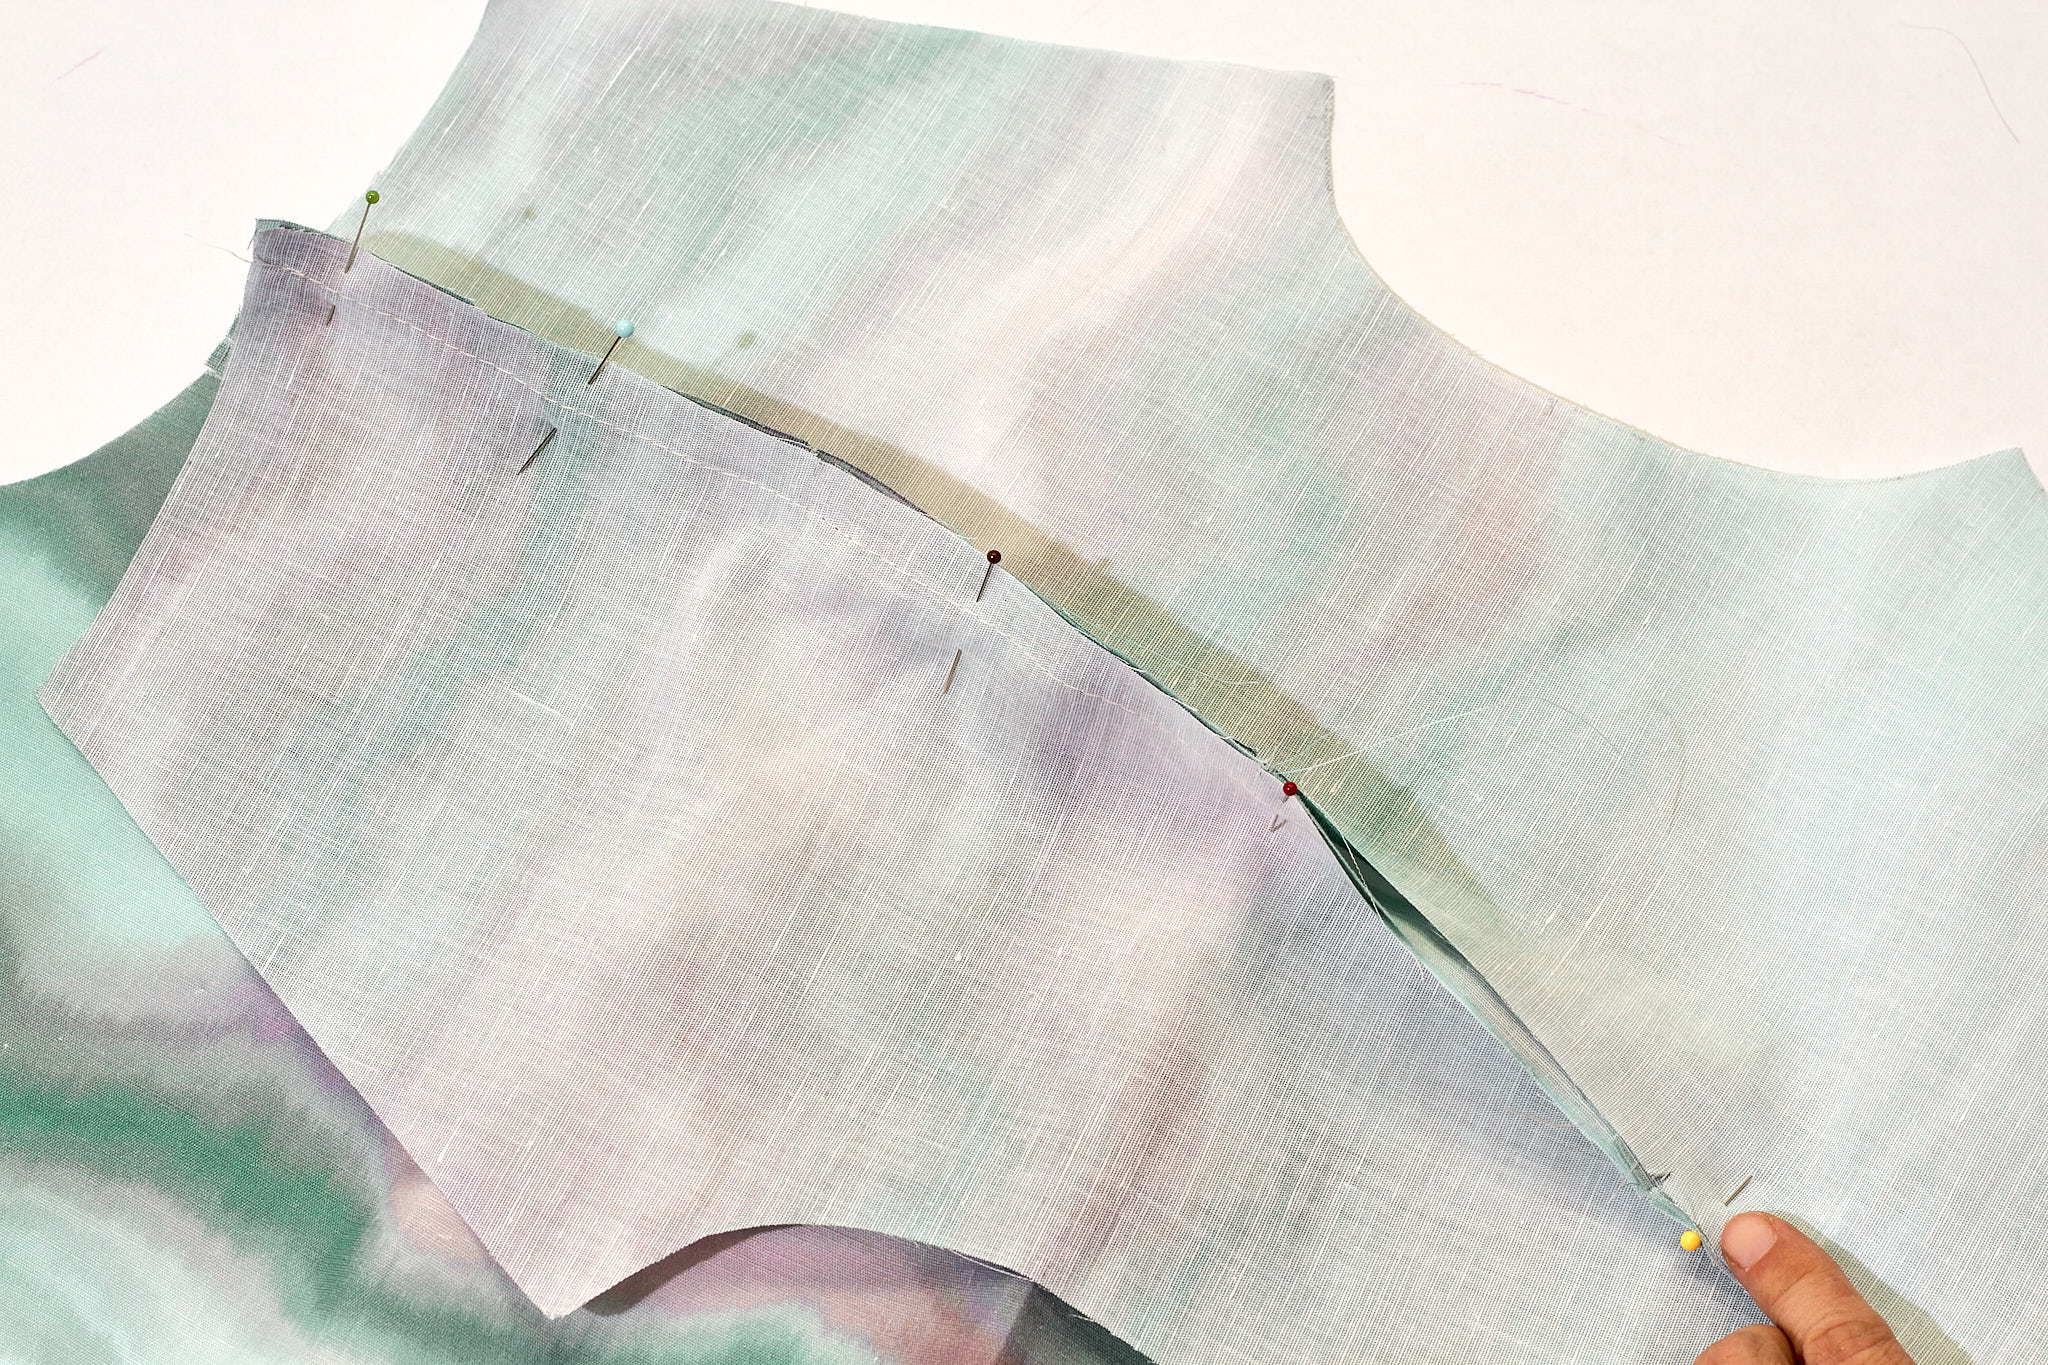
Pin the front shoulder seam to the yoke shoulder seam. Stitch in place.
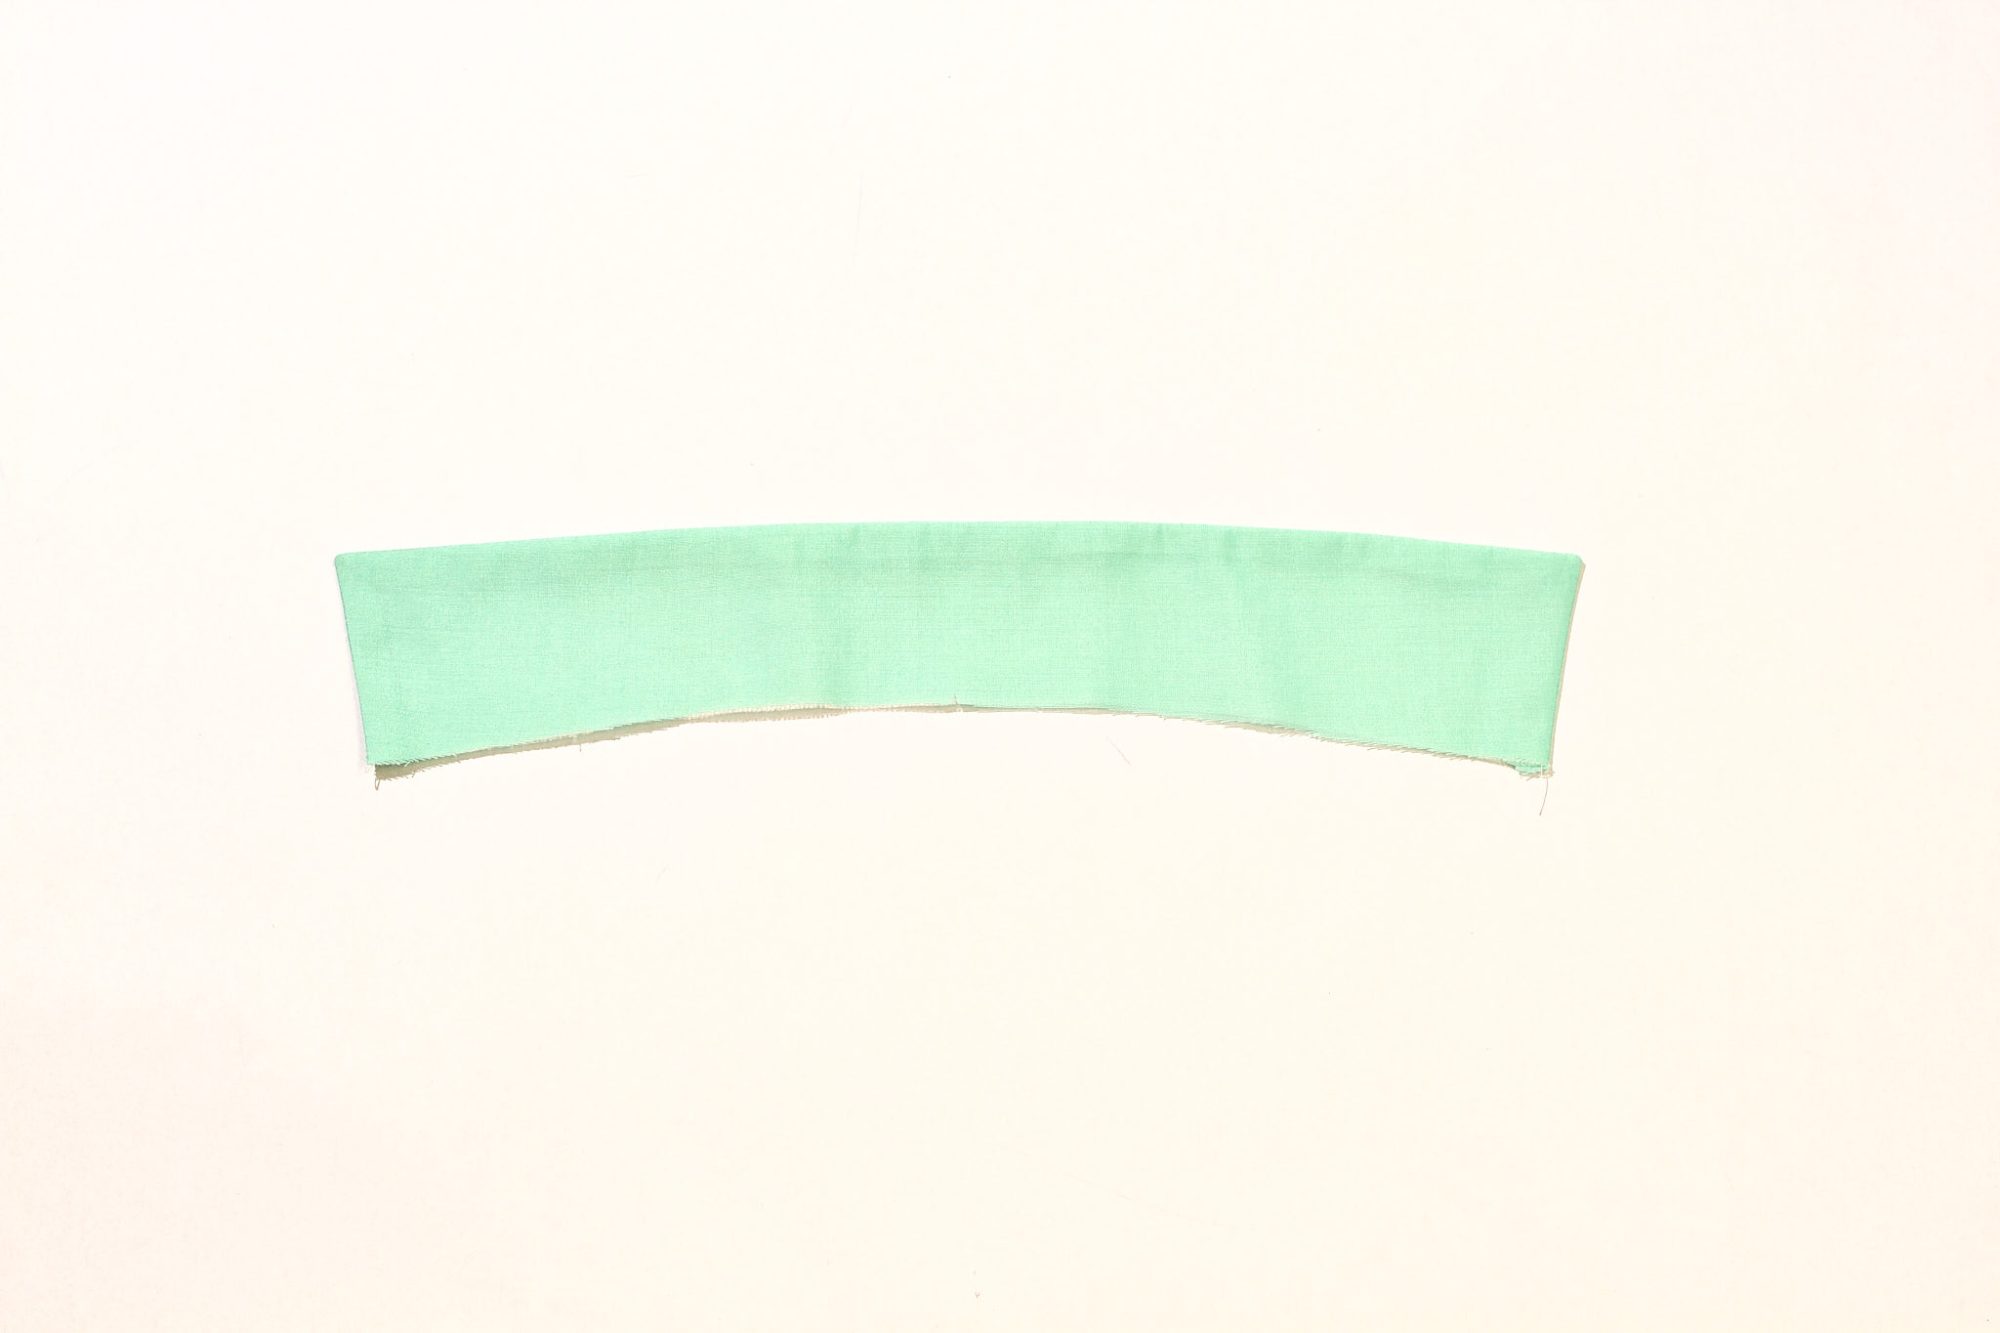
Press all seams towards the yoke. The back yoke seams and the front shoulder seams should end up sandwiched inside the yoke.
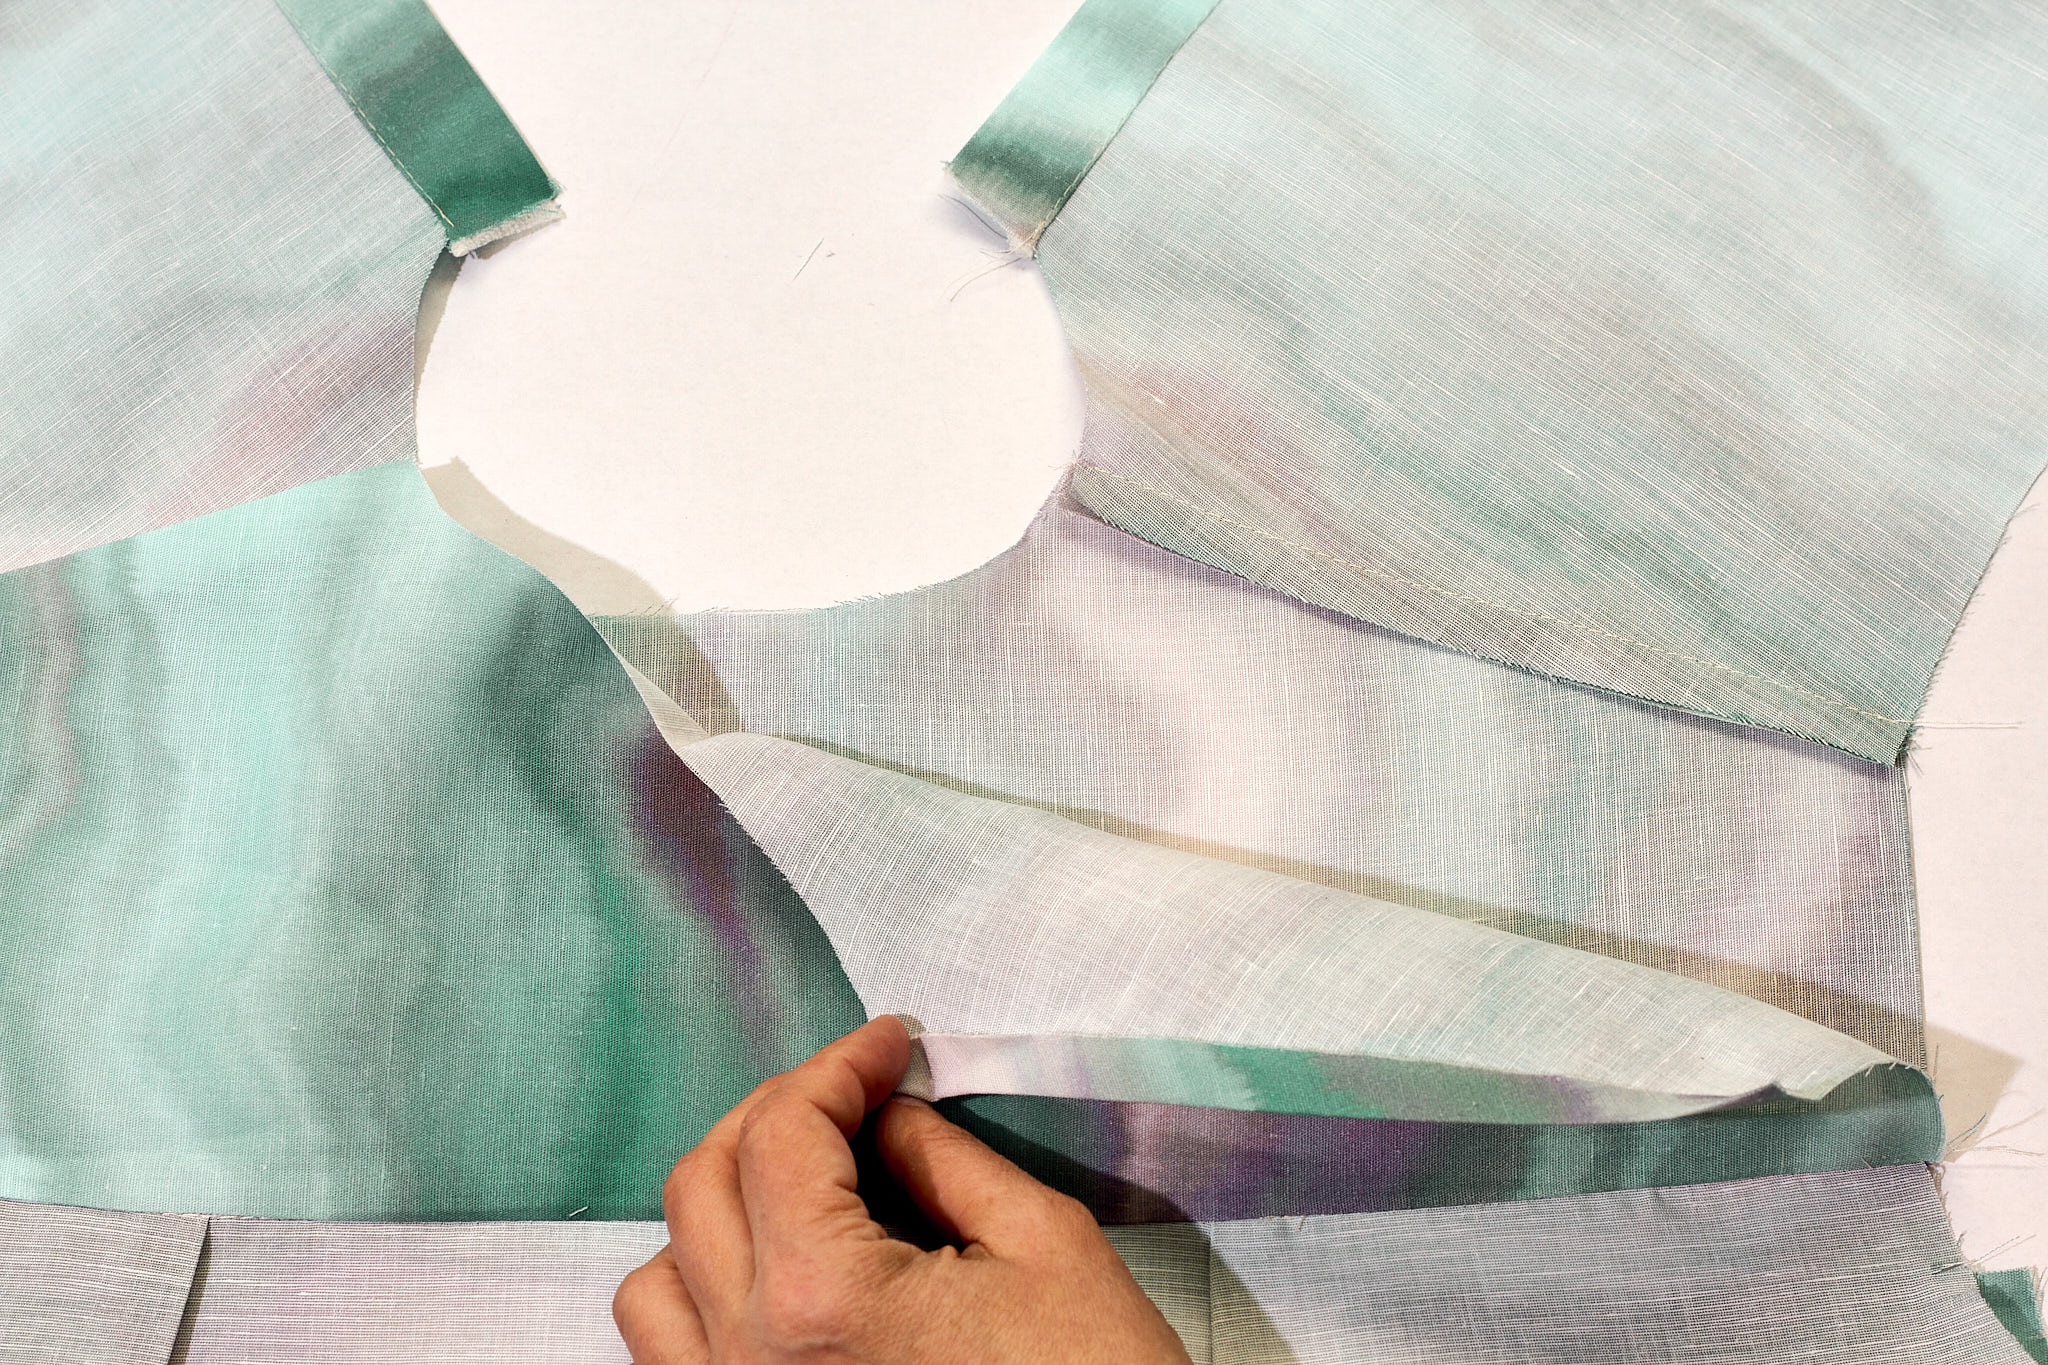
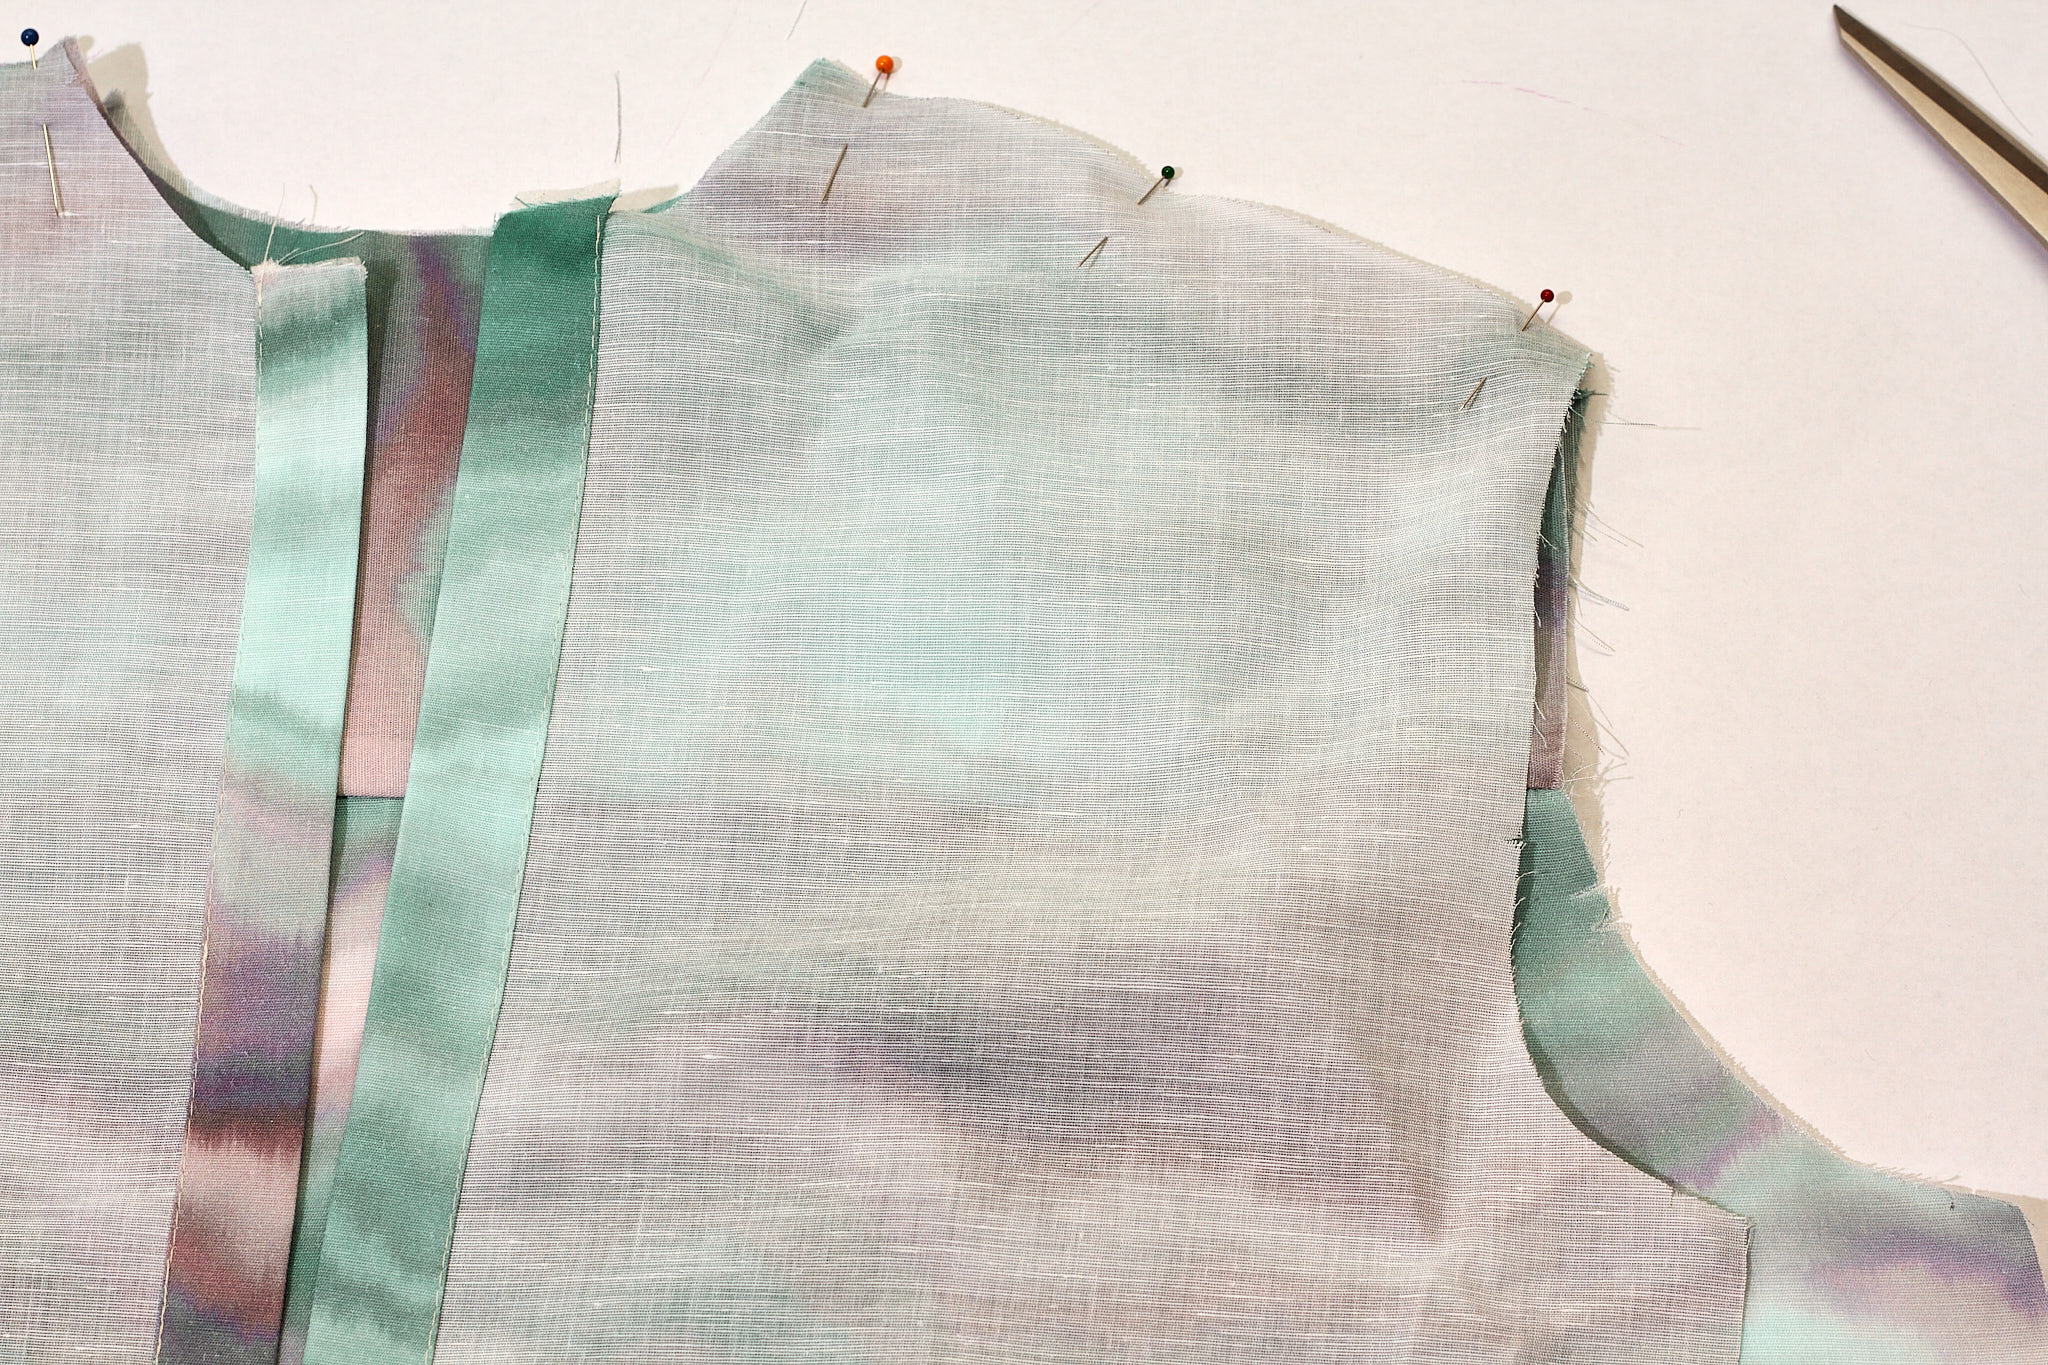
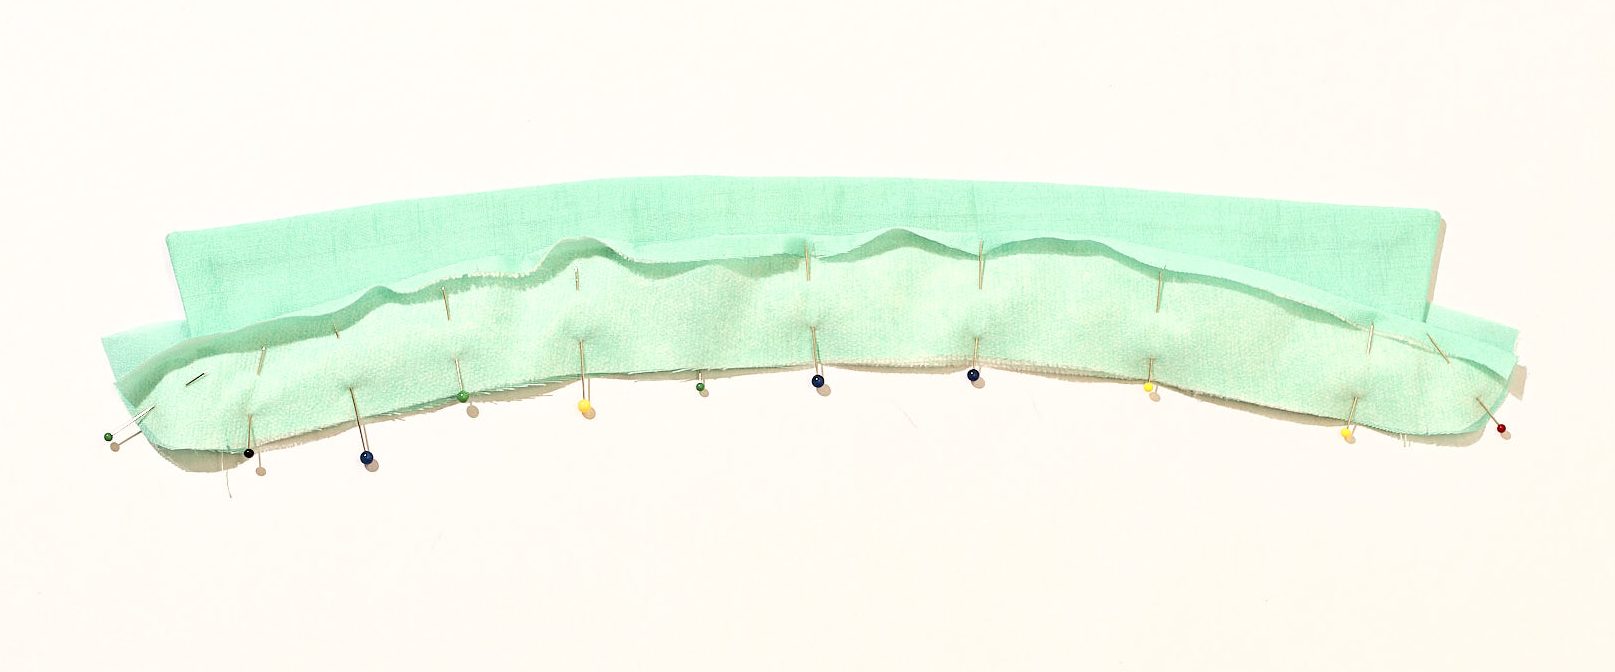
Place the yoke facing shoulder seams on top of the centre front seams. Ensure that both yoke pieces are flat and meet evenly along the seam lines.
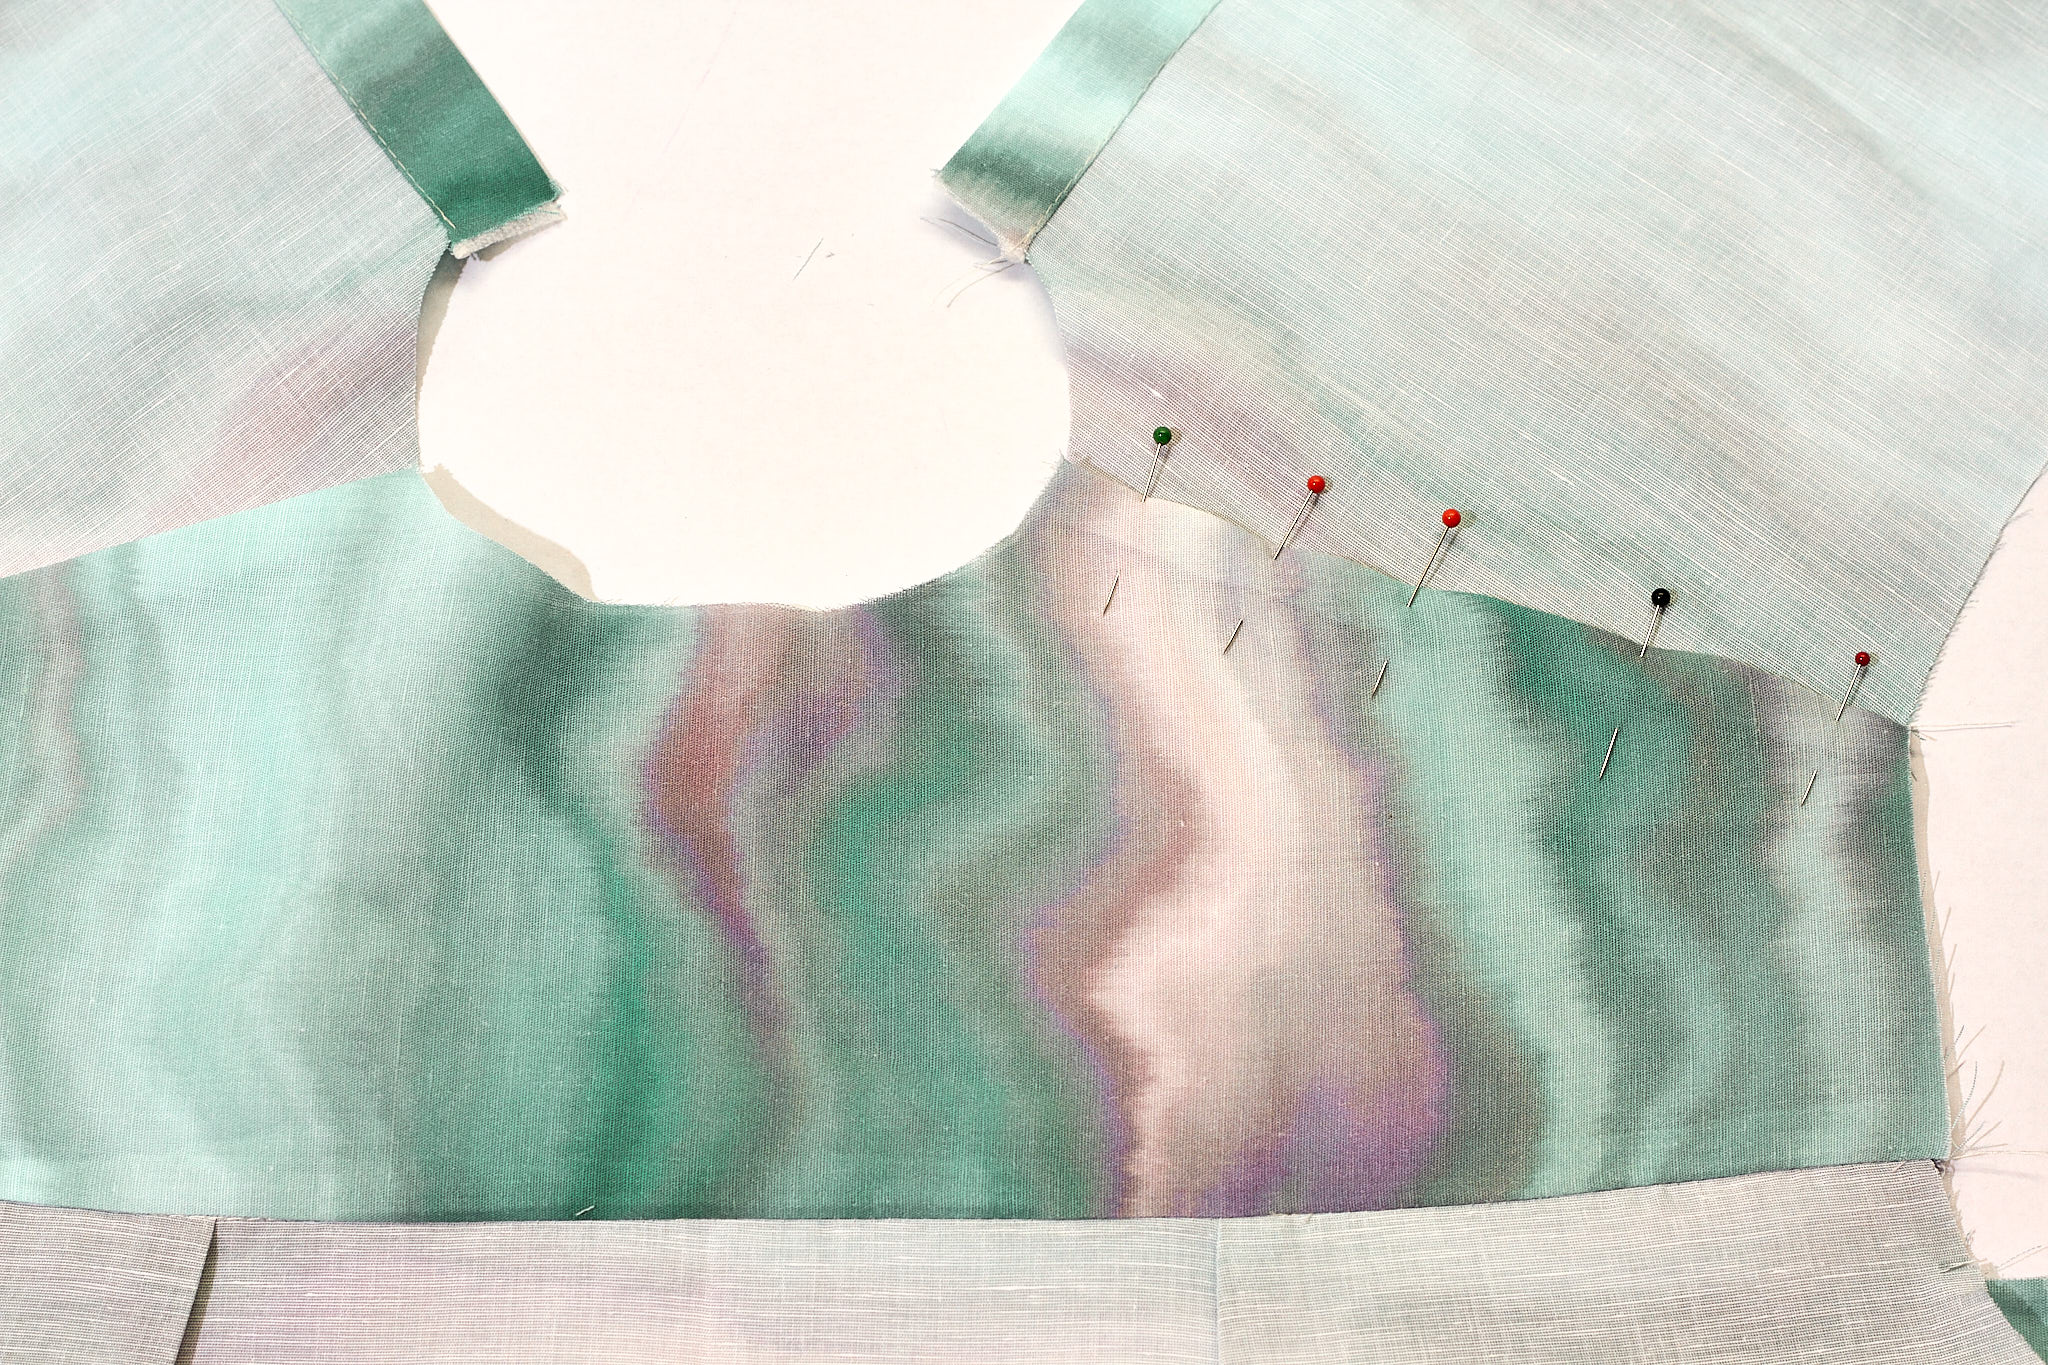
Pin in place, make sure the yoke is flat and seams meet up. Turn over, ready for the next step.
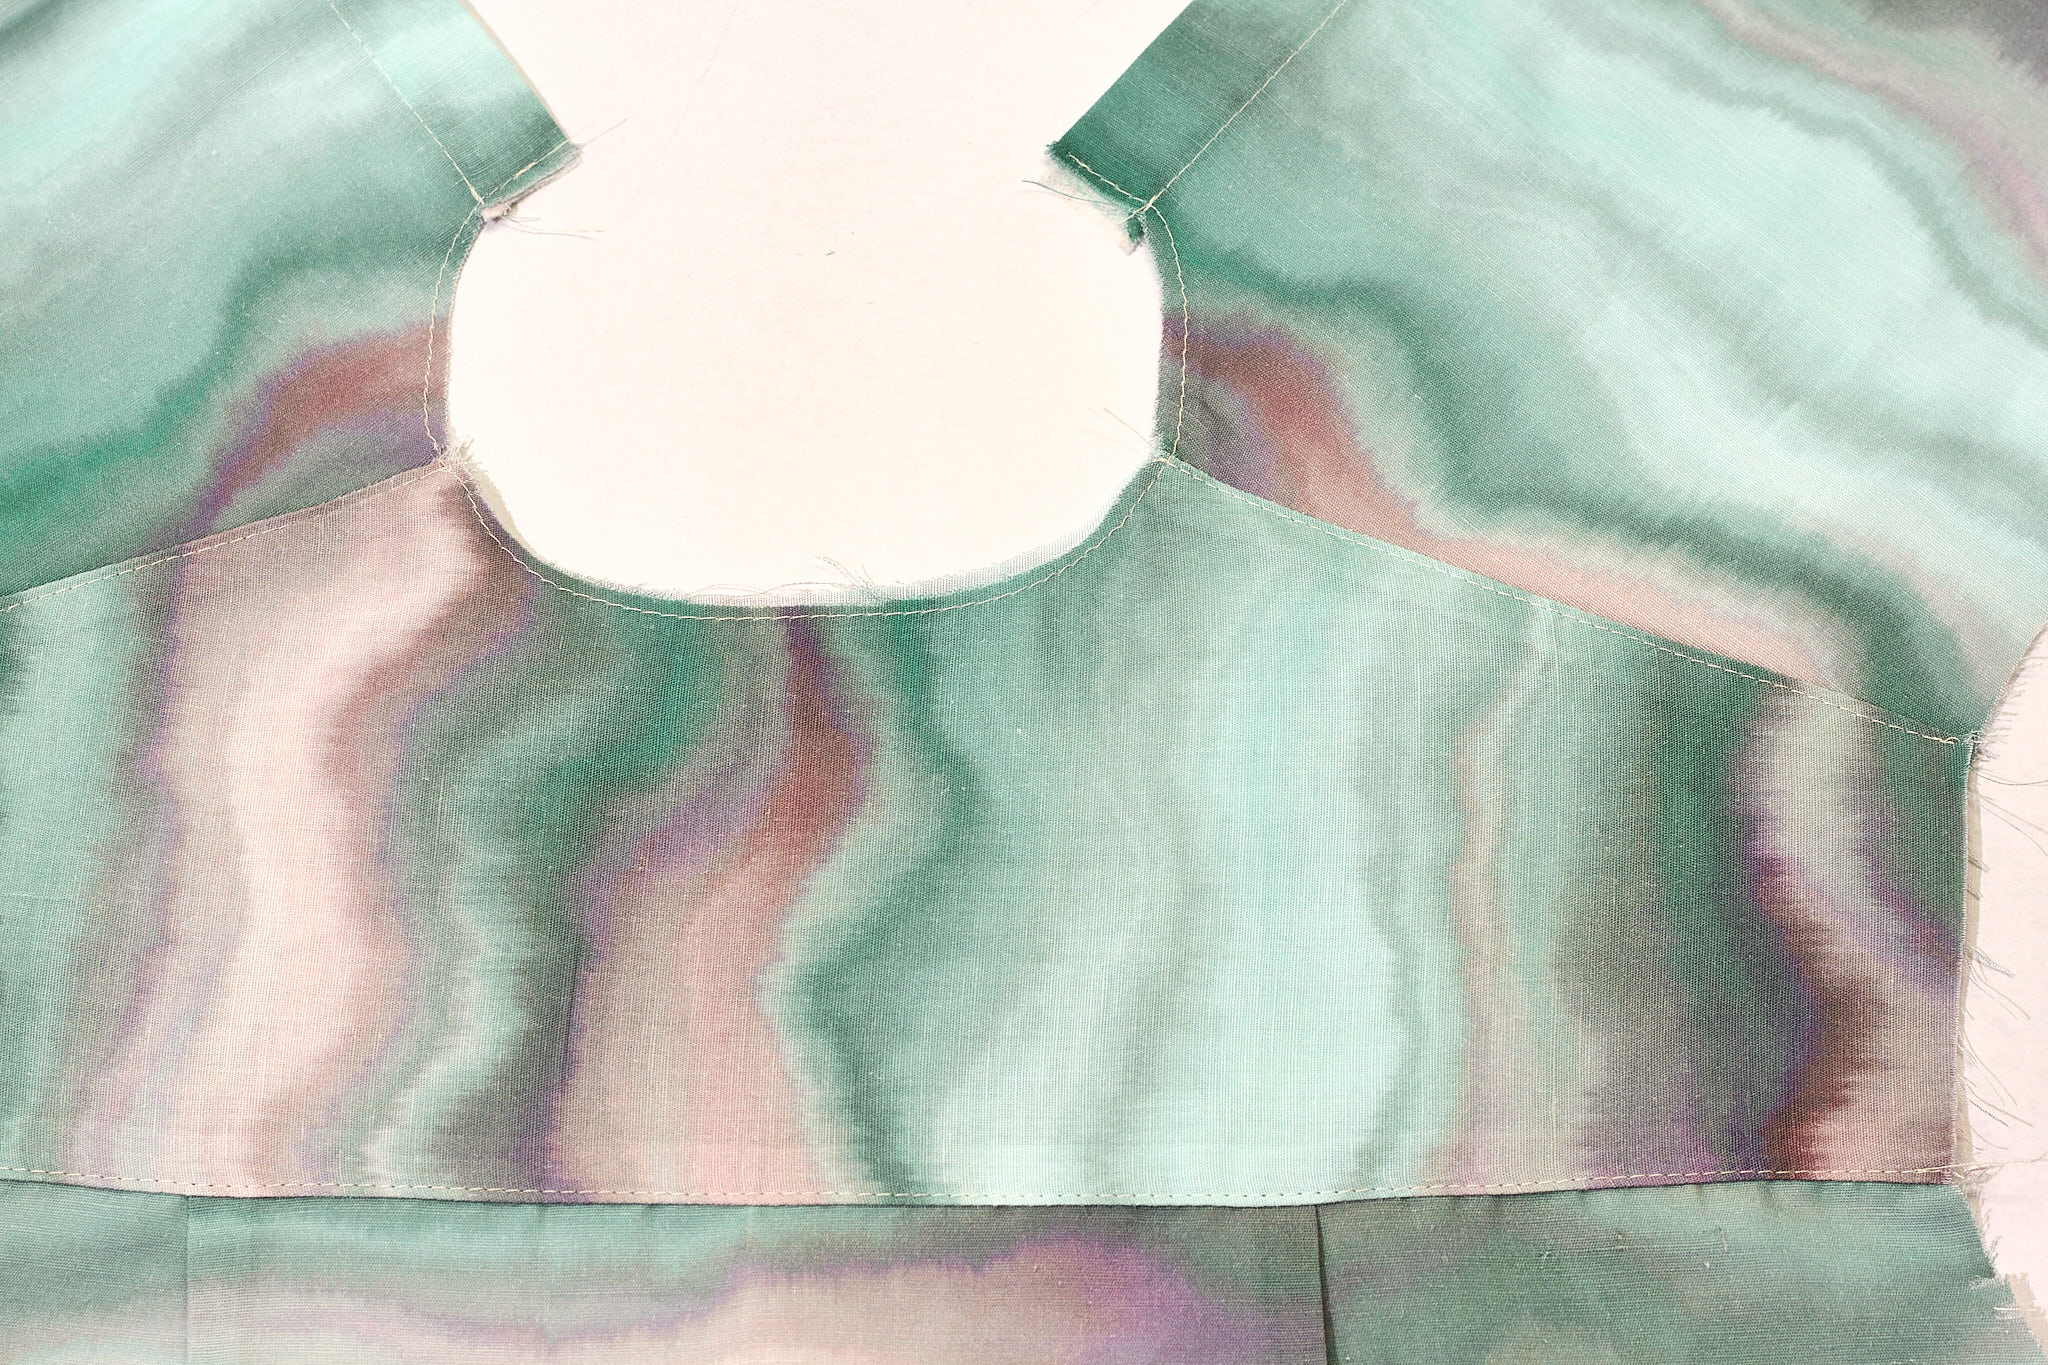
Topstitch along the shoulder seam and the back yoke seam on the right side of the fabric. This stitch should catch the shoulder seam on the inside yoke.
At this point I staystitched the collar seam using a 6mm seam allowance.
4. COLLAR
Fuse both sides of the collar and the collar stand.
Sew around the outer edge of the collar at a 1cm seam allowance. Then clip the corners back as per the photo. Bag out to the right side and press.
Pin the collar stand to the collar base. Sandwiching the collar between the two collar stand pieces. One side of the collar base has been folded up at the seam and pressed.
Sew at 1cm, keeping the folded edge up as you stitch.

Clip curves before bagging out to the right side. Pin the collar stand to the neckline of the shirt. Pin the unfolded side to the outer side (right side) of the neckline. Stitch with a 1 cm seam allowance.
Straighten up the collar and collar stand. Press all seams on the neckline towards the collar stand. Bring the folded edge of the collar stand to meet the top of the inner neckline seam. The folded edge should sit on top of the previously sewn collar stand stitching line. Pin in place and tack down. Sew an edge stitch from the right side (outer) of the collar, catching the inside edge of the collar stand.
Sew an edge stitch from the right side (outer) of the collar, catching the inside edge of the collar stand.
5. SLEEVE
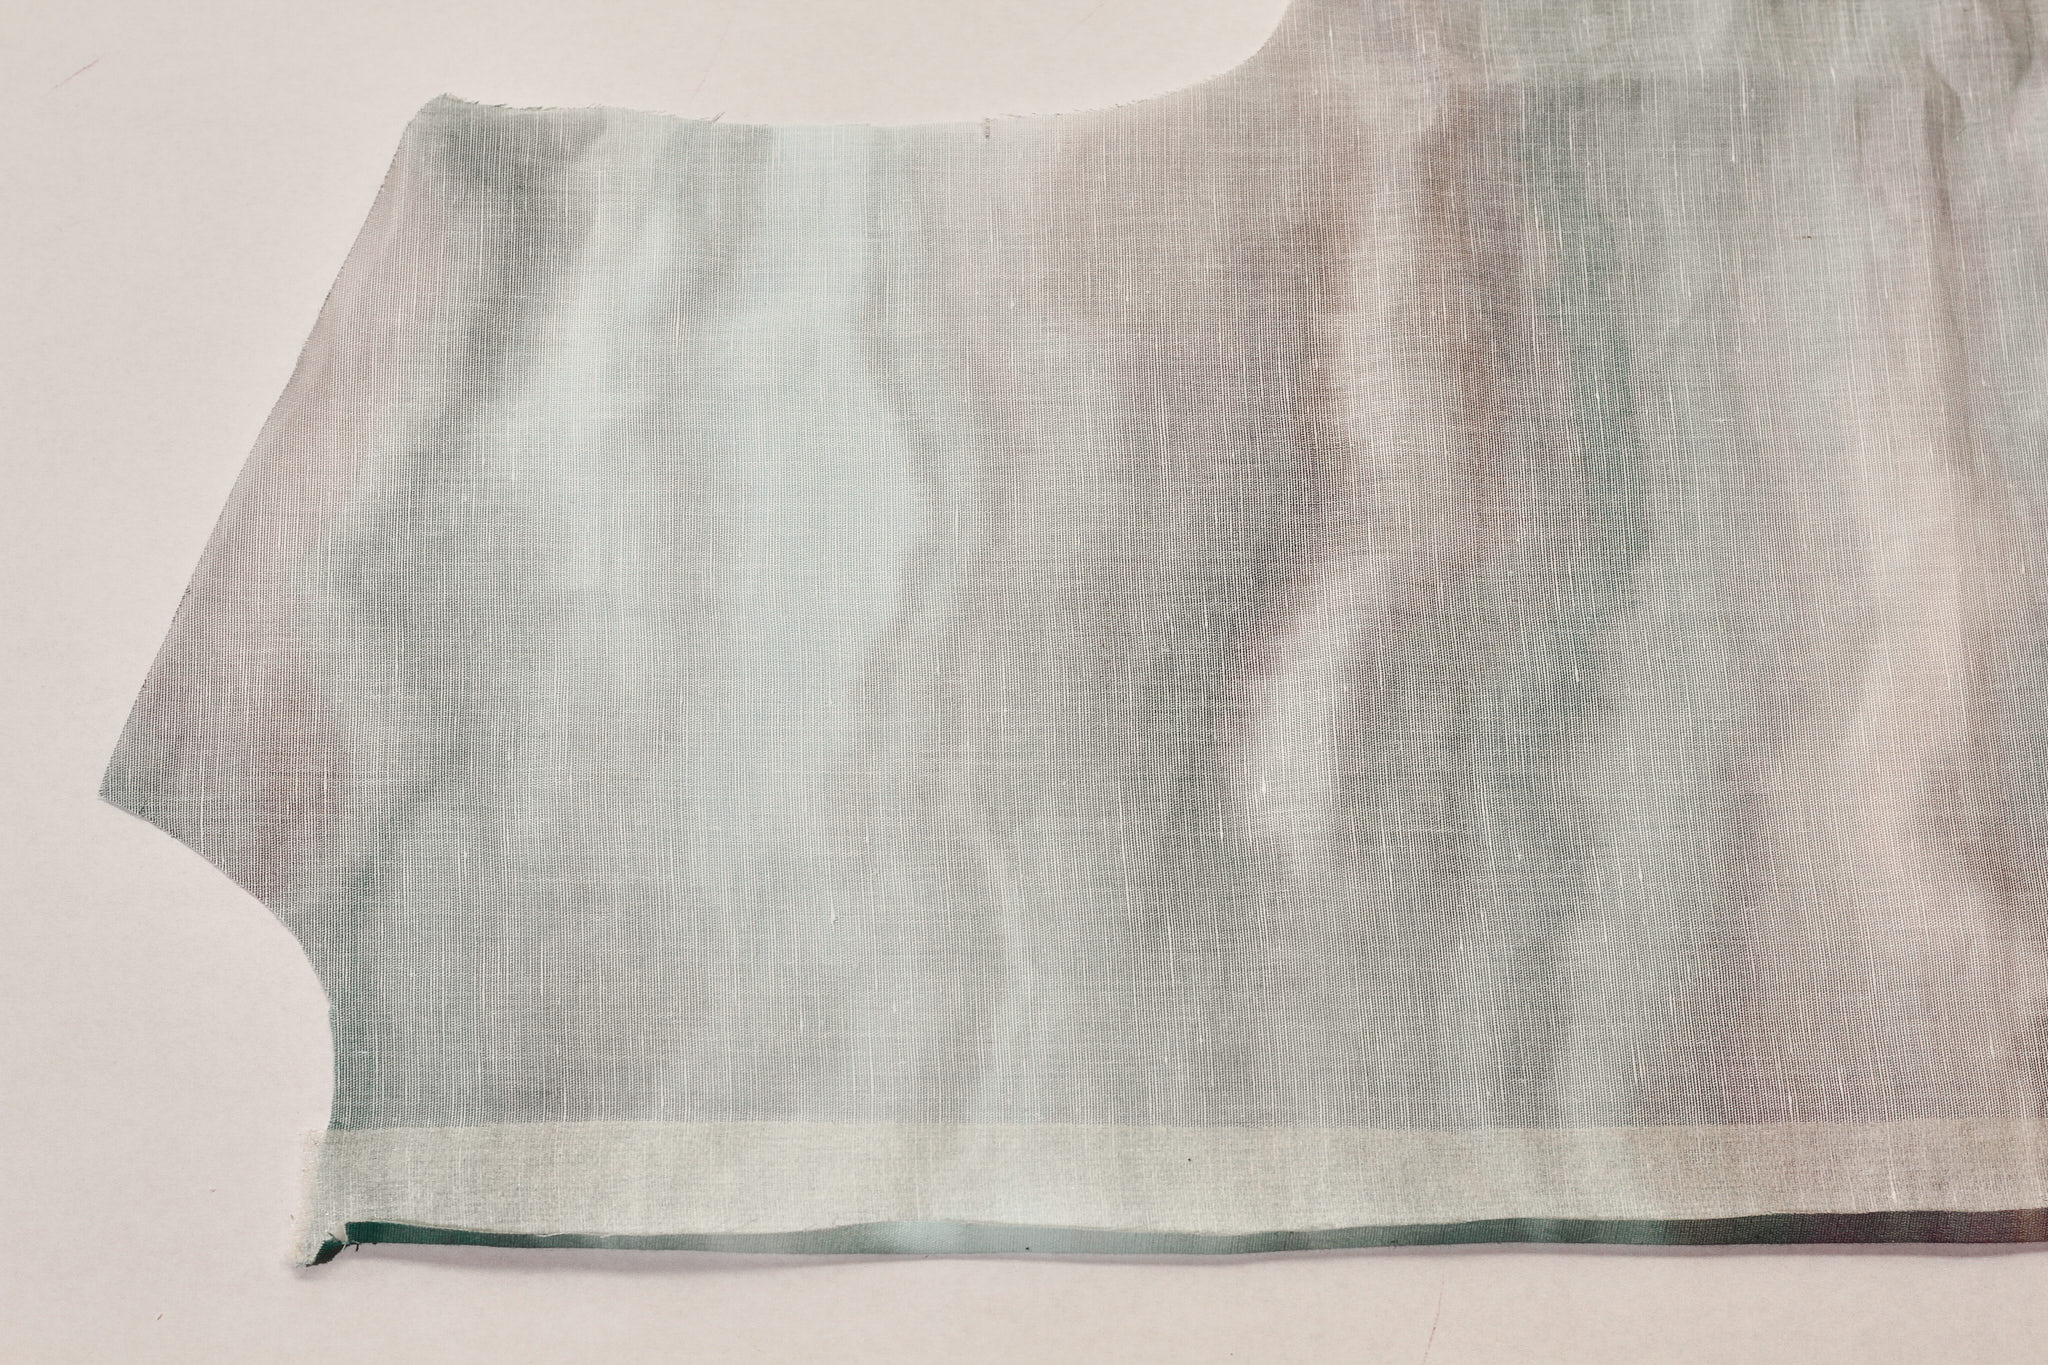
At the top and bottom of the sleeve, there are 2 notches. Bring together and press the diagonal crease.
Mark a line 2.5cm or an inch from the folded edge. Stitch down this line. I am using an erasable ink pen. The mark disappears when in contact with heat, such as an iron.
Pleats should be pressed towards the front of the sleeve. This is distinguished by the single notch on the sleeve head. You should have a pair of sleeves, each facing opposite directions. This is correct.
Position the sleeve head on top of the armhole seam and pin together, being careful to match up notches such as the front single notch and the back double notches on the armhole and sleeve. The pleat should line up with the front yoke seam. Stitch along the armhole seam at a 1cm seam allowance.
Overlock/serge the armhole and sleeve seams together and press down towards the sleeve.
6. SIDE SEAM & SLEEVE SEAM
Pin the sleeve seams together and continue down the side seam, connecting the back with the front of the shirt. Stitch down and overlock together.
7. HEMS
For the sleeve hem, overlock the edge and turn up 2 cm. Stitch along edge of overlocking.
For the hem on the body of the shirt, turn up 6mm, iron flat, then turn up 6mm again – double turn hem. Pin in place and slip tack in place. Press, making sure that the hem is sitting flat. Stitch along edge of the hem.